


A Beginner's Guide to DMX Cables in Lighting Systems
Have you ever wondered how stage lights sync perfectly with music or create stunning effects? That’s where a DMX Cable comes in. It’s a special type of cable designed to send precise signals to lighting fixtures. Unlike regular microphone cables, DMX cables handle high-frequency signals without flickering or losing quality. Their unique construction ensures reliable performance, even over long distances.
Without DMX cables, controlling complex lighting setups would be a nightmare. They prevent interference, keep signals stable, and make sure your lights respond exactly as planned. If you’re serious about lighting, you’ll want to check out options like this one.
Key Takeaways
- DMX cables are important for controlling lights properly. They carry exact signals from the controller to the lights, keeping them in sync.
- Pick the correct length for your DMX cables. Measure how far your controller is from the lights. Use a signal booster if the distance is long.
- Only use DMX cables, not regular ones. DMX cables are made for digital signals. They stop flickering and help lights work smoothly.
Understanding DMX Cables
The Purpose of a DMX Cable
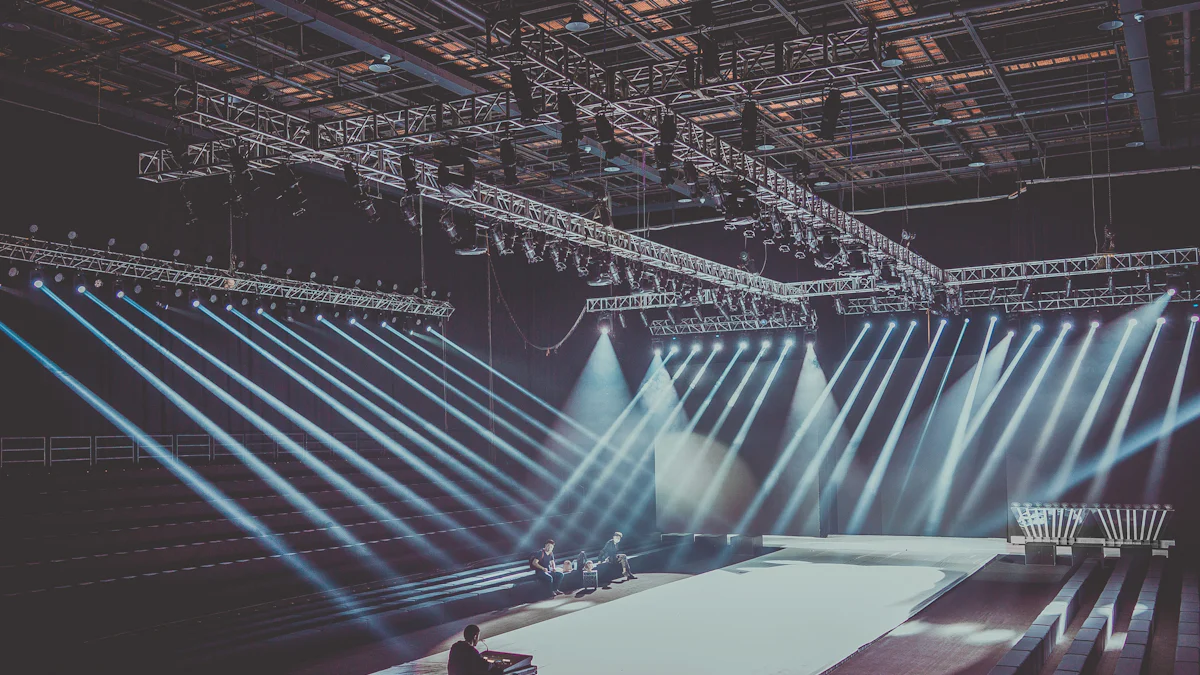
If you’ve ever seen a light show that felt perfectly timed, chances are a DMX cable was behind it. These cables are the backbone of modern lighting systems. They send precise instructions from a controller to your lights, telling them when to change color, dim, or flash. Without them, syncing lights would be chaotic and unreliable.
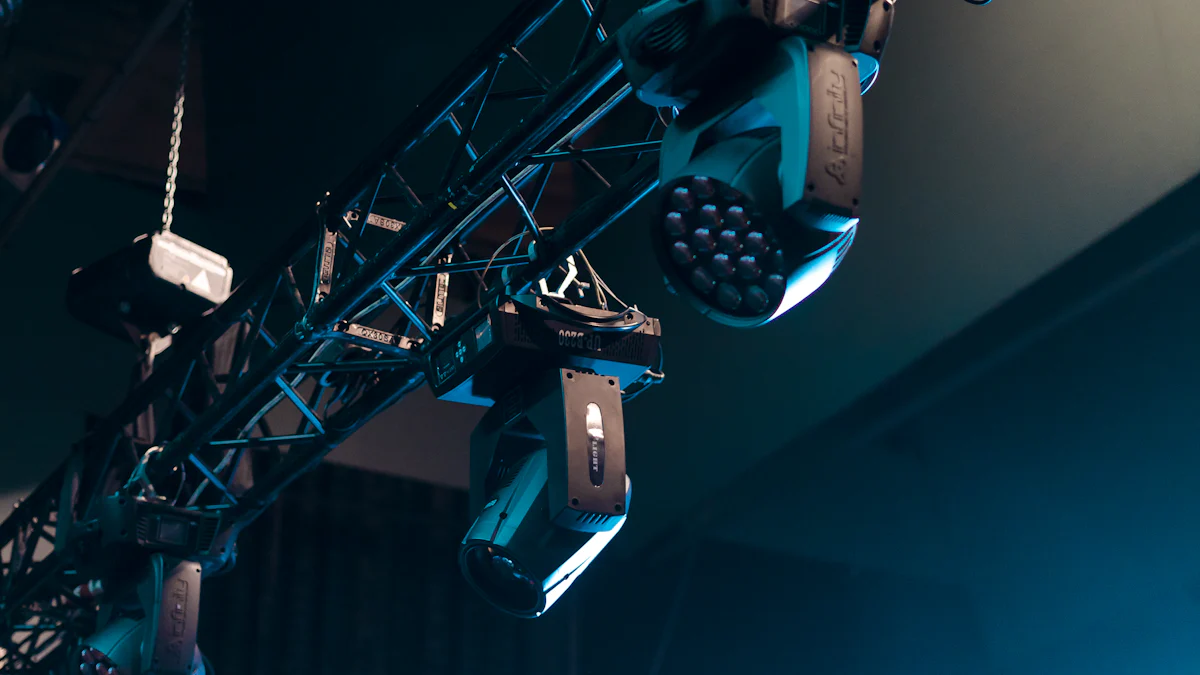
What makes a DMX cable special? It’s all about the design. These cables have a characteristic impedance of 120 ohms, which ensures smooth data flow. They also use two twisted pairs of wires and shielding to protect against interference. This means your signals stay strong, even in noisy environments filled with other electronics. Plus, DMX cables can connect up to 32 devices in a daisy-chain setup, making them perfect for both small and large lighting systems.
How a DMX Cable Works
Let’s break it down. A DMX cable carries digital signals from a controller to your lighting fixtures. Think of it as a messenger delivering instructions. The controller sends data in packets, and the cable ensures these packets reach the lights without distortion. This is possible because DMX cables have low capacitance, which reduces signal loss.
The shielding plays a big role too. It blocks electromagnetic interference, so your lights don’t flicker or behave unpredictably. At the end of the cable line, a 120-ohm resistor is used to terminate the signal. This prevents reflections that could mess up the data. It’s a simple yet effective system that keeps your lighting setup running smoothly.
The Importance of DMX Cables in Lighting Systems
Ensuring Reliable Signal Transmission
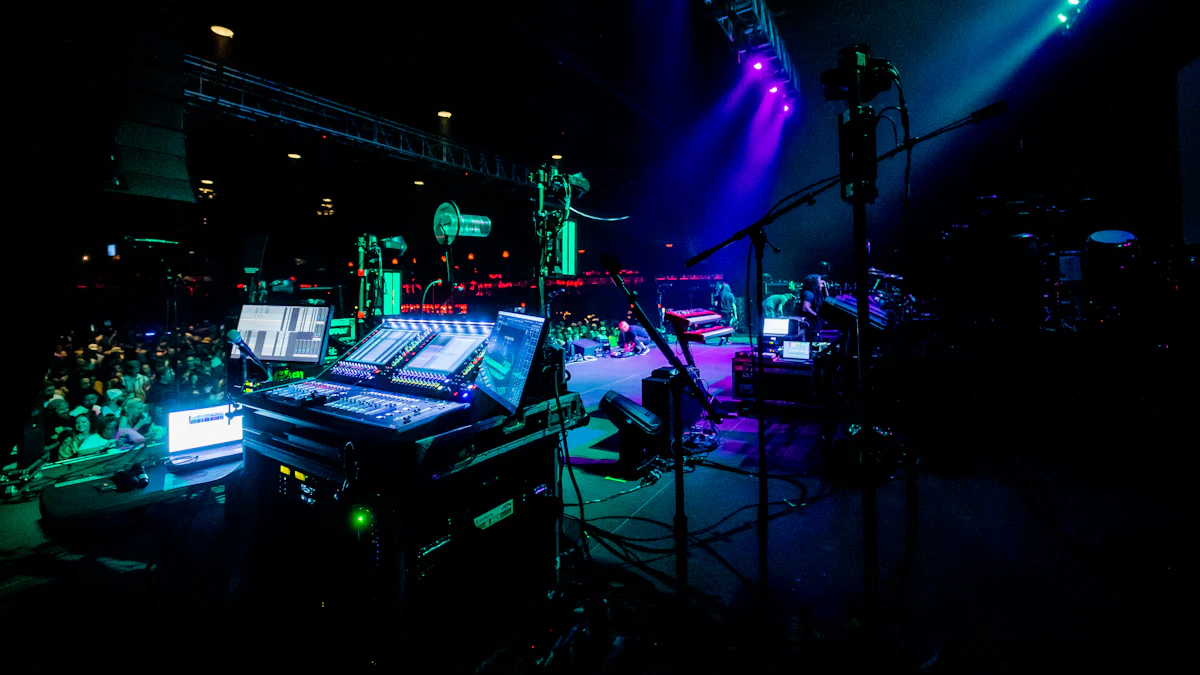
When it comes to lighting systems, reliability is everything. Imagine a concert where the lights flicker or fail to sync with the music. That’s a disaster! A DMX cable ensures your signals reach every light fixture without a hitch. These cables use a balanced three-wire system, which keeps the data flow steady. The twisted-pair design helps cancel out noise, so the signal stays clean and strong.
But there’s more to it. DMX cables are built to handle long distances—up to 300 feet—without losing signal quality. If you need to go further, you can add a signal booster. This makes them perfect for both small venues and large arenas. With a DMX cable, you can trust your lights to perform exactly as planned.
Protecting Against Interference
Interference can ruin a light show. It’s caused by things like faulty cables, errors in the controller, or even connecting too many fixtures on one line. I’ve seen setups where poor hardware choices led to flickering lights or random glitches. That’s why using a proper DMX cable is so important.
These cables come with shielding that blocks external disturbances. The twisted-pair conductors ensure any interference affects both wires equally, allowing the receiver to cancel out the noise. To avoid issues, I always recommend using shielded cables and keeping the DMX shield separate from the mains ground. Active splitters can also help prevent signal degradation in larger setups.
Supporting Scalability in Complex Setups
One of the coolest things about DMX cables is how they support scalability. Whether you’re running a small stage or a massive festival, these cables adapt to your needs. You can connect up to 32 fixtures on a single line. Need more? Add a DMX splitter or upgrade to a multi-universe controller to handle over 512 channels.
Wireless DMX solutions are another game-changer. They make it easy to expand your system without running extra cables. Plus, future-proof equipment like software-based controllers ensures compatibility with new technologies. With a DMX cable, you’re not just setting up for today—you’re ready for whatever comes next.
Choosing the Right DMX Cable
Factors to Consider for Cable Length
When picking a DMX cable, length matters more than you might think. Too short, and you’ll struggle to connect your fixtures. Too long, and you risk signal loss. I always recommend measuring the distance between your controller and the farthest light. Add a little extra length for flexibility, but don’t go overboard. If your setup spans over 300 feet, consider using a signal booster to maintain performance.
Shorter cables work best for compact setups, like small stages or DJ booths. For larger venues, longer cables are essential. Just remember, the longer the cable, the more critical it is to use high-quality materials to prevent interference. Trust me, a little planning here saves a lot of headaches later.
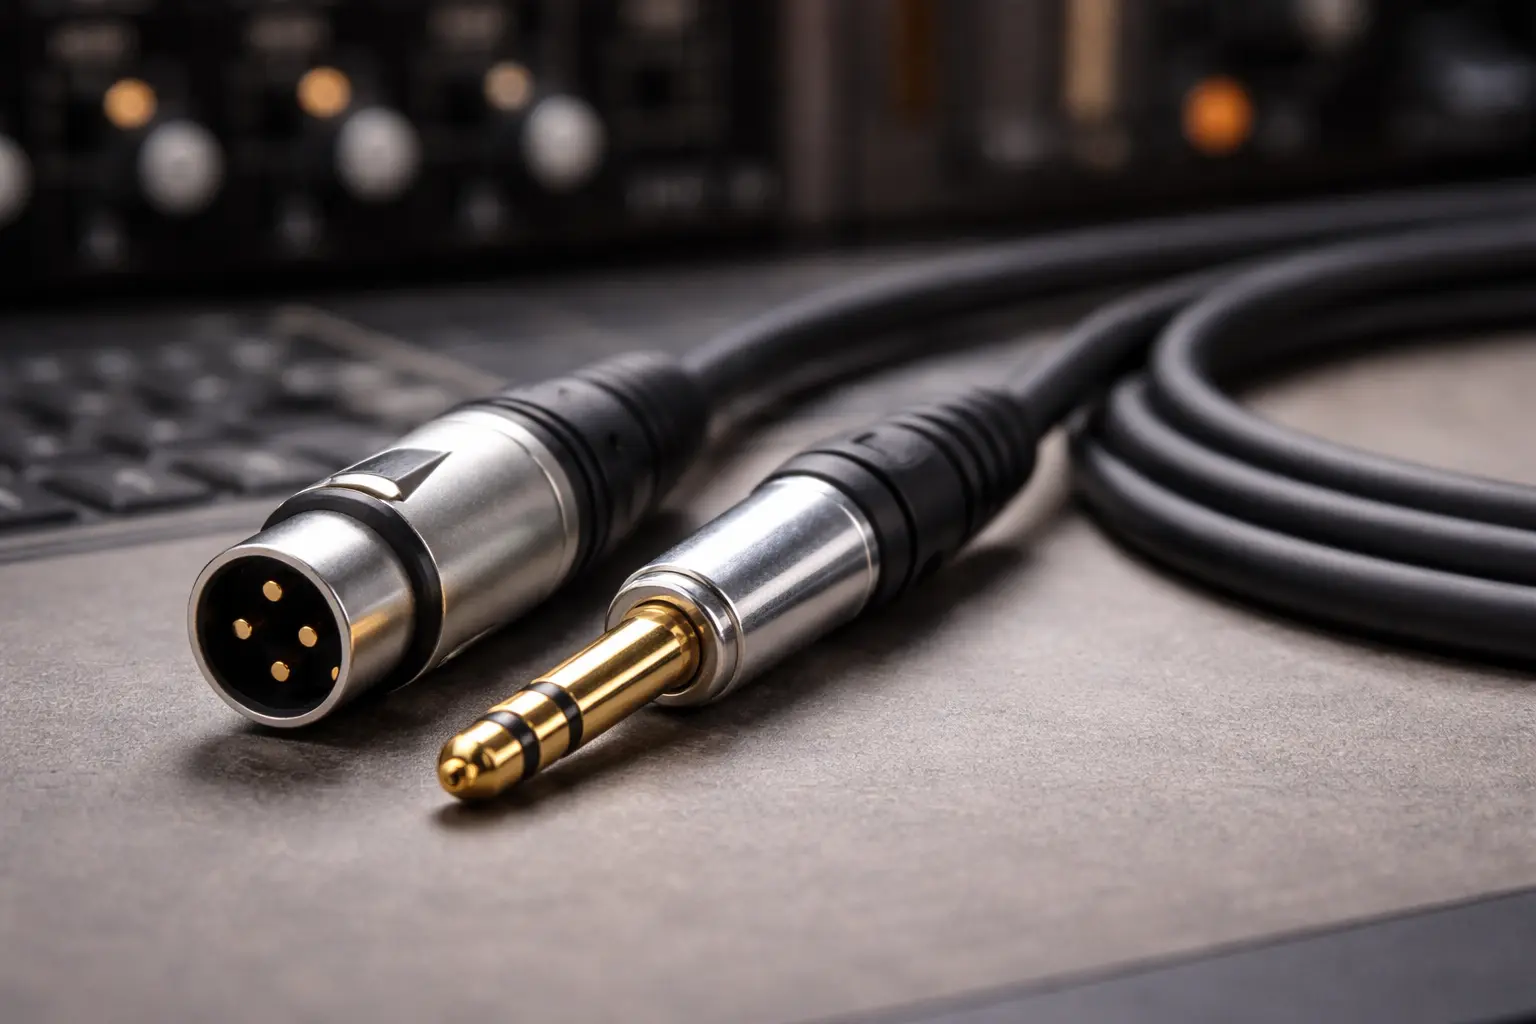
Types of Connectors for DMX Cables
Choosing the right connector is just as important as the cable itself. The two main types are 3-pin and 5-pin connectors. The difference lies in their pin layout. The 5-pin connector includes two extra pins, but most cables only use the first three.
- The 3-pin connector is common in DJ-grade equipment.
- The 5-pin format was designed for expanded functionality, though the extra pins are rarely used.
- Some fixtures only accept one type, so check your equipment before buying.
I’ve found that 3-pin connectors work for most small to medium setups. For professional-grade systems, 5-pin connectors might be a better fit. Always match the connector type to your gear to avoid compatibility issues.
Evaluating Durability and Build Quality
Durability is key when investing in a DMX cable. I’ve seen cheap cables fail mid-show, and it’s not fun. Look for cables with die-cast zinc shells on the connectors. These provide a solid connection and resist wear. A sturdy plastic insert adds strain relief, while a rubber boot protects against bending.
High-quality cables also use silver-plated wire terminals and PE insulation for strong signal transmission. A flexible PVC jacket shields the conductors, and dual shielding blocks electromagnetic interference. These features ensure your cable lasts, even in demanding environments. Spending a bit more upfront saves you from replacing cables down the road.
Common Misconceptions About DMX Cables
Differences Between DMX Cables and Microphone Cables
I’ve often heard people say, “Can’t I just use a microphone cable instead of a DMX cable?” It’s a common question, but the answer is no. While they might look similar, DMX cables and microphone cables are built for completely different purposes. Let me break it down for you in a simple table:
| Aspect | DMX Cables | Microphone Cables |
|---|---|---|
| Characteristic Impedance | 110 ohms, critical for signal integrity | Not standardized, can vary |
| Construction | Designed for data transmission, less rugged | Built for durability and sound transfer |
| Signal Reflection | Mismatched impedance causes digital noise | Less sensitive to impedance mismatches |
| Cost | Generally more expensive due to construction | Typically less expensive |
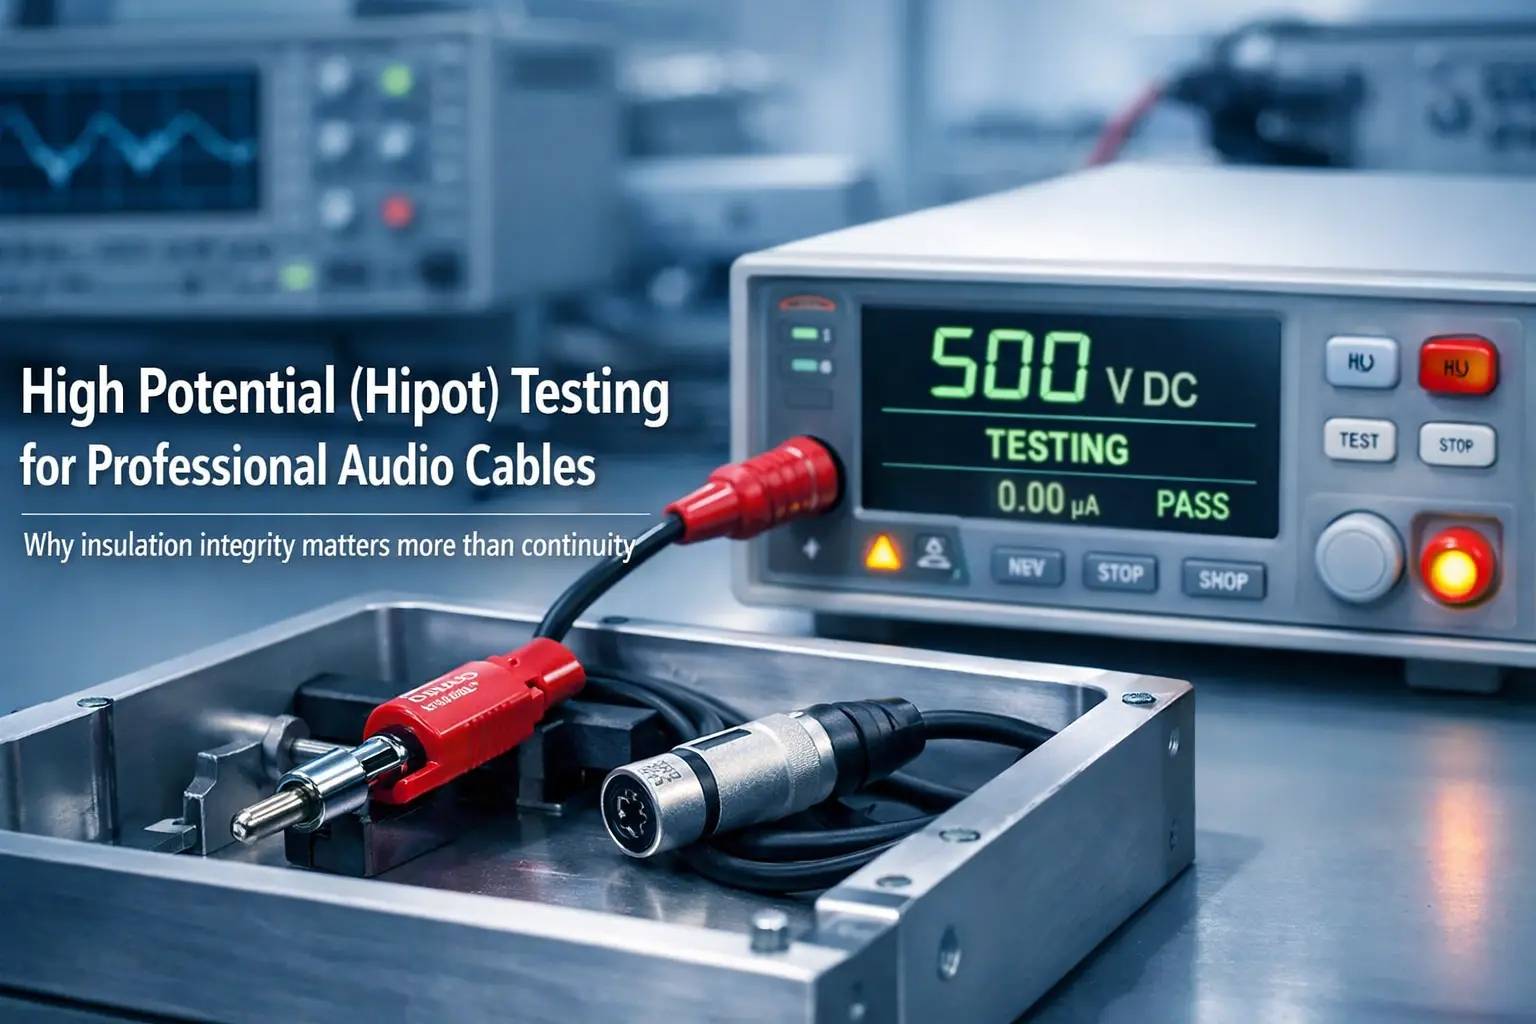
Here’s the thing: DMX cables are specifically designed to handle digital signals. They meet a 110-ohm standard, which ensures smooth data flow. Microphone cables don’t have this rating, so using them can lead to signal degradation. I’ve seen setups where this caused flickering lights or even complete system failures. While microphone cables are more durable, they’re not built for the precision that DMX systems demand.
Why Regular Cables Are Not Suitable for DMX Systems
Using regular cables for DMX systems might seem like a quick fix, but it’s a recipe for disaster. Regular cables, like microphone cables, have high capacitance and the wrong characteristic impedance. This mismatch can cause serious problems in a DMX setup.
The USITT FAQ explains that microphone cables are unsuitable for DMX systems because of their high capacitance and incorrect characteristic impedance. Even though there’s some tolerance for cable impedance, these issues can lead to signal degradation and communication errors.
I’ve seen firsthand how these problems can ruin a light show. Lights might flicker, respond unpredictably, or stop working altogether. If you’re serious about your lighting setup, stick with proper DMX cables. They’re designed to handle the demands of digital signaling, ensuring your system runs smoothly every time.
Step-by-Step Guide to Using DMX Cables in a Lighting System
Setting Up Your DMX Cables
Setting up DMX cables might seem tricky, but it’s straightforward if you follow a few steps. First, always use cables specifically designed for DMX systems. Regular audio cables won’t cut it and can cause signal issues. Start by connecting your DMX controller to the first lighting fixture using a proper DMX cable. Then, link the rest of your fixtures in a daisy chain. This means connecting one fixture to the next in a single line.
At the end of the chain, don’t forget to install a DMX terminator. This small resistor plugs into the last fixture and prevents signal reflections that could mess up your setup. If you’re working with more than 32 fixtures, add a repeater or booster to keep the signal strong. Trust me, these small details make a big difference in how smoothly your system runs.
Configuring the Lighting System
Once your cables are set, it’s time to configure the system. Start by assigning a unique DMX address to each fixture. This tells the controller which light to control and how. Most fixtures have a small display or dip switches for setting the address.
Double-check that all cables are securely connected and that the DMX terminator is in place. Use a three-wire system with cables that meet the 120Ω impedance standard. This ensures reliable communication between the controller and fixtures. If you’re using a large setup, break it into smaller groups with splitters to avoid signal distortion. Routine checks help catch any issues early, so make this a habit.
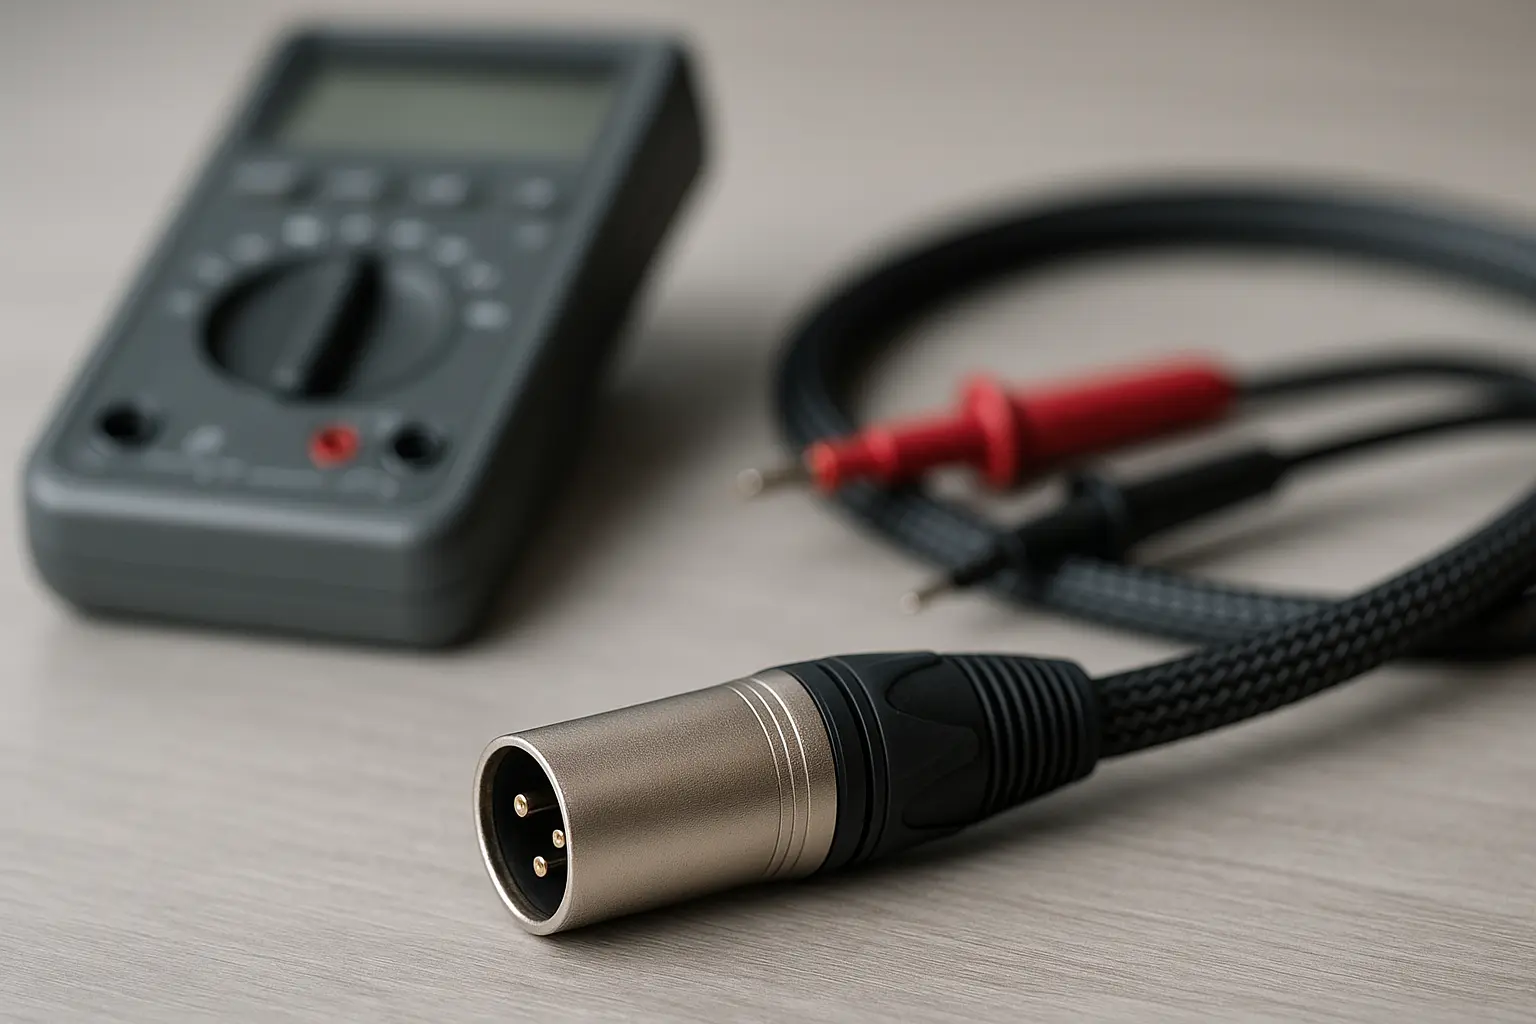
Testing and Troubleshooting Your Setup
Before the big show, always test your setup. Start by turning on the controller and checking if the first fixture responds correctly. If it doesn’t, work backward to find the fault. Sometimes, a single loose connection can disrupt the entire chain.
If all fixtures are acting up, inspect the cable between the controller and the first fixture. A DMX cable tester can help identify faulty cables. Swap out any damaged cables with known good ones. For long chains, break them into smaller sections to pinpoint the problem. Also, make sure the DMX terminator is properly installed. These steps save you from last-minute headaches and ensure your lights perform flawlessly.
DMX cables are the unsung heroes of lighting systems. They ensure smooth control, protect signals, and adapt to any setup. When choosing one, go for cables designed for high-frequency signals. Avoid defects and keep them away from power wires. Trust me, investing in the right DMX cable makes all the difference in your lighting projects.
FAQ
What happens if I don’t use a DMX terminator?
Without a DMX terminator, signals can reflect back through the cable. This causes flickering or unresponsive lights. Always plug one into the last fixture for smooth operation.
Can I mix 3-pin and 5-pin DMX cables?
Yes, but you’ll need an adapter. The signal stays the same, but the connectors differ. Check your equipment to ensure compatibility before mixing cable types.
How do I know if my DMX cable is faulty?
Use a DMX cable tester. If lights flicker or don’t respond, swap the cable with a working one. Testing saves time and avoids unnecessary frustration. 😊