


Can You Record Audio from a Computer with a Cable? Complete 2025 Guide
Key Takeaways
Recording computer audio with a cable works perfectly, and you have several practical options to achieve professional results. The straightforward answer is yes—you can capture any sound your computer plays using the right cable setup, software choice, or hardware solution.
Think of your computer's audio system like water flowing through pipes. Normally, sound flows from your computer through speakers into the air, where it disappears. Recording with cables creates a branch in that pipe system, redirecting some of that audio flow back into your computer, where recording software can capture it permanently.
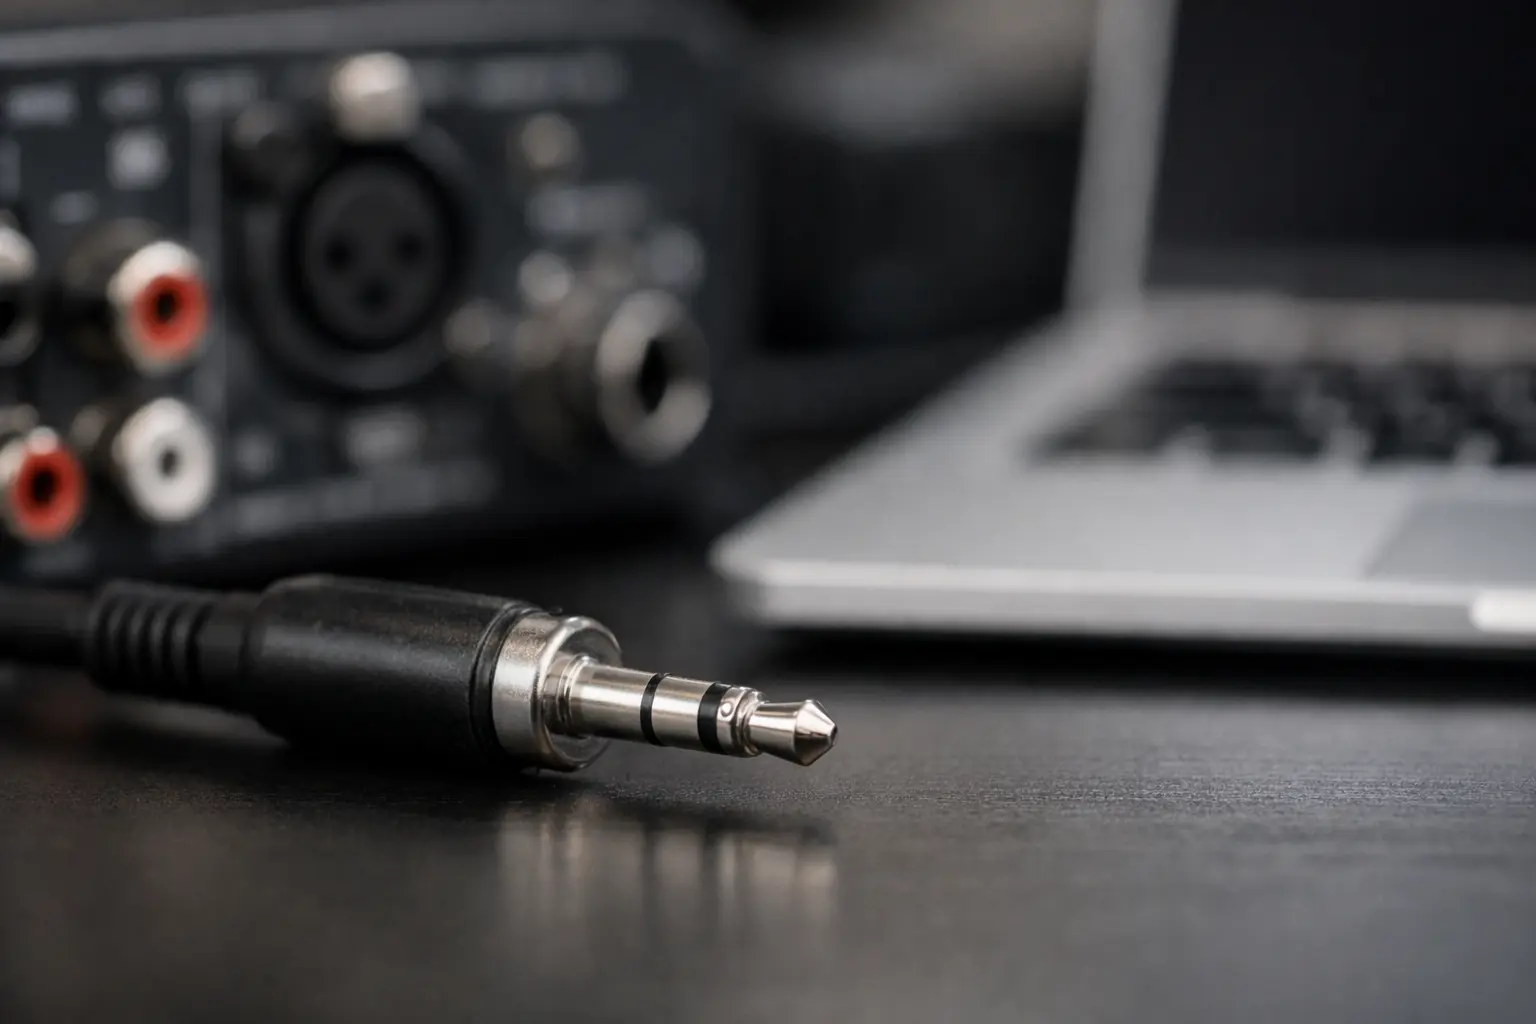
The simplest method uses a basic 3.5mm audio cable connecting your computer's headphone jack directly to its microphone or line input. This analog approach works on any computer without special software, though you might notice some background noise or quality loss compared to digital methods.
Digital solutions like Windows WASAPI loopback or virtual audio cable software capture audio before it converts to analog signals. These approaches produce cleaner recordings because they avoid the noise that physical cables sometimes introduce. Programs like VB-Audio Cable create virtual pathways inside your computer, eliminating cables entirely while maintaining perfect audio quality.
Professional USB audio interfaces represent the premium option for serious recording work. These devices cost more but provide studio-quality conversion, multiple input options, and advanced features like phantom power for professional microphones. They work exceptionally well for musicians, podcasters, and content creators who need reliable, high-quality recording capabilities.
Understanding How Computer Audio Works
Your computer processes audio through a fascinating journey that starts with digital information and ends with sound waves you can hear. Picture this process like a translation system where your computer speaks in the language of numbers, but your ears understand only the language of sound waves.
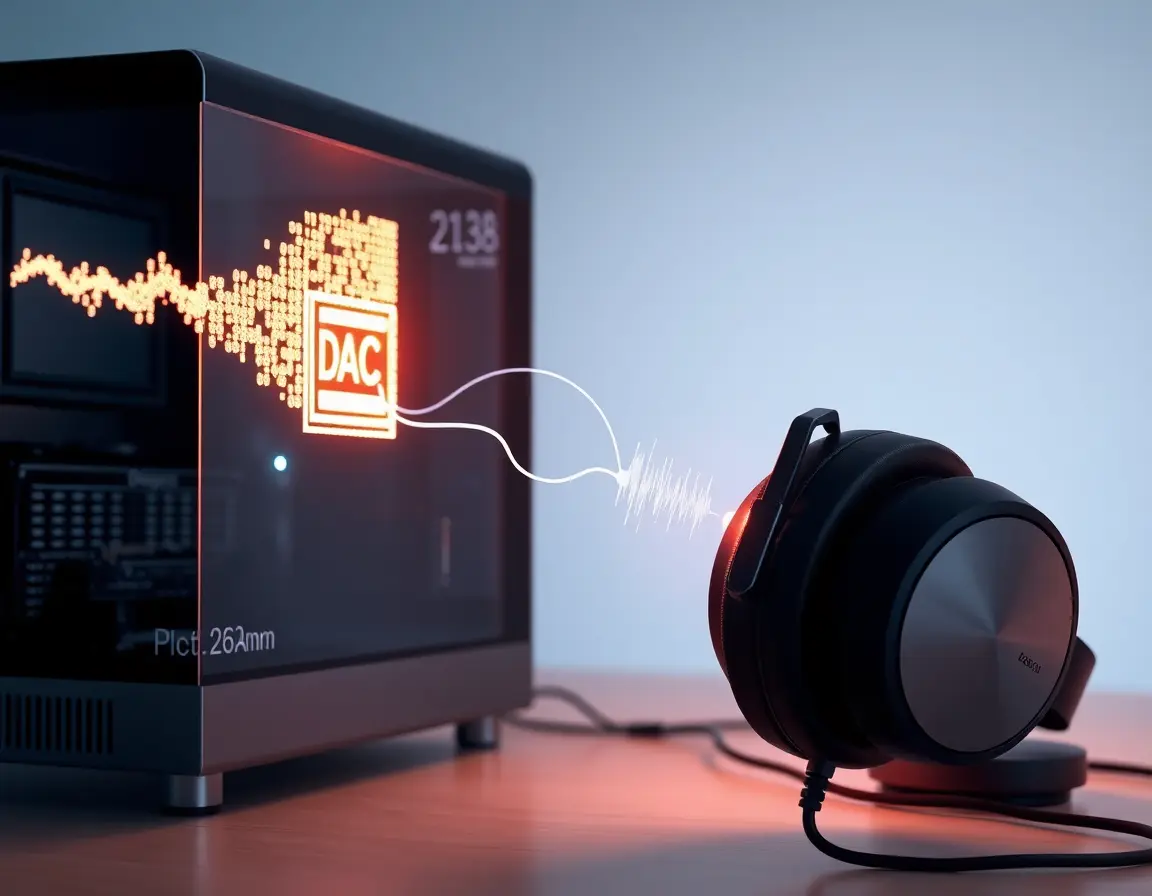
Inside your computer, every song, video soundtrack, or notification beep exists as digital code—streams of mathematical values that represent sound with incredible precision. When you click play on a music file, your computer's audio processor reads these numbers and sends them to a special component called a Digital-to-Analog Converter, or DAC for short.
The DAC transforms those mathematical values into electrical voltages that vary exactly like the original sound waves. These electrical signals flow through your computer's output jack to speakers or headphones, which convert the electrical patterns back into air pressure changes we perceive as sound.
Recording reverses this entire process. Instead of letting audio signals disappear through speakers, we redirect them back into the computer through an input where an analog-to-digital converter changes them back into digital files that recording programs can save and edit.
Understanding this flow helps explain why different recording methods produce varying results. Each time audio converts between digital and analog forms, tiny amounts of noise and distortion creep in. Methods that minimize these conversions typically produce cleaner recordings with better sound quality.
Simple Cable Recording: Your First Recording Setup
Getting Started with Basic Cable Connections
The most accessible way to record computer audio uses a simple audio cable, creating what audio professionals call an analog loopback connection. This approach works with practically any computer and costs less than ten dollars to implement.
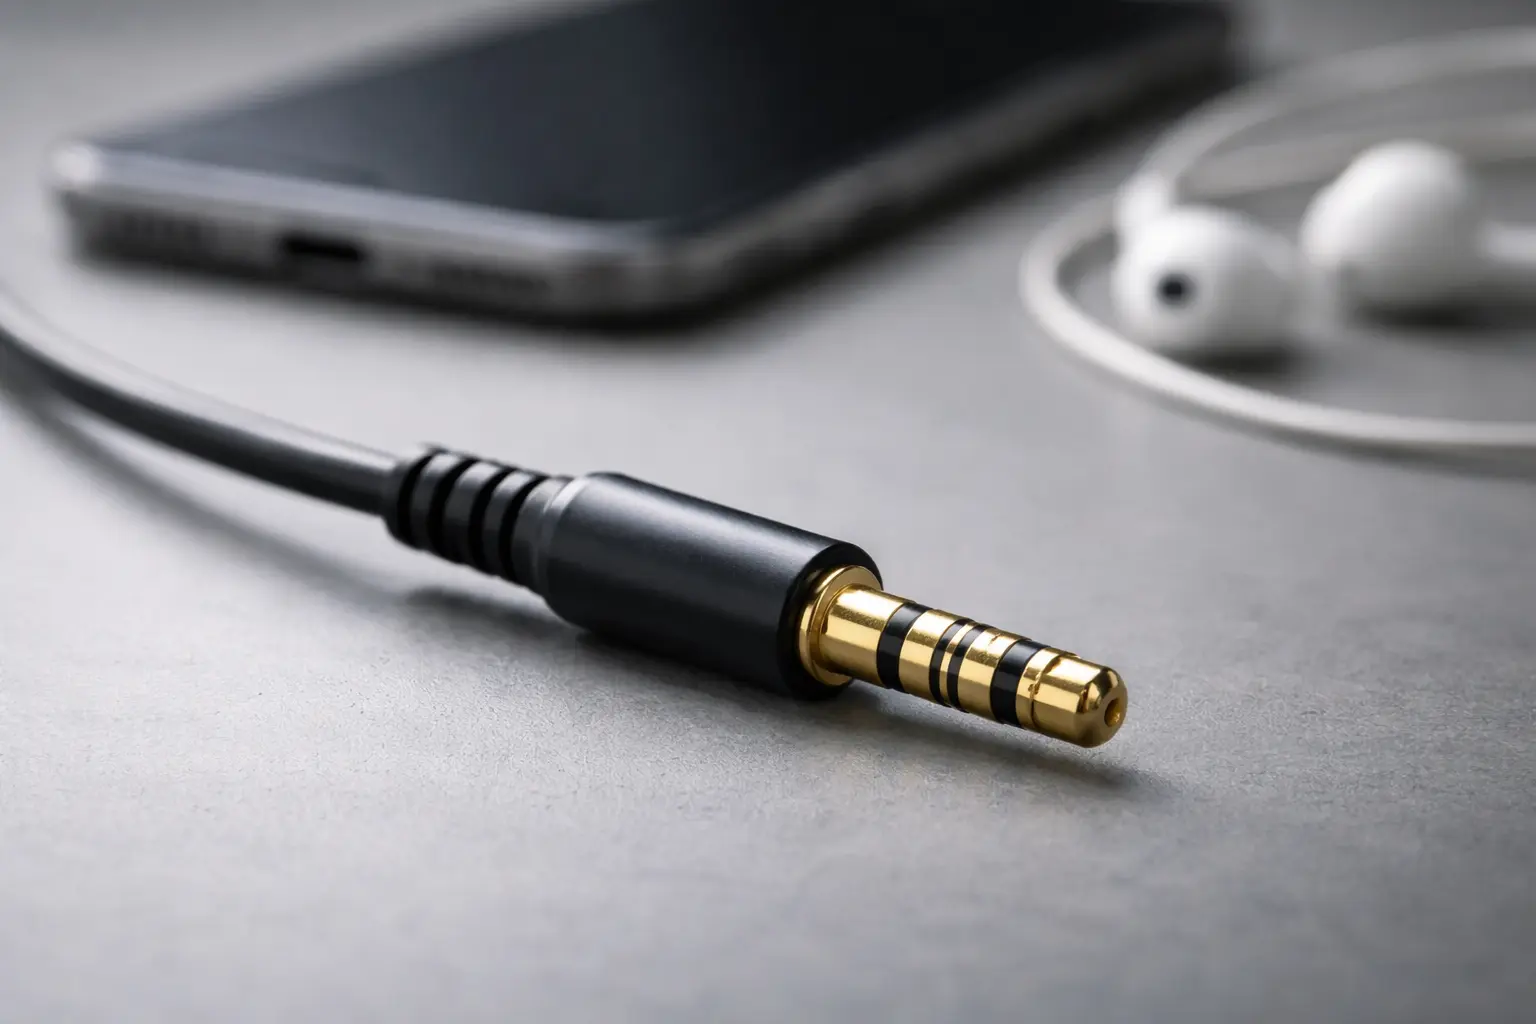
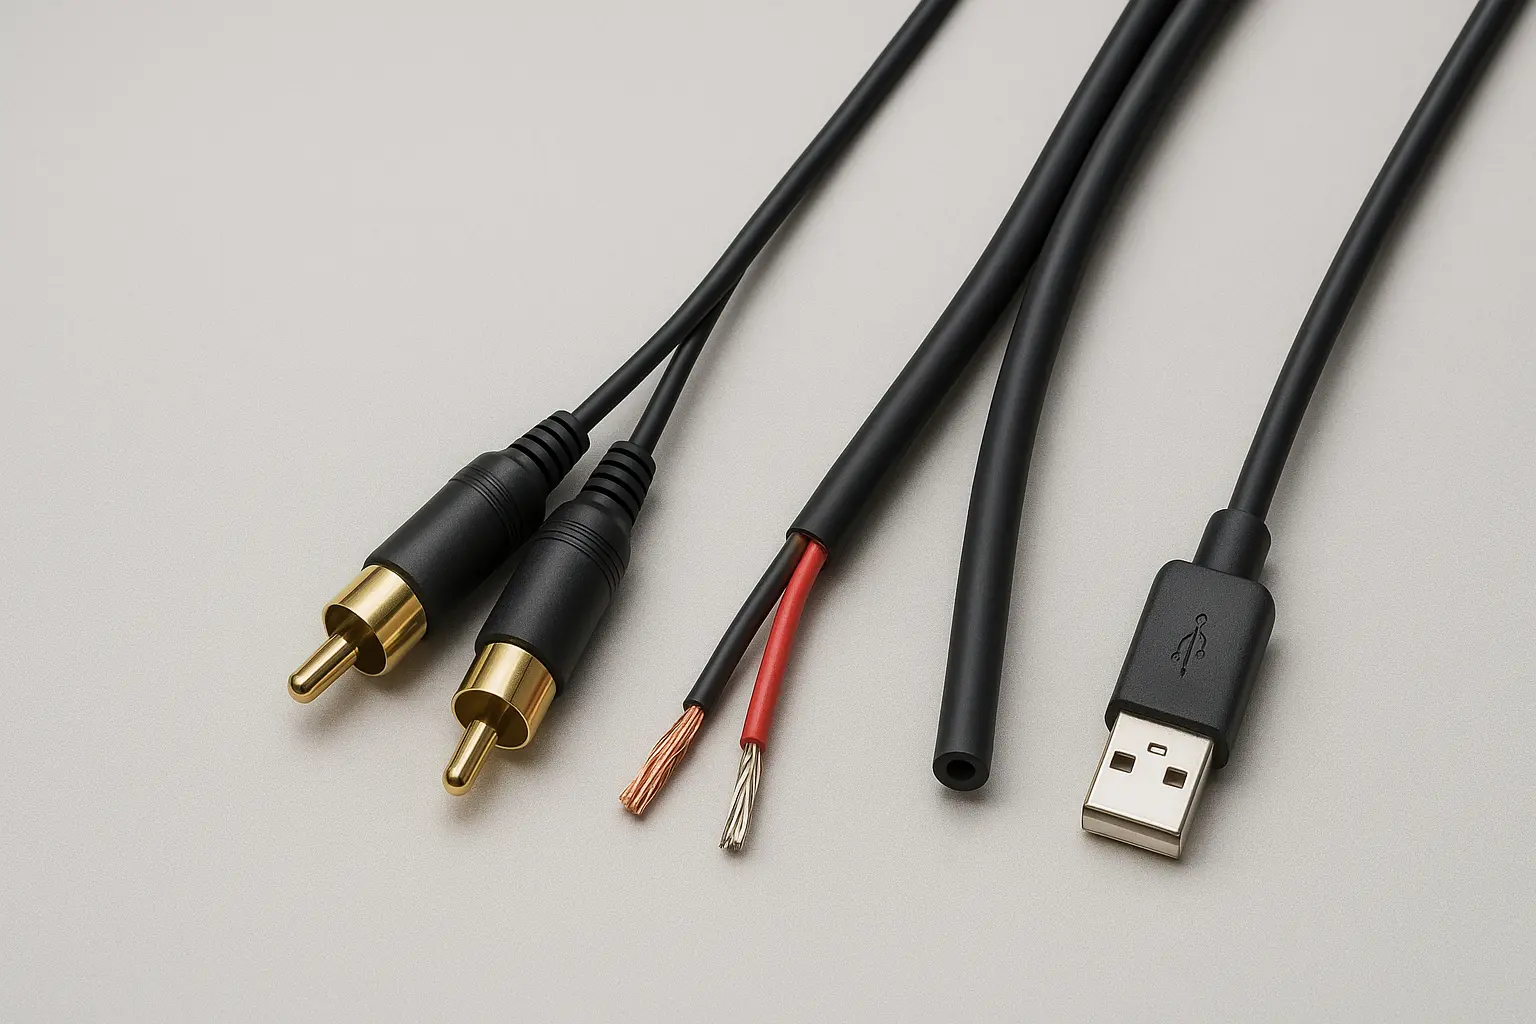
You need a 3.5mm TRS cable with identical connectors on both ends. TRS stands for Tip-Ring-Sleeve, which describes the three metal sections on each connector. The tip carries left channel audio, the ring carries right channel audio, and the sleeve provides the electrical ground that completes both circuits.
Start by finding your computer's audio output, usually marked with a green color or headphone symbol. This port normally sends line-level signals—electrical voltages designed for connecting to powered speakers or audio equipment. Connect one end of your cable here, pushing firmly until you feel it click into place.
Next, locate your audio input port, often colored blue or marked with a microphone symbol. Here you encounter an important technical consideration that significantly affects your recording success. Computer inputs come in two main types: line inputs designed for moderate audio signals and microphone inputs built to handle very weak signals from microphones.
This difference matters tremendously for recording quality. Line inputs expect signals similar in strength to what your computer outputs, creating an ideal electrical match with minimal noise or distortion. Microphone inputs include built-in amplifiers designed to boost weak microphone signals up to usable levels. When you connect a strong output signal to a microphone input, this amplification often creates harsh distortion that ruins recordings.
Optimizing Your Recording Quality
Professional audio recording requires careful attention to signal strength throughout your entire setup. When you connect output directly to input, you create what engineers call a unity gain situation, where signal strength stays roughly constant throughout its path.
Real-world connections rarely achieve perfect unity gain because of differences in how strongly your computer drives its output, how much resistance your cable adds, and how sensitive your input proves to incoming signals. Most successful setups need some adjustment to achieve optimal recording levels.
Start by setting your computer's master volume around fifty to seventy percent of maximum. This provides strong enough signals for good recording quality while avoiding overload distortion in sensitive input circuits. Most modern computers include level monitoring tools that help optimize your setup.
Windows users can access these through the Sound Control Panel by right-clicking the speaker icon and selecting Sound Properties. Navigate to the Recording tab, select your input device, and click Properties to access level controls and real-time signal meters.
Watch for signal levels that consistently register in green zones while occasionally touching yellow areas during loud musical passages. Red level indicators mean clipping distortion that permanently damages audio quality and cannot be fixed through editing software.
Digital Recording Methods: Skipping Physical Connections
Windows WASAPI and Internal Audio Routing
Digital recording methods represent a significant quality improvement over cable-based approaches by eliminating physical connections completely. This approach uses advanced audio routing features built into modern Windows systems, particularly the Windows Audio Session API that Microsoft introduced several years ago and continues improving.
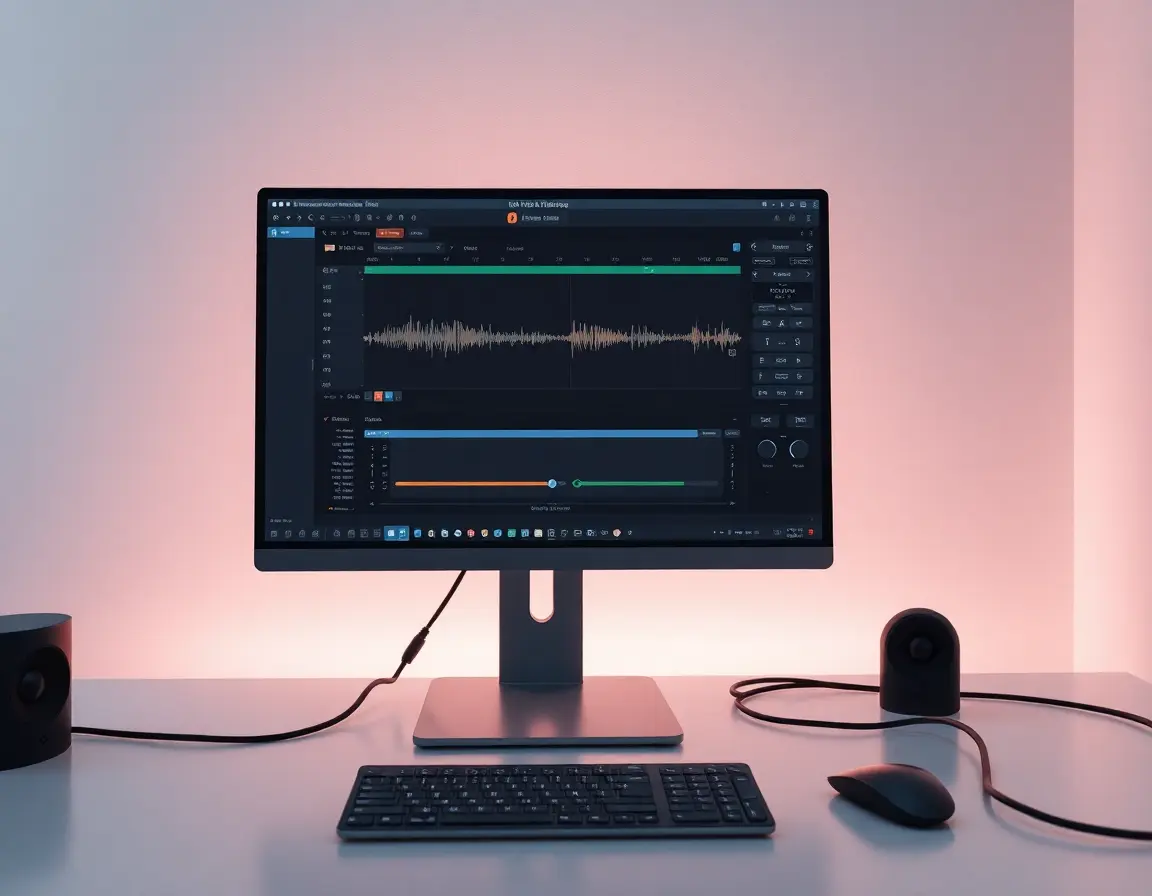
The Windows Audio Session API, commonly called WASAPI, gives recording programs direct access to audio streams flowing through your system. This low-level access lets software like Audacity capture audio signals before they undergo digital-to-analog conversion for speaker output. The result produces exact copies of original audio content without any analog noise or quality loss.
Setting up WASAPI recording requires selecting appropriate audio host and device options within your recording software. In Audacity, click the audio host dropdown menu and choose Windows WASAPI instead of the default options. This selection reveals special loopback devices with names like Speakers (loopback) or Headphones (loopback) depending on your system setup.
The technical advantage becomes clear when you consider signal path complexity. Traditional cable methods convert digital audio to analog form for output, send analog signals through cables where they collect noise and distortion, then convert back to digital form for recording. This involves two unnecessary conversion steps that reduce quality. WASAPI recording captures digital audio streams directly before any analog conversion happens, preserving perfect fidelity to the original source material.
Virtual Audio Cable Software Solutions
When built-in WASAPI options prove insufficient for your specific needs, virtual audio cable software provides professional-grade internal audio routing without requiring any physical hardware. These programs create virtual audio devices that appear in your system as real hardware, allowing sophisticated signal routing scenarios without cables or external equipment.
VB-Audio Cable stands out as the most popular solution in this category, offering reliable virtual audio routing through a straightforward software installation. The program creates two new audio devices in your system: CABLE Input serves as a virtual output device that receives audio from programs or system sounds, while CABLE Output functions as a virtual input device that supplies audio to recording software.
Setup involves configuring CABLE Input as your system's default playback device, which routes all computer audio into the virtual cable instead of physical speakers. At the same time, configure your recording software to use CABLE Output as its audio input source. This creates a complete digital signal path from audio sources through the virtual cable to your recording program.
Advanced users often prefer VoiceMeeter, which extends virtual audio routing into a complete digital mixing console with multiple input and output channels, real-time audio processing effects, and sophisticated routing options. VoiceMeeter allows simultaneous mixing of multiple audio sources while providing independent volume controls and monitoring capabilities that match professional hardware mixing consoles.
Professional Audio Interface Solutions
Understanding Professional Recording Hardware
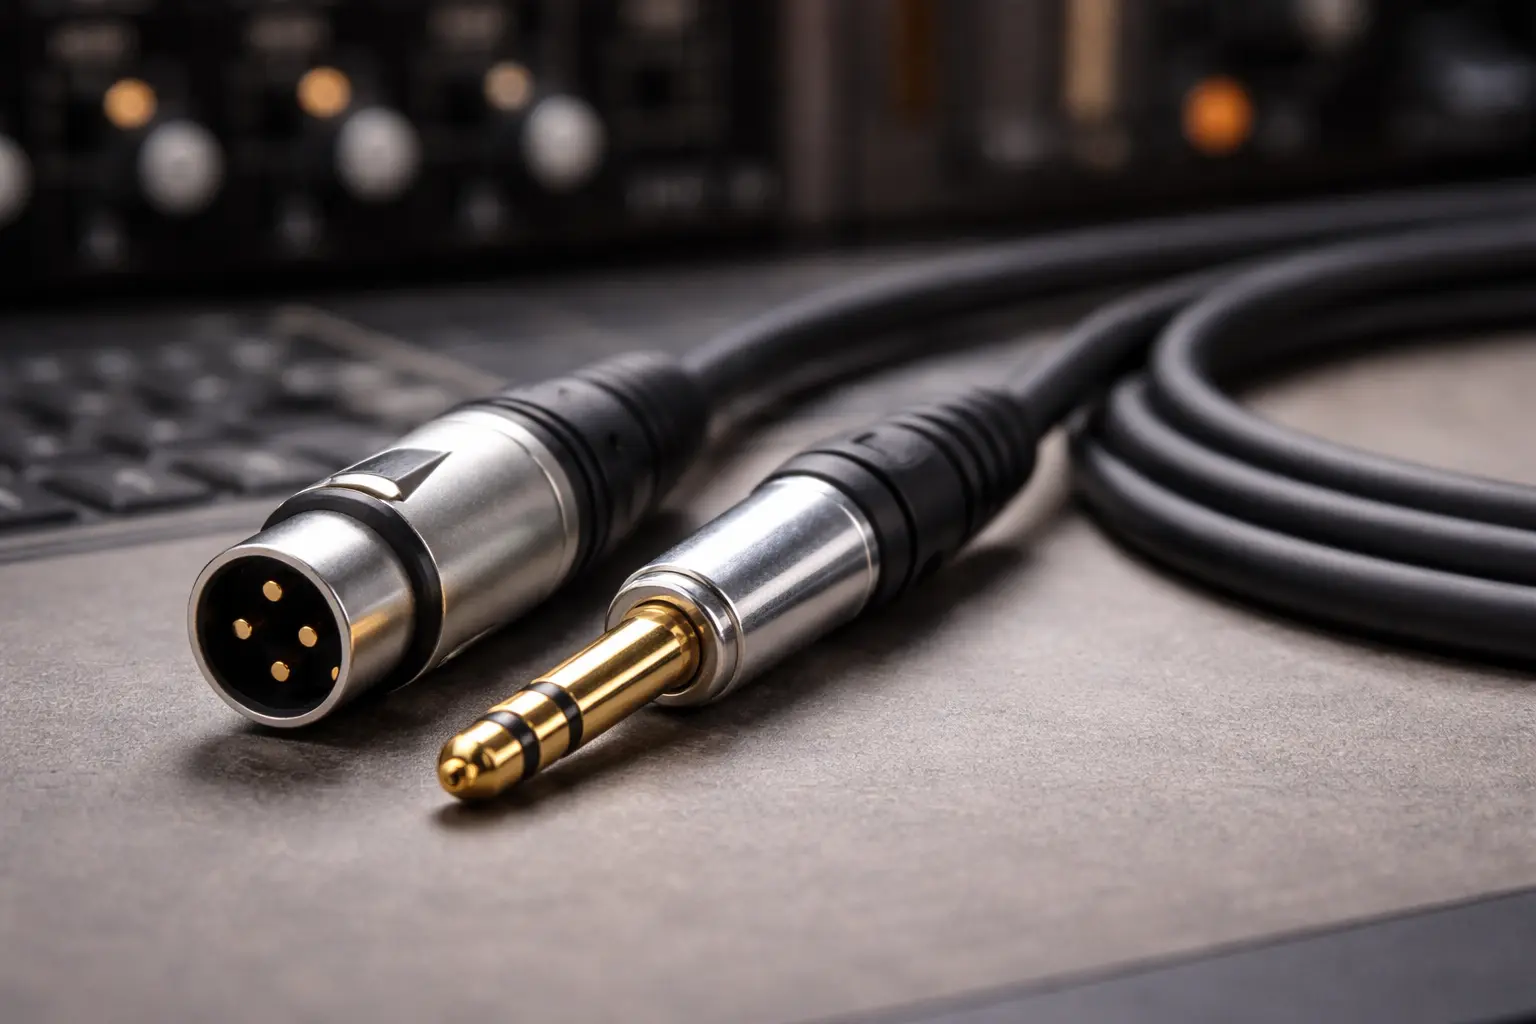
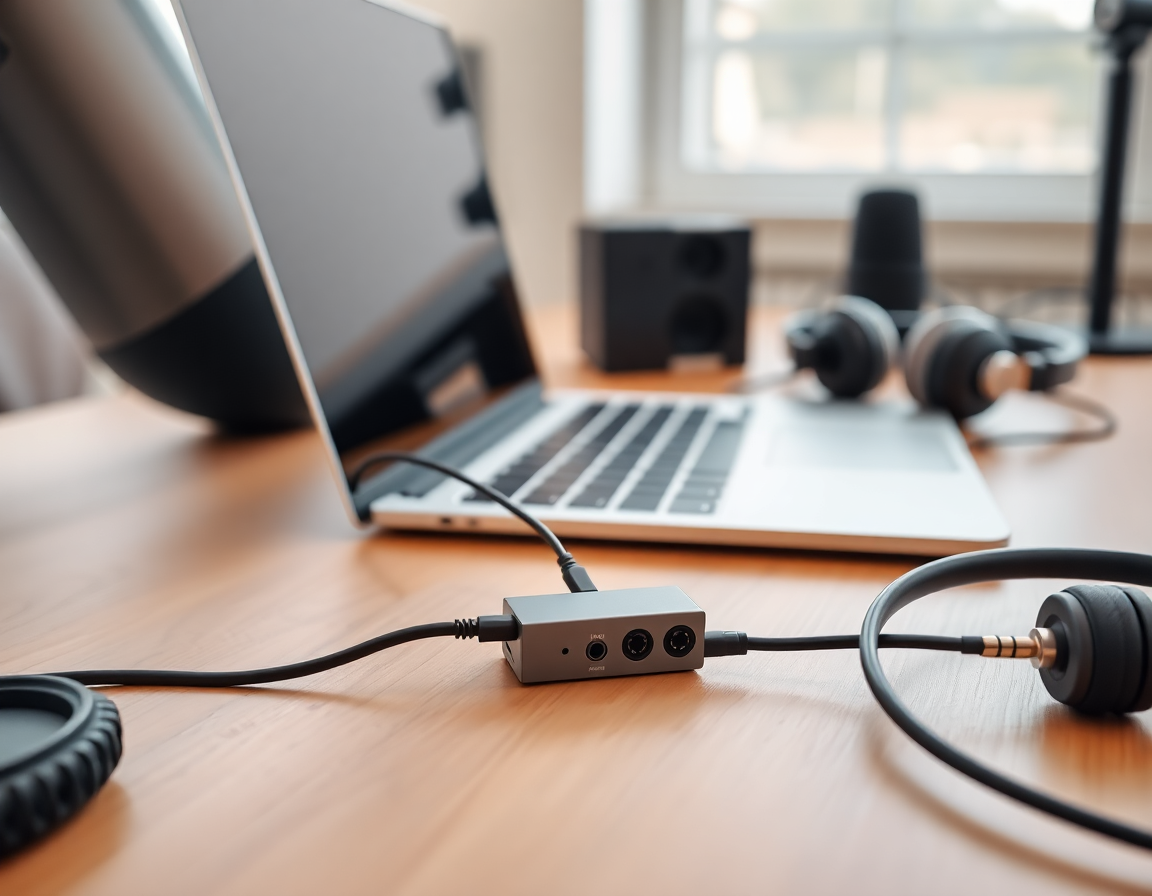
Professional USB audio interfaces represent the highest quality option for computer audio recording, combining superior analog-to-digital converters with advanced signal processing capabilities and multiple input-output options. These devices function as external sound cards specifically engineered for audio production, offering substantial advantages over built-in computer audio hardware.
The fundamental difference lies in component quality and circuit design. Professional interfaces use premium analog-to-digital converters operating at higher bit depths and sample rates than typical computer sound cards. Many professional interfaces support 24-bit resolution at sample rates reaching 192 kHz, compared to the 16-bit 44.1 kHz capability common in consumer computer audio hardware.
Professional interfaces also provide multiple input and output options with proper electrical impedance matching and balanced signal connections. Balanced connections use differential signaling techniques that cancel electromagnetic interference and ground loop noise—common problems that affect simple cable recording methods. The result produces cleaner recordings with better signal-to-noise ratios and greater dynamic range capabilities.
Quality professional interfaces include comprehensive monitoring features with zero-latency direct monitoring that allows real-time listening without delays introduced by computer audio processing. This feature becomes essential for musicians recording along with computer-based backing tracks or podcasters who need immediate audio feedback during recording sessions.
Hardware Loopback and Advanced Features
Many professional audio interfaces include dedicated loopback functionality that routes computer audio directly to recording inputs without any external cable connections. This hardware-based loopback operates entirely within the digital domain, eliminating conversion artifacts while providing complete separation between input and output signal paths.
The implementation typically involves internal signal routing matrices that allow users to combine computer playback audio with external input sources in various configurations. You might route computer audio to recording channels while simultaneously monitoring through headphones connected to dedicated headphone outputs. This flexibility proves valuable for content creators who need to record computer audio while providing live commentary or musical accompaniment.
Professional interfaces often include multiple independent headphone outputs with individual volume controls, creating different monitoring mixes for multiple participants in recording sessions. These capabilities transform simple computer audio recording into sophisticated production environments suitable for professional content creation.
Advanced interfaces may provide multiple sample rate and bit depth options, allowing you to match recording quality to your specific project requirements. Higher sample rates and bit depths produce larger files but capture more audio detail, particularly important for music production or broadcast applications where audio quality directly affects professional results.
Regional Considerations and Equipment Differences
Understanding Global Audio Standards
Audio equipment terminology and technical specifications vary across different regions, affecting both equipment selection and setup procedures. American audio equipment typically uses terms like line input, line output, and auxiliary input to describe connection types and signal levels. British and Australian equipment often uses alternative terminology such as audio in, audio out, and AUX in for similar functions.
These differences extend to technical specifications and electrical standards. North American audio equipment generally follows -10 dBV line level standards, while European and some international equipment may use +4 dBu professional line levels. Understanding these distinctions helps prevent signal level mismatches that could cause distortion or inadequate recording levels.
Electrical power standards also affect audio equipment operation. North American equipment operates on 60 Hz power systems, while most other regions use 50 Hz power. While this rarely affects basic recording operations, it can influence ground loop noise characteristics and the effectiveness of certain noise reduction techniques.
Equipment Availability and Pricing Across Markets
Equipment availability and pricing vary significantly across international markets, affecting both initial purchase decisions and ongoing support considerations. United States consumers typically enjoy the broadest selection and most competitive pricing through retailers like Sweetwater, Guitar Center, and Amazon. Professional USB audio interfaces in entry-level categories typically range from one hundred to three hundred dollars.
United Kingdom and European consumers often encounter higher prices due to Value Added Tax requirements and import considerations, with typical price increases of twenty to thirty percent compared to United States pricing. European retailers like Thomann Music provide comprehensive selections with local warranty support and technical assistance in multiple languages.
Australian consumers generally face the highest pricing due to geographic distance and smaller market volumes, with typical price increases of forty to fifty percent above United States pricing. Retailers like JB Hi-Fi and Kosmic Sound provide local support, while direct imports through international sellers may offer cost savings at the expense of local warranty coverage.

Troubleshooting Common Problems
Eliminating Noise and Interference Issues
Ground loop noise represents one of the most frustrating problems in analog cable recording setups, appearing as persistent humming or buzzing sounds that continue regardless of audio content. This interference happens when multiple electrical pathways to ground create small current loops that introduce audible noise into sensitive audio circuits.
The basic solution involves breaking these unwanted current paths while maintaining proper electrical safety grounding for equipment operation. Professional audio isolation transformers provide complete electrical separation between input and output circuits while maintaining audio signal quality. These devices typically cost between fifty and two hundred dollars but reliably eliminate ground loop problems in challenging electrical environments.
Alternative solutions include USB-powered direct injection boxes that provide ground isolation through battery or USB power supplies, eliminating connections to potentially problematic building electrical systems. Many professional USB audio interfaces include internal isolation designs that prevent ground loop formation even when connecting to multiple electrical outlets simultaneously.
Cable quality significantly affects noise performance in analog recording setups. Higher quality cables with better shielding reduce electromagnetic interference pickup, while shorter cable lengths minimize noise accumulation over distance. Avoiding cable runs parallel to power cords helps prevent electromagnetic interference from building electrical systems.
Optimizing Signal Levels and Preventing Distortion
Achieving optimal recording levels requires balancing competing requirements: maintaining adequate signal strength to minimize noise while avoiding overload distortion that permanently damages audio quality. Professional recording practices typically target peak levels between negative twelve and negative six decibels, providing sufficient headroom for unexpected loud sounds while maintaining favorable signal-to-noise ratios.
Understanding the difference between microphone and line input sensitivity proves crucial for preventing overload distortion. Microphone inputs typically provide thirty to sixty decibels of additional amplification compared to line inputs, making them extremely sensitive to strong signals. Connecting line-level outputs directly to microphone inputs almost always causes severe distortion that cannot be corrected through audio editing software.
Modern recording software provides helpful level monitoring tools that help optimize signal strength throughout the recording process. Real-time level meters should consistently show activity in green zones while occasionally reaching yellow areas during loud passages. Red level indicators signal clipping distortion that requires immediate attention through level reduction at either source or input stages.
Recording software often includes automatic level control features, but manual level adjustment typically produces better results for most applications. Automatic systems can introduce pumping or breathing effects as they constantly adjust levels, while manual control maintains consistent recording characteristics throughout your session.
FAQ Section
-
Can you record audio from a computer with a cable on any operating system?
Yes, analog cable recording methods work across Windows, macOS, and Linux systems because they rely on standard audio hardware connections rather than specific software features. Digital methods may require different software solutions depending on your operating system, but virtual audio cable programs are available for all major platforms. -
What type of cable do I need to record computer audio?
Most setups require a 3.5mm TRS cable with male connectors on both ends. Desktop computers with separate RCA outputs may need RCA-to-3.5mm adapter cables. Make sure you use stereo cables rather than mono versions to preserve left and right channel information in your recordings. -
Why does my recording sound distorted when using cable methods?
Distortion typically results from signal level mismatches, particularly when connecting line outputs to sensitive microphone inputs. Reduce your computer's output volume to 50-70% and make sure you connect to line inputs rather than microphone inputs whenever possible. -
Is digital recording better than analog cable methods?
Digital methods generally provide better audio quality because they avoid analog conversion steps and associated noise artifacts. WASAPI and virtual audio cables capture perfect digital copies of your computer's audio output without any quality loss. -
Do I need expensive equipment to record computer audio with good quality?
Basic analog cable recording requires only a five-dollar cable and produces acceptable results for most casual uses. Professional USB audio interfaces costing one hundred to three hundred dollars provide significant quality improvements for serious recording projects. -
Can I record both computer audio and microphone input at the same time?
Yes, professional audio interfaces and advanced software solutions like OBS Studio support multi-source recording. Virtual audio cable software can also route computer audio while maintaining separate microphone input channels for simultaneous recording. -
Why can't I find Stereo Mix on my Windows computer?
Modern Windows systems often disable Stereo Mix by default. Right-click in the Recording devices panel, select Show Disabled Devices, and turn on Stereo Mix if available. Many newer systems require virtual audio cable software instead of relying on built-in Stereo Mix functionality. -
What sample rate and bit depth should I use for recording computer audio?
For most uses, 44.1 kHz sample rate at 16-bit depth provides adequate quality and manageable file sizes. Professional work may benefit from 48 kHz or higher sample rates with 24-bit depth, but these settings require more storage space and processing power. -
How can I eliminate background noise in my cable recordings?
Use shorter, higher-quality cables with proper shielding to minimize electromagnetic interference. Make sure all equipment has proper electrical grounding, and consider professional isolation transformers if ground loop noise continues. Digital methods naturally eliminate most noise sources. -
Are there legal considerations when recording computer audio?
Recording audio for personal use generally falls under fair use provisions, but distributing copyrighted content may violate copyright laws. Always respect intellectual property rights and obtain appropriate permissions when recording copyrighted material for distribution or commercial purposes.
Citations and References
- Total Recorder. "Tutorial: Recording from an External Device." Total Recorder.
- "How to Record Audio on PC from Both Mic and Desktop." Nearity Blog.
- How-To Geek. "How to Record the Sound Coming From Your PC (Even Without Stereo Mix)." How-To Geek.
- "Is it possible to record computer audio?" Movavi Support.
- Audacity Team. "Tutorial - Recording Computer Playback on Windows." Audacity Manual.
- VB-Audio Software. "VB-CABLE Virtual Audio Device." VB-Audio.
- Microsoft Corporation. "Windows Audio Session API (WASAPI)." Microsoft Developer Documentation.
- "Scarlett Series USB Audio Interfaces." Focusrite Product Documentation.
- OBS Studio. "Open Broadcaster Software Studio." OBS Project.
- Sound on Sound Magazine. "Understanding Audio Interface Specifications." Sound on Sound.