


How to clean audio connectors?
Cleaning audio connectors is simple when you stick to a safe routine: clean dry first, then use a tiny amount of 99% isopropyl alcohol (IPA) on a lint-free swab, and dry before plugging back in. Most “mystery crackles” come from dust, skin oils, and residue from sprays, not from a lack of fancy chemicals.
How to clean audio connectors?
Direct Answer: how to clean audio connectors (dry → minimal 99% IPA → dry)
Quick 30-second checklist (for working engineers)
- Power off gear and unplug cables.
- Look first: dust, lint, bent pins, green/black corrosion, sticky film.
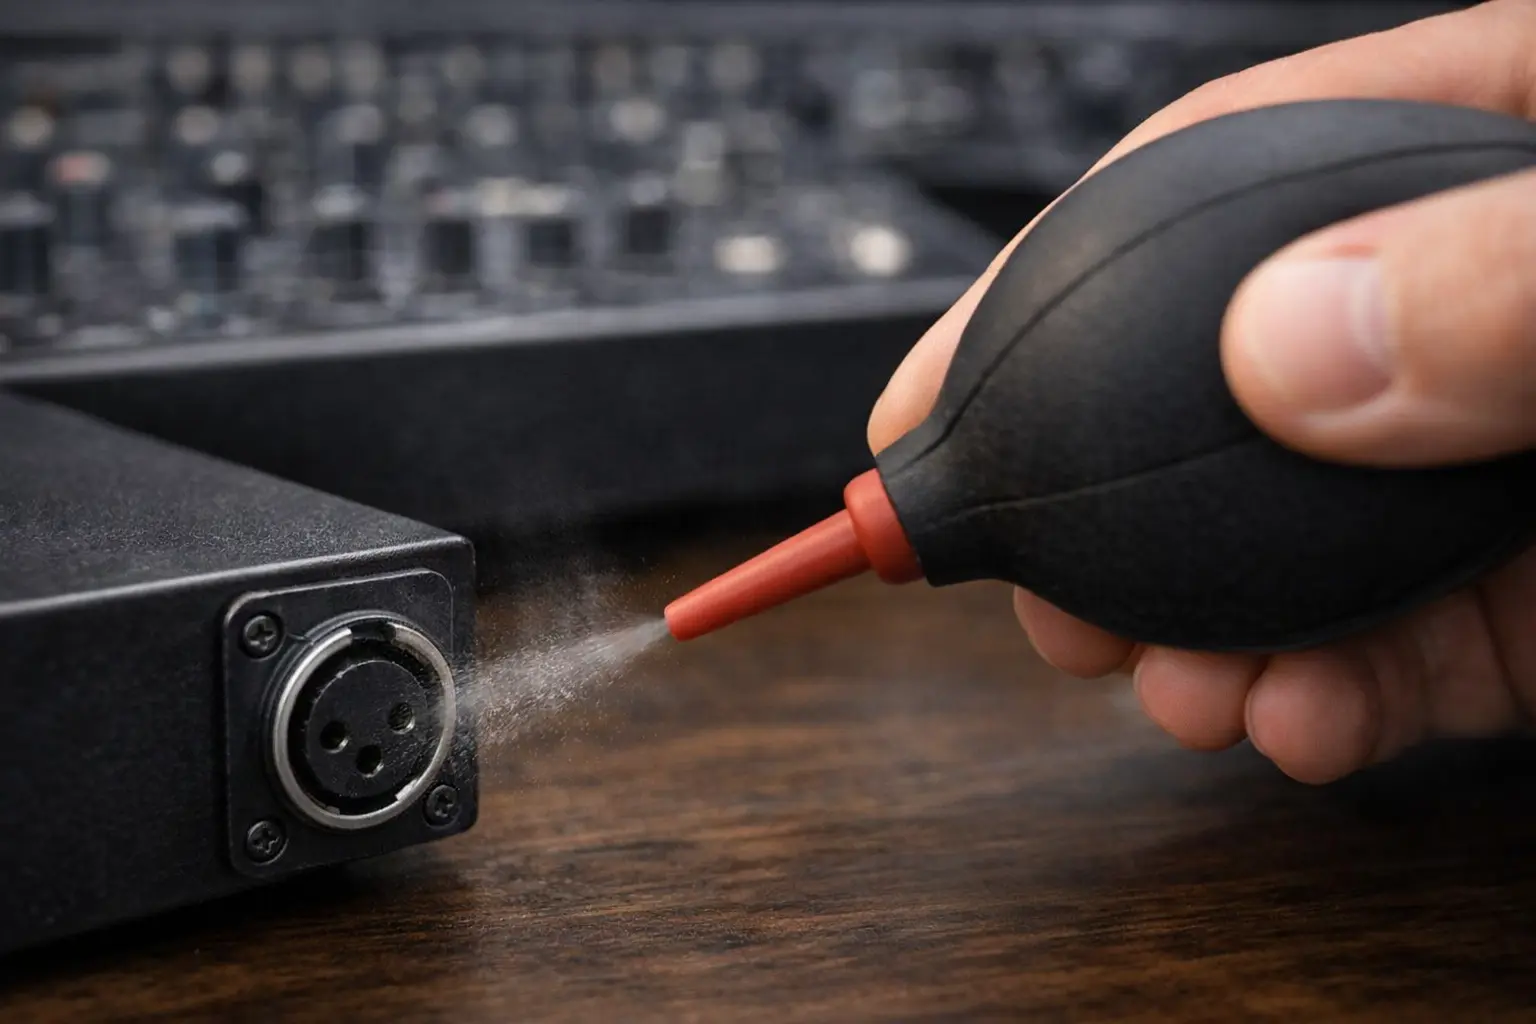
- Dry clean: air bulb or clean compressed air + lint-free wipe.
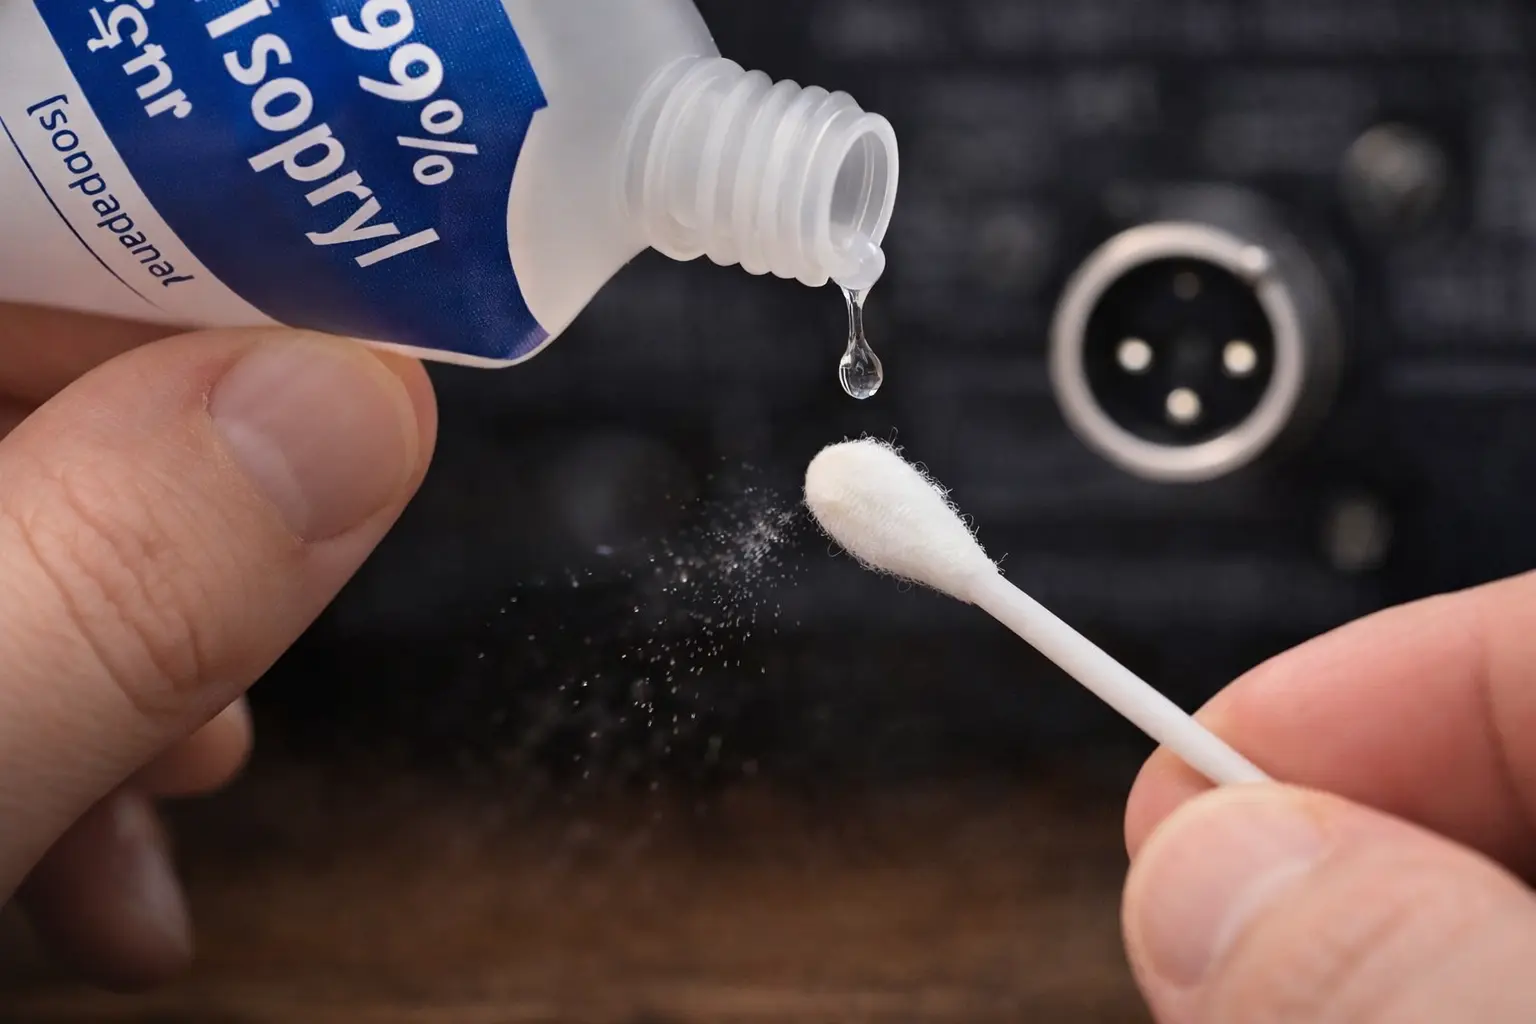
- Wet clean only when needed: 99% IPA on a lint-free swab (damp, not dripping).
- Wipe gently; stop when swab stops picking up grime.
- Dry fully, then re-seat once and test.
If you want a process that’s easy to teach and repeat, connector makers recommend a controlled approach: apply IPA to a swab, press out extra liquid, wipe, then dry and re-check.
Safety first: power-down, discharge, and ventilation
- Clean with power removed. Even a small amount of liquid in the wrong place can cause trouble.
- Give alcohol fumes time to clear.
- If you’re cleaning connectors near power gear, treat it like bench work: steady hands, good light, no rushing. Test equipment guidance makes the same point: clean while de-energized and allow drying before use.
The “no-spray” rule (why overspray causes long-term failures)
Here’s a rule that saves connectors:
Don’t spray anything into a jack. Put fluid on the swab or wipe first.
CAIG’s DeoxIT documentation says to spray onto a lint-free swab/cloth to avoid overspray.
That matters because overspray can sit behind contact parts, mix with dust, and turn into a film that won’t fully dry.
What “clean enough” looks like (stop conditions + quick verification)
Stop when:
- The swab comes out mostly clean (no dark streaks).
- The contact surface has no oily shine.
- A quick re-seat gives stable audio (no crackle when you lightly touch the cable near the connector).
If the issue returns fast, keep reading—many “dirty connector” problems are really loose hardware, worn springs, or cable faults.
Tools & Materials (pro-friendly, OEM-safe)
Recommended essentials
- 99% (or reagent-grade) isopropyl alcohol (IPA)
- Lint-free wipes (lab wipes or optical wipes)
- Lint-free swabs (tight, low-shed)
- Microfiber cloth (great for male plugs and outer shells)
- Inspection light + magnifier
For fiber-style cleanliness standards, the Fiber Optic Association recommends reagent-grade 99% IPA and warns against cotton swabs/cloth because they can leave threads behind.
Optional tools
- Air bulb (camera blower) for dust without propellants
- Oil-free compressed air (low pressure, short bursts)
- Purpose-made jack cleaning sticks (useful in patch bays)
What to avoid (the usual culprits)
- Abrasives: sandpaper, metal polish, “magic eraser” foam
- General-purpose sprays: many leave a film by design
- Low-purity alcohol (like 70%): more water, slower drying, more chance of residue in tight spaces
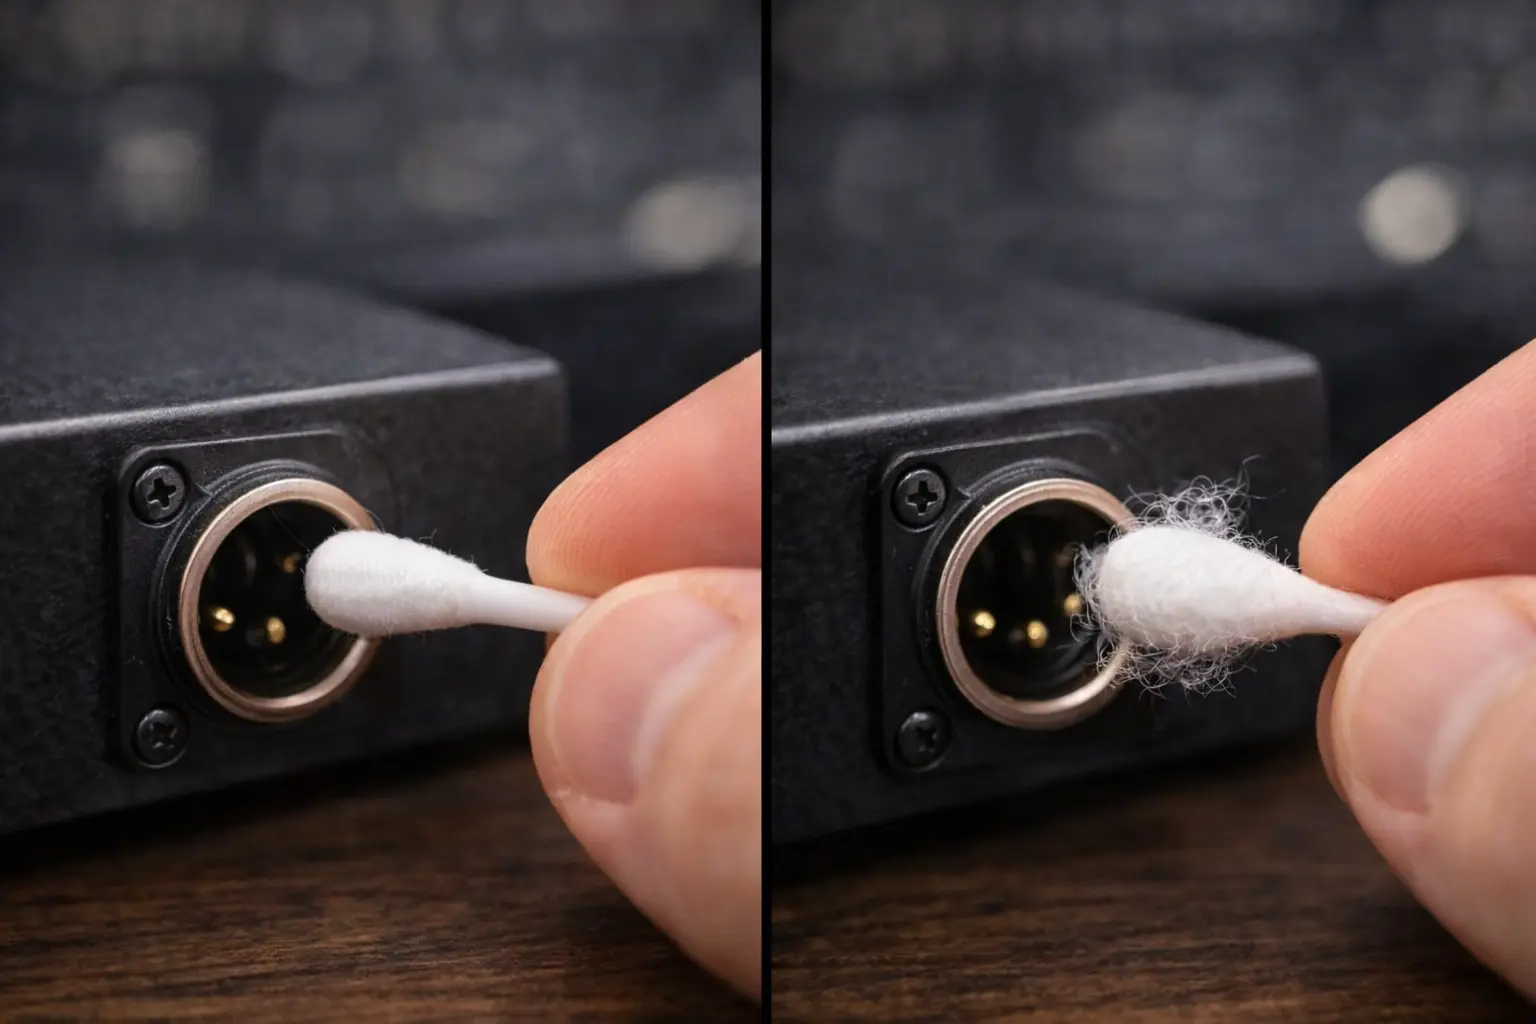
- Fuzzy cotton swabs: trapped fibers = intermittent contact later
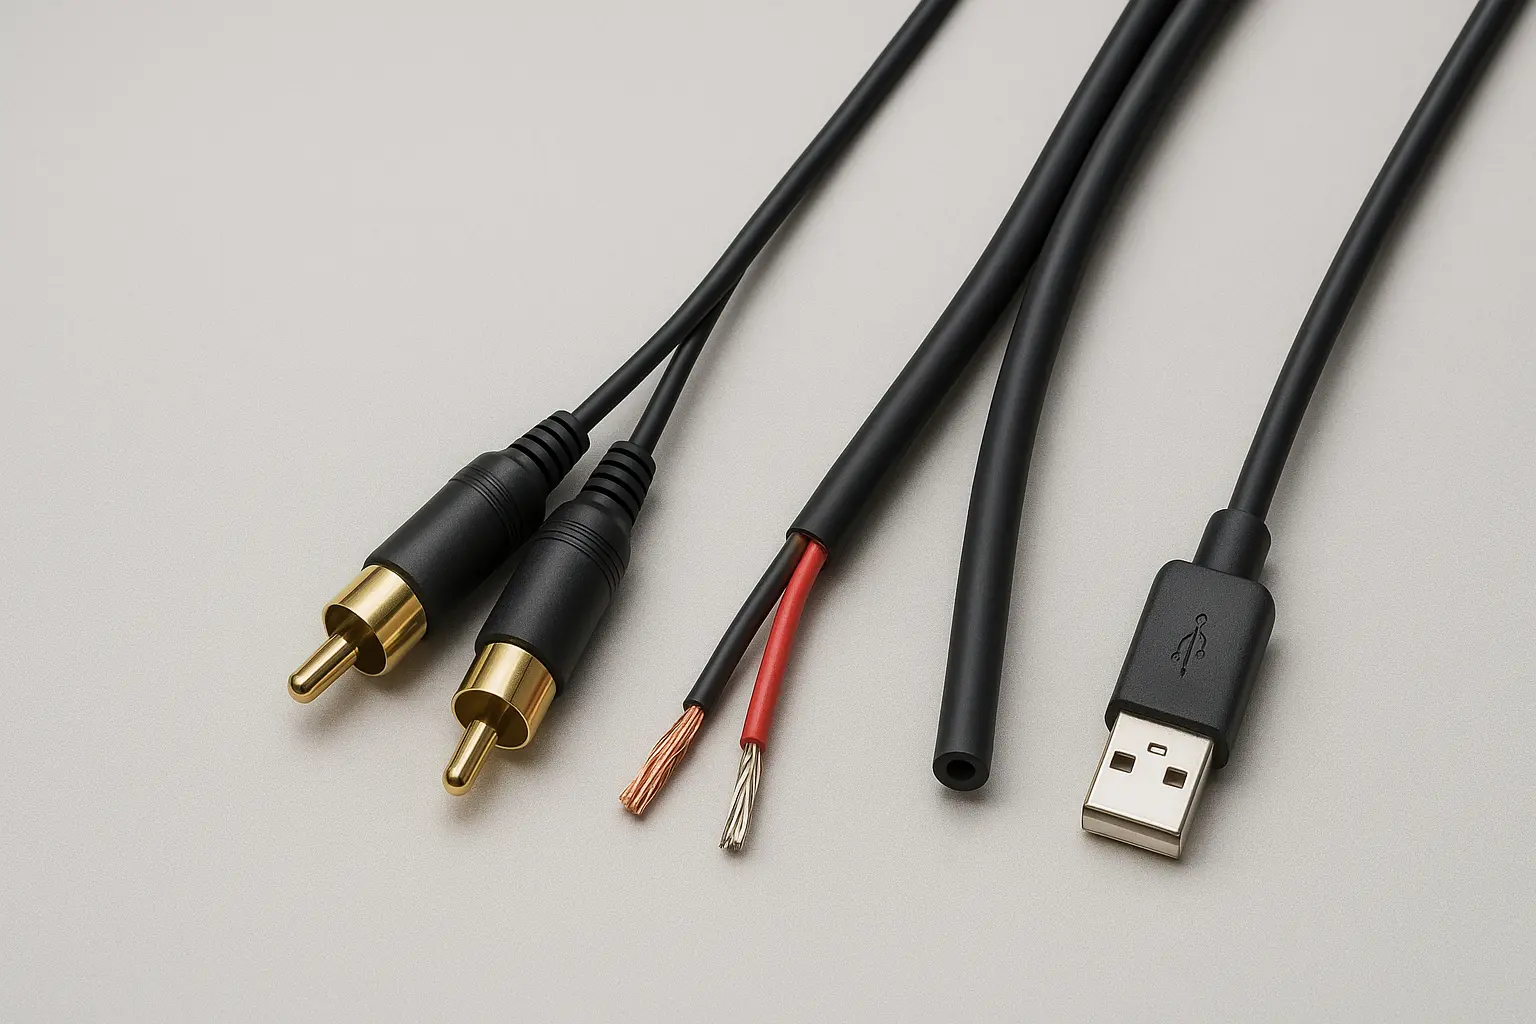
Connector-by-Connector SOP (RCA, XLR, TRS/3.5mm, Speaker, Optical)
RCA connectors (including gold-plated RCA)
Light grime vs. true corrosion: how to tell
- Grime/oils: looks dull or smudged; IPA usually fixes it.
- Corrosion: green/black deposits, pitting, rough texture; may need extra steps (and sometimes replacement).
Gold-plated RCA plugs don’t “rust” like bare copper. Most of what people call tarnish is just stuff stuck on the surface.
Non-abrasive cleaning steps (microfiber + IPA damp swab)
- Wipe the plug with microfiber (dry).
- Dampen a lint-free swab with 99% IPA.
- Press out extra liquid (the swab should feel damp, not wet).
- Gently wipe the center pin and outer ring.
- Let it dry, then plug in once and test.
This matches the controlled method recommended in connector care guides: swab + minimal IPA + dry + inspect.
Common mistakes (polish, sandpaper, “magic eraser”)
If you polish plated RCA contacts, you can remove thin plating and expose base metal. That often makes future oxidation worse, not better.
Internal link (example for your site): If your team needs a simple rule set for plating, add an internal guide like Connector plating and cleaning rules and link to it from product pages.
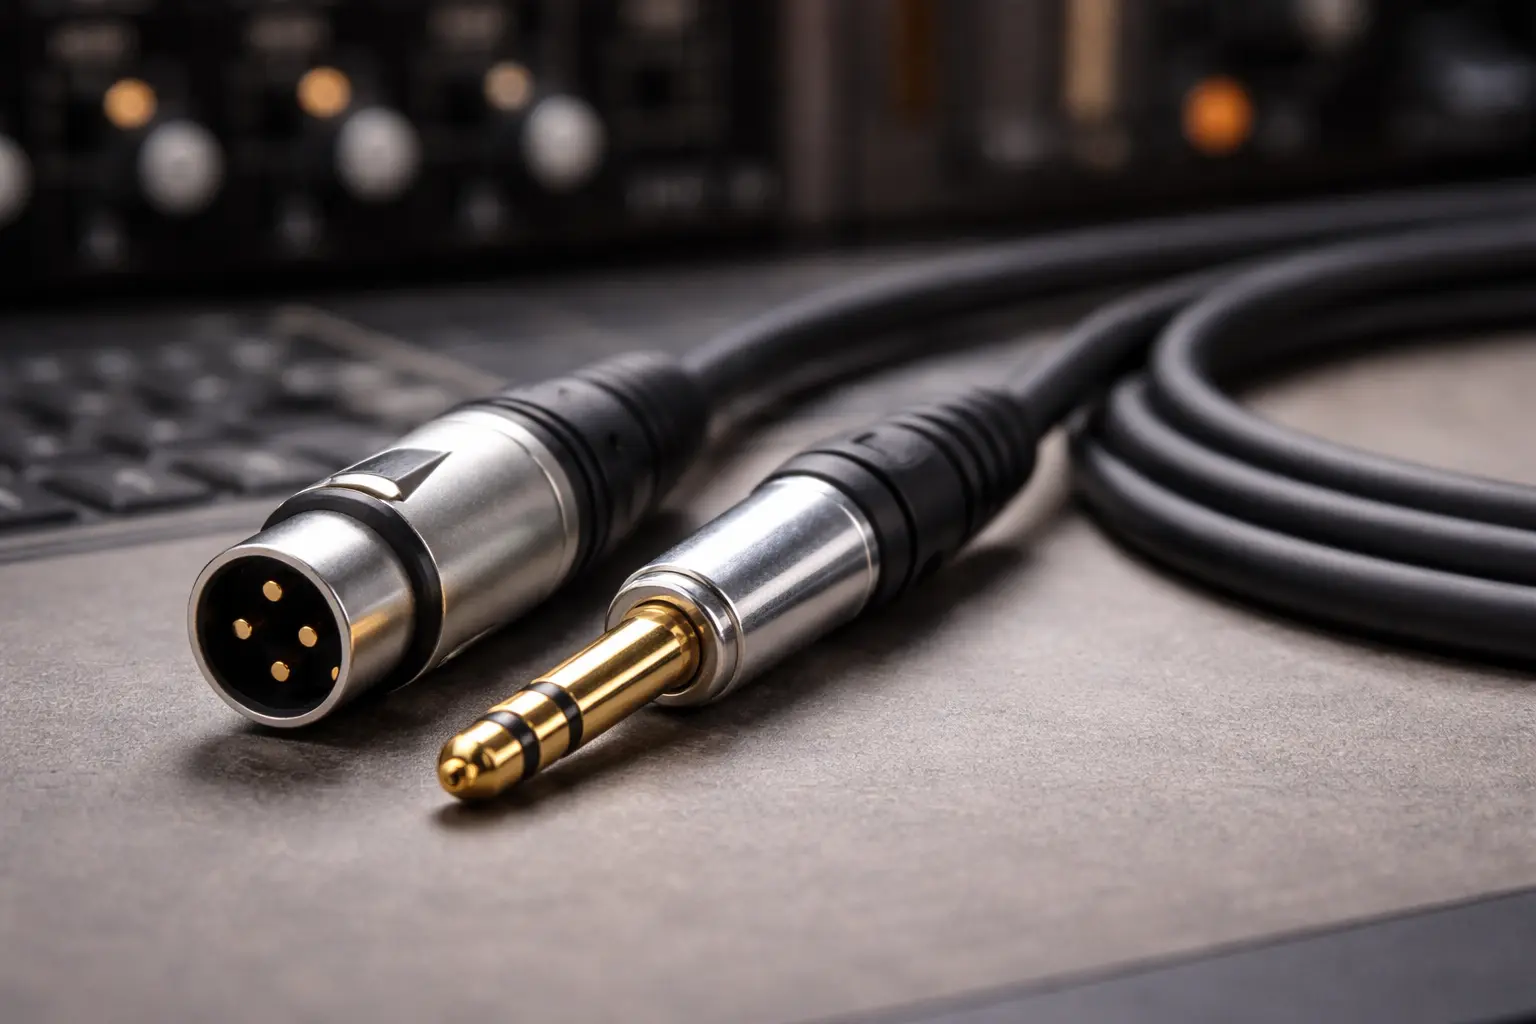
Cleaning professional XLR connectors (male pins + female sockets) requires a delicate touch to avoid damaging the internal spring structure.
Cleaning XLR male pins (wipe method)
- Dry wipe pins first.
- IPA-damp lint-free swab (not dripping).
- Wipe pins with light pressure.
- Dry and re-seat.
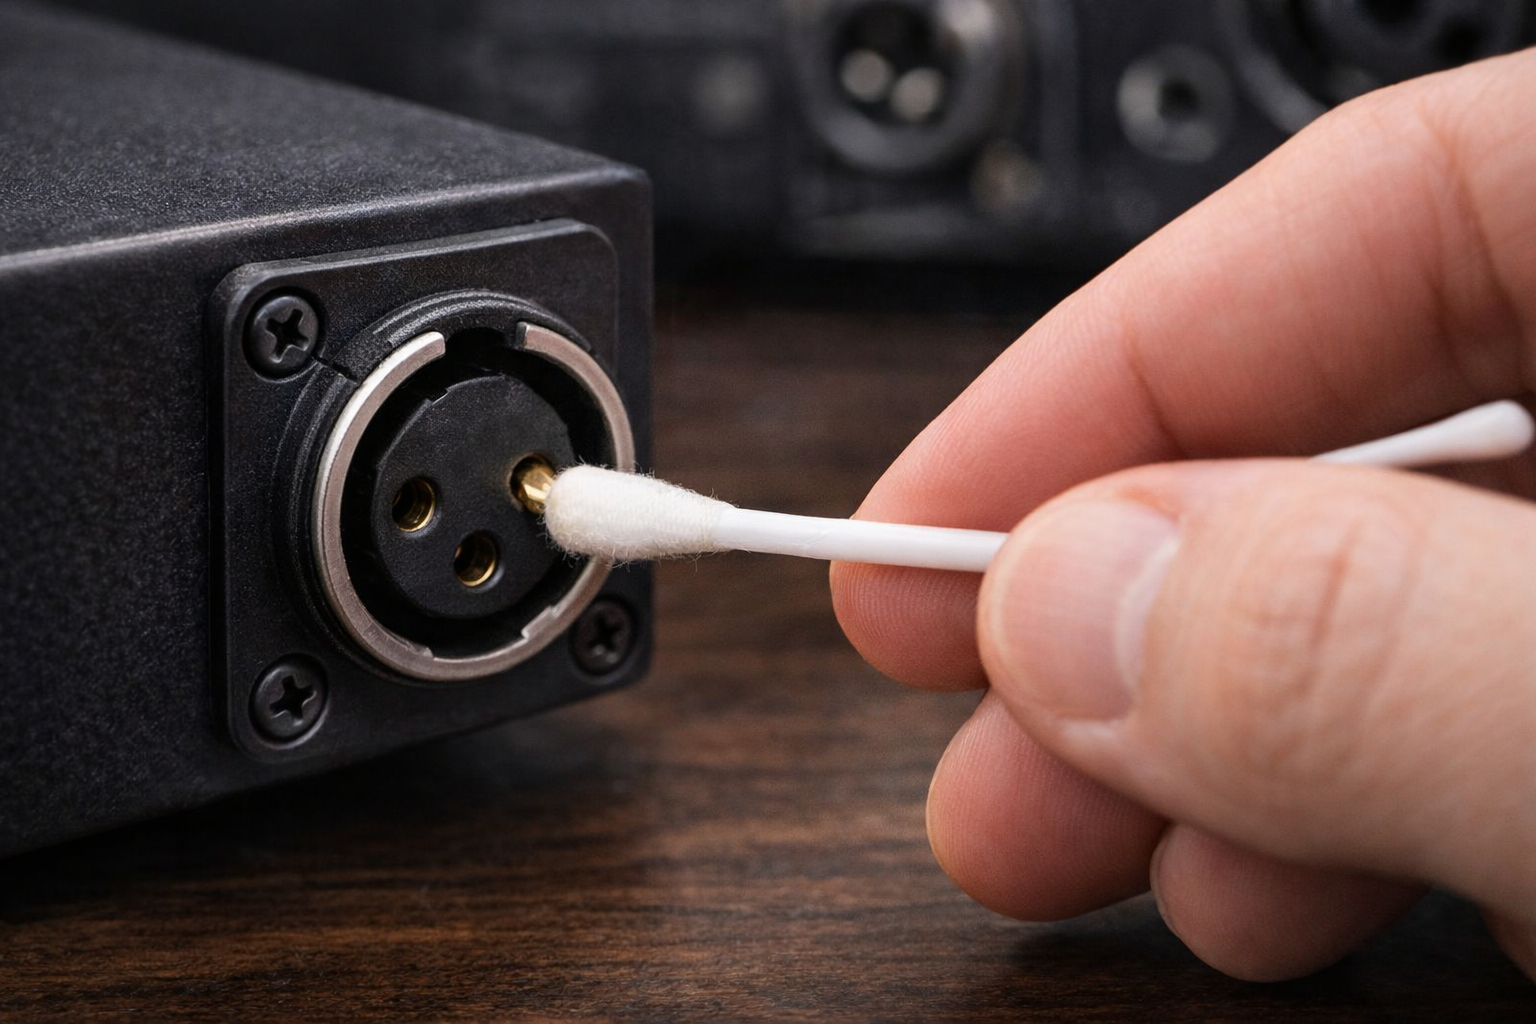
Cleaning XLR female sockets safely (swab sizing + gentle rotation)
This is where people break things. I’ve seen more XLR sockets harmed by “helpful cleaning” than by normal use.
- Choose a swab that fits without force.
- Apply IPA to the swab, press out excess, then rotate gently inside the socket.
- Don’t push hard or pry—female contacts can deform.
The same industrial guidance still applies: control the amount of alcohol, wipe, then dry and re-check.
Post-clean checks (fit, contact tension, noise test)
- Does the connector latch cleanly?
- Is there crackle if you lightly wiggle the plug at the strain relief?
- If wiggle causes noise, suspect mechanical wear or a loose mount, not dirt.
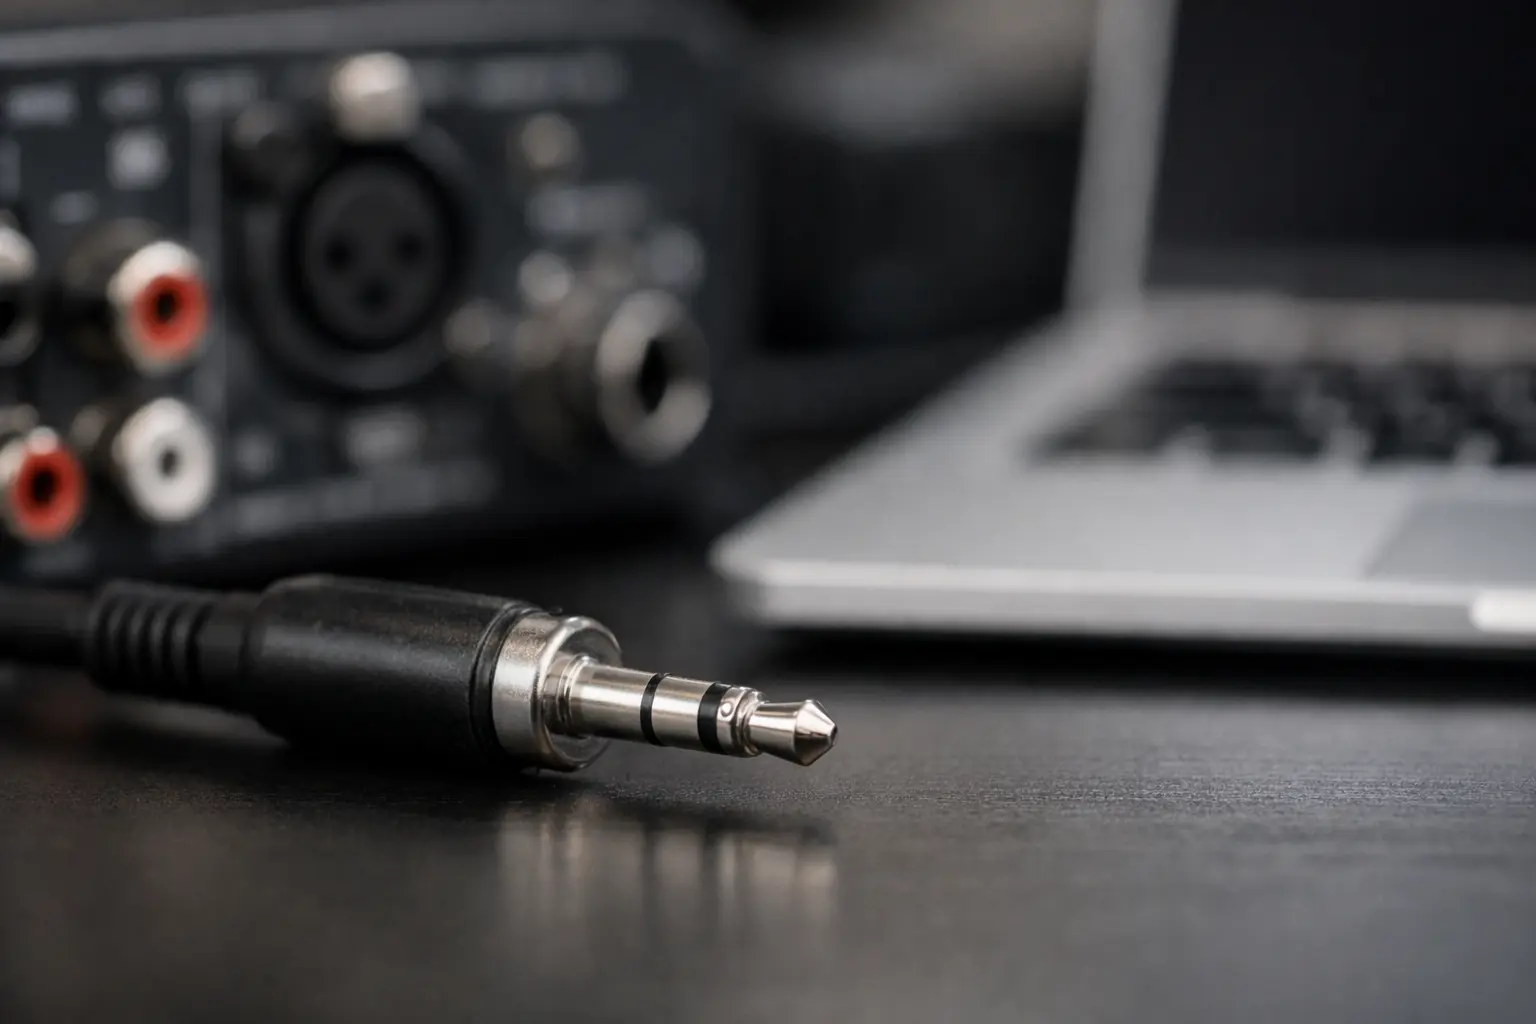
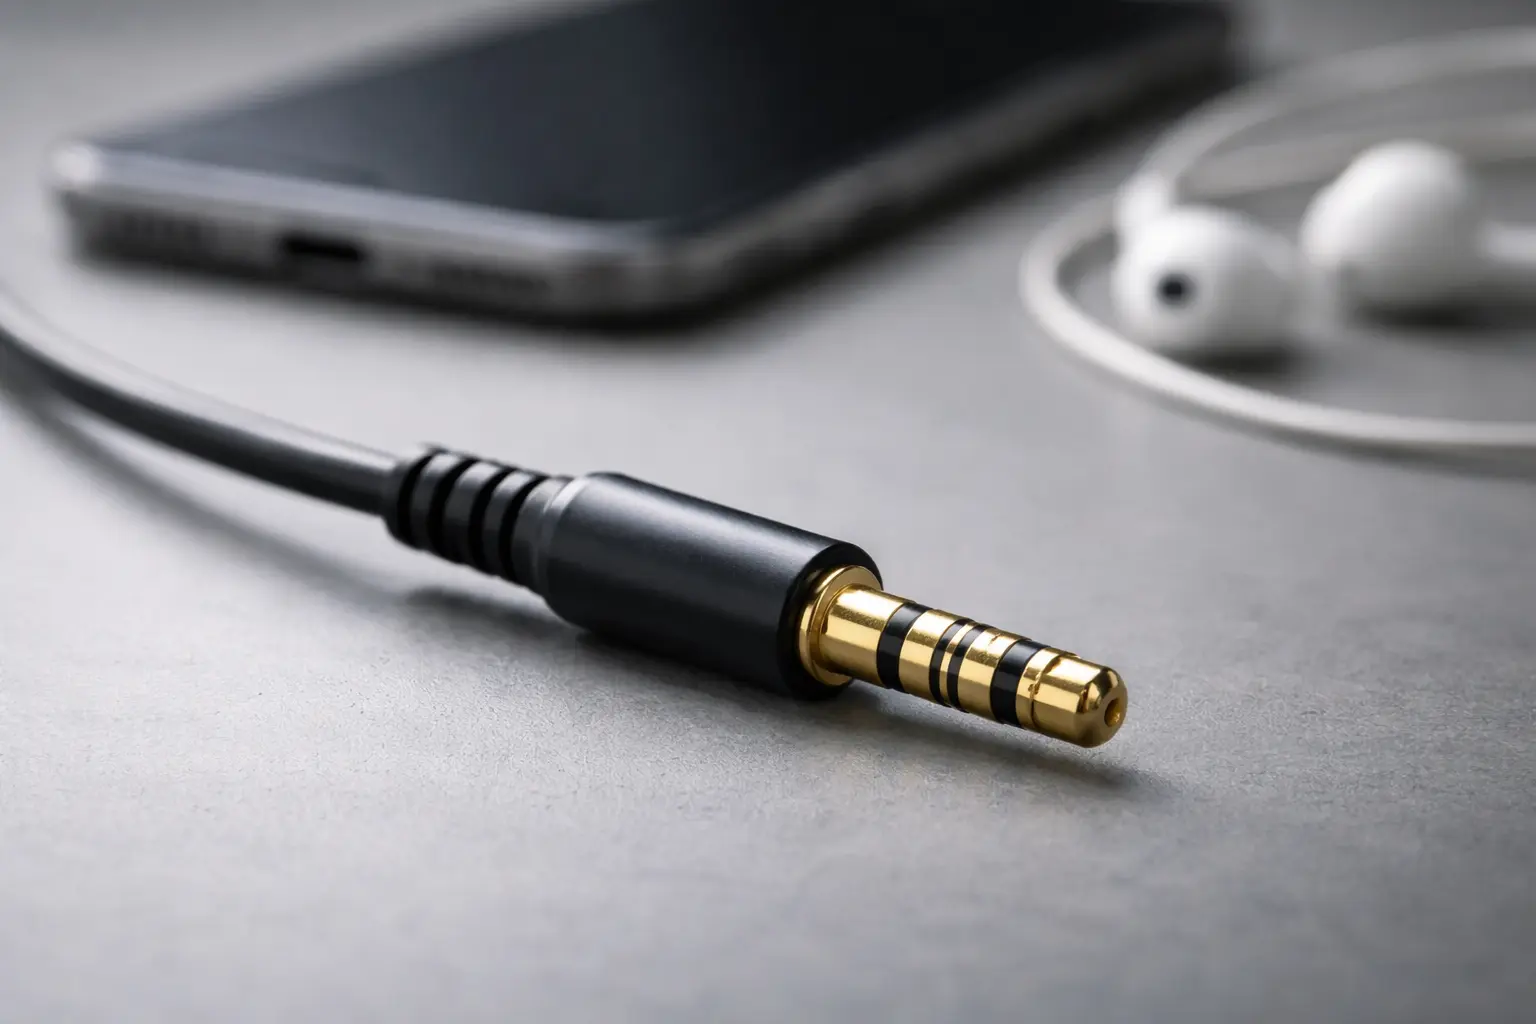
TRS / 6.35mm and 3.5mm jacks (high-lint, high-touch)
Inside-jack cleaning without leaving fibers
These jacks live a hard life (pockets, sweaty hands, dusty stages). Keep it simple:
- Dry air/air bulb to clear lint.
- IPA-damp lint-free swab for the inside surfaces.
- Dry fully before use.
If you use cotton and it sheds, you’ve just traded “dirt” for “a fiber stuck on a contact spring.”
When reseating (plug/unplug) helps—and when it harms
Plugging in and out can wipe light films off, but it won’t remove sticky residue and it can speed up wear if you do it constantly. Use reseating to confirm a suspect connection, then clean properly if needed.
Speaker terminals & high-current connectors (binding posts, speakON, power)
Retorque & mechanical integrity vs chemical cleaning
A lot of “speaker terminal noise” is just a loose connection:
- loose binding post
- loose spade lug
- oxidation on bare copper
First steps:
- power off
- tighten the connection to the right feel
- inspect for pitting or discoloration
Removing oxidation safely (only when needed)
- Start with IPA wipe.
- If oxidation is heavy, use a targeted contact treatment on a swab (not sprayed), then wipe again and dry.
Residue risk near high current (creep paths, heating)
Oily films near high current points can collect dust and hold moisture. Keep these interfaces clean and dry.
Optical connectors (Toslink / opticalCON)
Dry cleaning first (dust caps, air bulb, click-cleaners)
Optical links fail from dust and film. Start with dry methods:
- air bulb
- clean dust caps
- optical click-cleaner tools if you have them
Wet-to-dry method (99% IPA) and immediate drying
For high-current applications, professional SpeakON connectors often feature self-cleaning contacts that wipe away light oxidation during the twist-lock action.
FOA supports the same idea: use high-purity IPA and avoid cotton that leaves fibers.
What never to use on optics (contact sprays, oily films)
Skip contact sprays on optical ends. Many sprays leave a film, and optical systems hate films.
EXFO also warns that alcohol can leave residue if it evaporates or gets absorbed and then redeposits on the surface, which can mean you have to clean again.
Is it safer to use DeoxIT D5 or 99% Isopropyl Alcohol when cleaning vintage amplifier terminals versus modern gold-plated DAC inputs?
Best practice for modern gold-plated connectors (IPA-only baseline)
For modern gold-plated RCA/XLR/TRS that look normal, 99% IPA is the safe default:
- takes off oils and grime
- dries fast
- less chance of leaving a film
When DeoxIT is justified (visible oxidation on base metals)
For vintage gear with visible oxidation or intermittent contact after IPA cleaning, DeoxIT can help.
CAIG’s DeoxIT manual says that if a surface looks clean, using DeoxIT first is usually not needed.
That’s a good “sanity check” when someone wants to treat every connector “just because.”
How to apply safely (apply to swab first; wipe/dry thoroughly)
- Put it on a swab/cloth first to avoid overspray.
- Use the smallest amount that works.
- Wipe off extra and allow full drying.
OEM/ODM note: cleaning rules by plating + housing materials
If you ship products or cable assemblies, write cleaning rules around:
- plating type (gold vs base metal)
- plastic/insulator materials
- use case (install vs touring)
That keeps field techs from guessing.
What is the non-abrasive method to clean tarnished gold-plated RCA plugs without exposing the nickel underneath?
Why gold “doesn’t tarnish” (what discoloration usually is)
Gold itself doesn’t oxidize like copper. Most “tarnish” is:
- oils
- dust mixed with humidity
- deposits from handling
Step-by-step non-abrasive procedure
- Dry wipe with microfiber.
- Use 99% IPA on a lint-free swab (damp, not wet).
- Wipe gently and rotate; don’t scrub.
- Dry, then re-seat and test.
If you want a treatment step after cleaning, CAIG describes DeoxIT Gold as a product used for critical connections and mild oxidation—best used after the surface is already clean.
Red flags: when plating is already compromised
- The contact looks scratched or patchy
- The “gold” color changes after wiping (possible plating wear-through)
- Noise returns quickly after a proper clean
At that point, replacement is often the smarter fix.
Is the mechanical action of unplugging and replugging audio cables sufficient to remove oxidation, or is chemical cleaning required?
The “self-wiping” effect: what it can solve
Re-mating can scrape off very light films. It’s handy as a quick check when you’re chasing a crackle.
Fretting wear risk on soft platings (when to stop reseating)
If you repeatedly mate/unmate soft plated connectors, you can speed up wear. So treat reseating as a test or occasional maintenance step, not a daily habit.
A simple maintenance schedule (home, studio, touring)
|
Environment |
Typical exposure |
Simple schedule |
|
Home rack |
low dust, low handling |
inspect yearly; IPA clean only if symptoms show up |
|
Studio / patch bay |
frequent handling |
inspect quarterly; clean jacks with known issues |
|
Touring / live sound |
dust, smoke, humidity |
inspect monthly; dry clean often; wet clean when needed |
For cleaning that stays consistent from shop to stage, the “minimal IPA + swab + dry + inspect” method is hard to beat.
Can I use standard contact cleaner sprays on Toslink or optical fiber connectors if they are dusty?
Why contact sprays break optical links (film + attenuation)
Many contact sprays leave a film. Optical ends don’t want film. Even a thin layer can scatter light and reduce signal.
Approved optical cleaning workflow (dry tools + wet-to-dry)
- Dry clean first (air bulb, click-cleaner).
- If wet cleaning is needed: follow Neutrik’s wet-to-dry wipe so alcohol doesn’t remain on the end face.
- Use high-purity IPA and avoid cotton fibers (FOA).
Storage & handling (dust caps, covers, transport)
- Keep dust caps on when unplugged
- Don’t toss optical cables loose in dusty cases
- Clean only when you see a real need
How can I safely remove the sticky, dust-attracting residue left on my binding posts after using too much contact spray?
Identify the residue (carrier oils vs contamination)
Sticky residue is usually carrier fluid or lubricant mixed with dust. Over time, it gets worse.
IPA “flush + wipe” method (repeat-until-clean)
- Power off and isolate the connection.
- Wipe with 99% IPA on a lint-free wipe/swab.
- Repeat until the wipe stops picking up oily transfer.
- Dry fully before reconnecting.
Preventing recurrence (minimal-application protocol)
- Don’t spray into terminals or jacks.
- Apply to swab first (CAIG recommends this to prevent overspray).
- Use less than you think you need.
Manufacturer & Materials Perspective (why solvent choice matters)
Plastic/rubber compatibility and stress cracking
Connectors are metal plus molded plastic, sometimes with rubber strain reliefs. Strong solvents and heavy soaking can damage housings and inserts. Keeping to small amounts of IPA on a swab keeps risk low.
Dielectric strength, leakage paths, and safety margins
Residue inside insulated cavities can:
- trap moisture
- create leakage paths
- lead to noise that feels “random”
EXFO’s warning about alcohol residue on optical ferrules is a good reminder: evaporation alone doesn’t always leave a clean surface. Wipe and dry on purpose.
Brand expertise: writing cleaning guidance into spec sheets & manuals
If you’re supplying connectors or complete cable assemblies, a short cleaning SOP in your docs helps a lot:
- approved fluids (99% IPA)
- approved tools (lint-free wipes/swabs)
- “do not spray into jacks”
- quick test steps after cleaning
That keeps support tickets down and keeps field techs from guessing.
Troubleshooting: When cleaning isn’t the fix
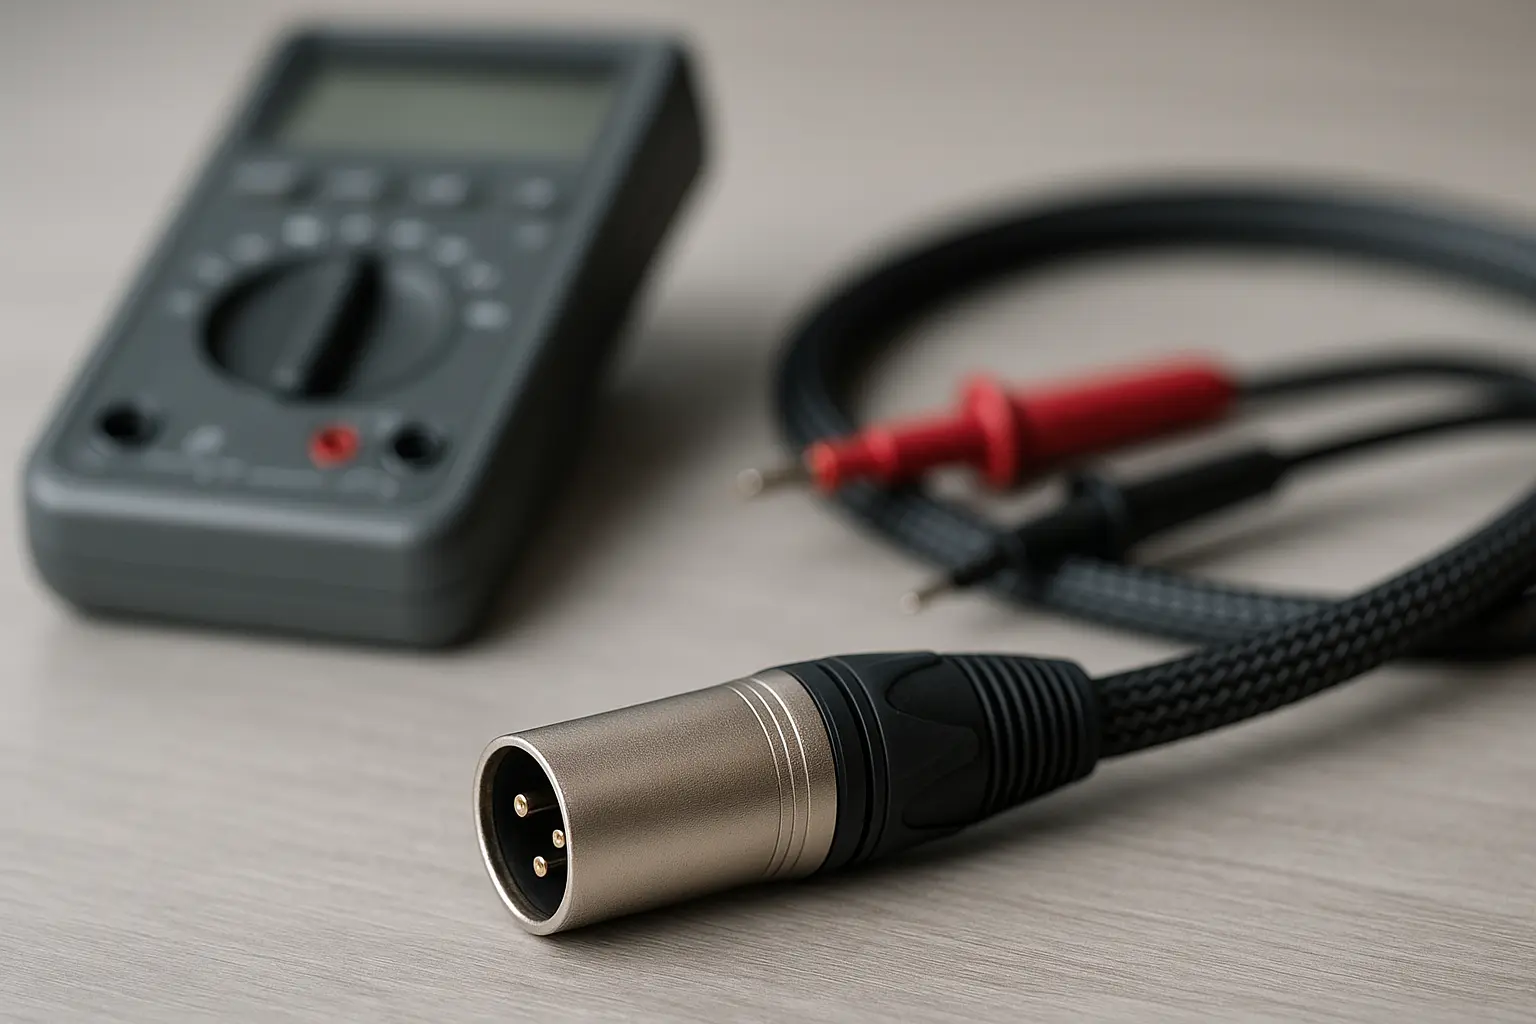
Bent contacts, worn springs, loose jacks, cold solder joints
If a connector crackles only when you touch it, common causes include:
- loose panel nut
- weak socket spring force
- cable strain relief failure
- bad solder joint inside a plug or chassis
If noise persists, the issue might be a cold solder joint. Switching to
Cleaning may seem to help because you re-seated the connector, but the fault is still there.
Intermittent faults: quick isolation tests (swap cable, channel, port)
- Swap L/R cables
- Try a known-good cable
- Try another input/output
- Wiggle test at the connector and at the strain relief
When to replace the connector vs keep cleaning
Replace when:
- plating is worn through
- socket tension is weak
- the issue returns right after a proper clean
- you see cracks, bent pins, or heat damage
Key Takeaways (one-screen summary for teams)
The “3 rules”
- Dry first (air bulb / clean air + lint-free wipe)
- Tiny amount of 99% IPA on a lint-free swab; press out extra liquid
- Dry before re-mating, and for optical ends follow wet-to-dry wiping
Connector-type do/don’t table (quick reference)
|
Type |
Do |
Don’t |
|
RCA (plated) |
microfiber + damp IPA swab |
abrasives/polish |
|
XLR (male) |
wipe pins; dry fully |
spray into connector |
|
XLR (female) |
correct-size swab; gentle rotation |
force swabs; flood cavity |
|
TRS/3.5mm |
dry air + IPA swab |
cotton fibers; heavy sprays |
|
Optical |
dry tool or wet-to-dry wipe |
contact sprays; oily films |