


How to Connect Speakon Cables: The Ultimate 2025 Professional Guide
Key Takeaways
•Safety and Reliability First: Speakon-style connectors dominate professional audio because their locking design prevents accidental disconnection and eliminates short-circuit risks during setup.
•Use the Right Tools: Many technicians make the mistake of using the wrong screwdriver type. Using a proper driver prevents stripped screws and ensures a solid, reliable connection.
•Pole Configurations Matter: Standard wiring typically uses the first positive and negative contacts, but multi-pole connectors (2-pole, 4-pole, 8-pole) have no universal standard for advanced setups like bi-amping or bridged mono. Always verify with equipment manuals.
•Bare Copper vs. Solder: Professionals usually avoid soldering wire ends before inserting into screw terminals. Bare copper or ferrules provide the most stable long-term connection.
•Connector Quality Counts: Cheap connectors can crack, jam, or fail. Professional-grade connectors reduce risk and maintain reliability on stage.
Introduction
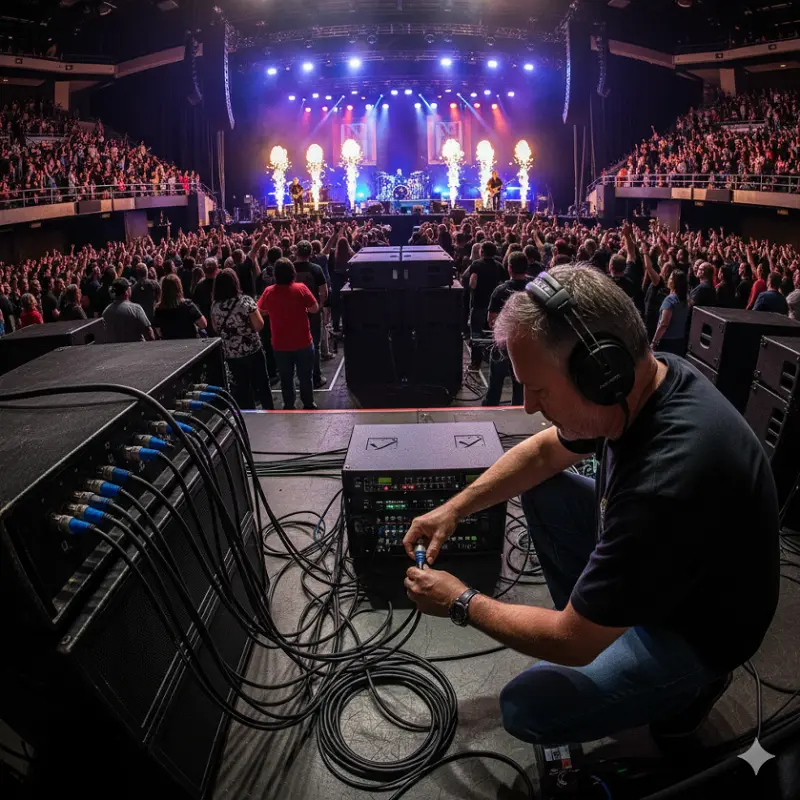
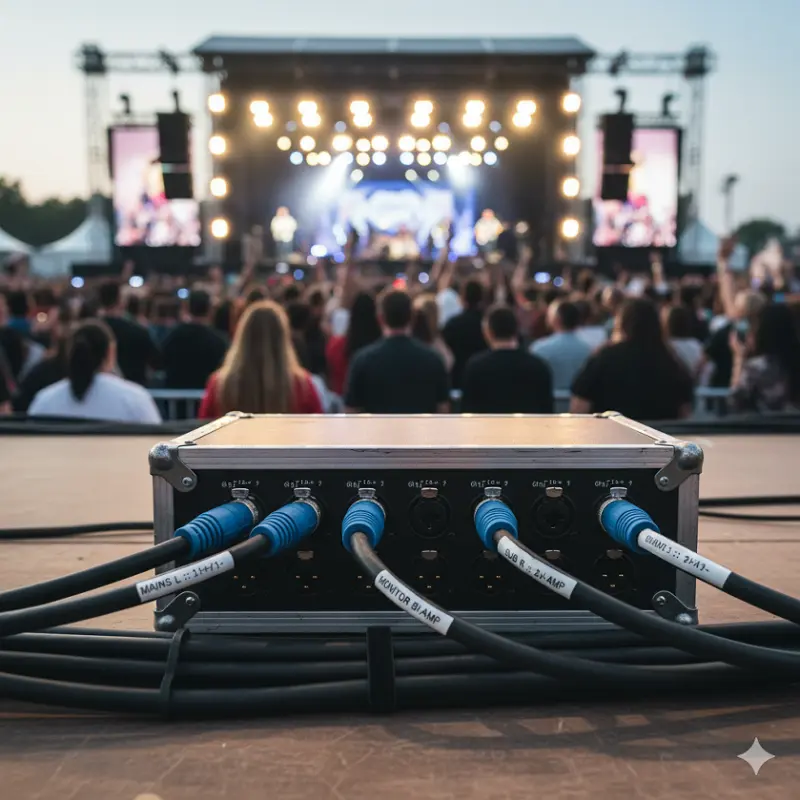
From Broadway theaters in New York to outdoor EDM festivals in Miami, Speakon-style connectors have become the gold standard in professional audio. Unlike the older 1/4" plugs that originated in telephone switchboards, these connectors were engineered for high-power audio applications. Learning how to connect speakon cables correctly is not just a mechanical skill—it’s a professional discipline that ensures both safety and performance.
Why Speakon Connectors Rule the US Pro Audio Scene
The Three Pillars: Locking, Power, and Safety
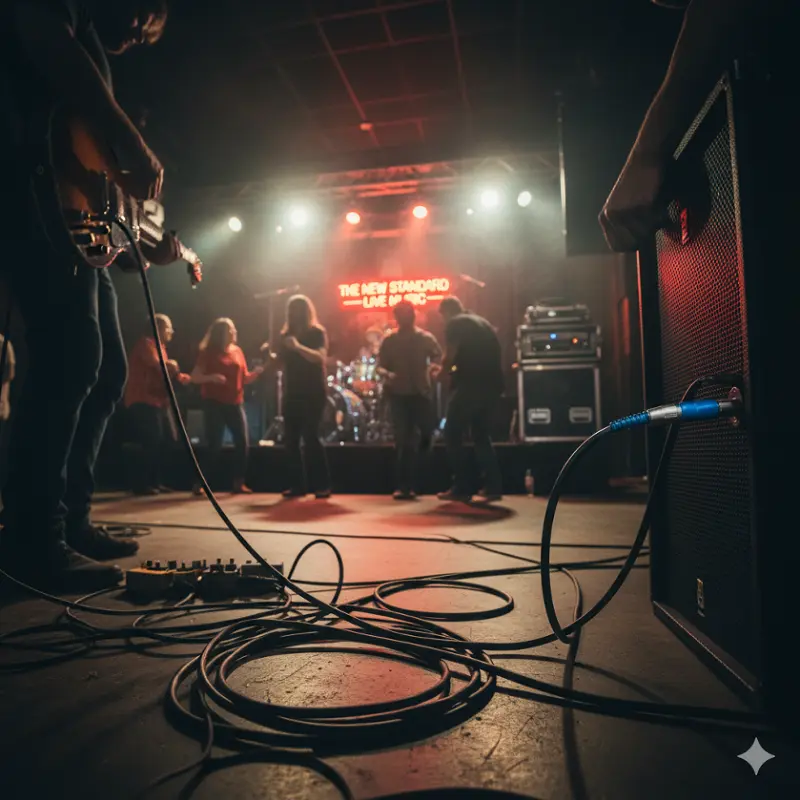
•Locking Mechanism: The twist-lock system ensures a mechanical connection that doesn’t fail during high-energy performances. Whether it’s bass-heavy DJ nights in Los Angeles or rock shows in Detroit, the strain relief system keeps connections secure under stage vibrations.
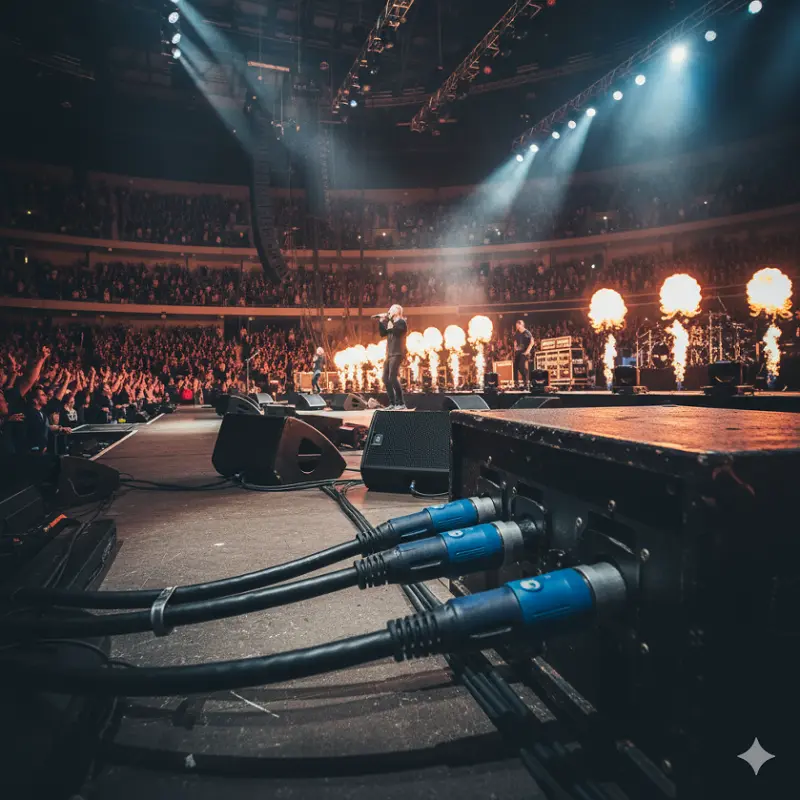
•High-Current Capacity: Modern PA systems in American venues demand power. With amplifiers pushing 1000+ watts into low-impedance loads, traditional plugs cannot handle the stress. These connectors safely carry 30A–50A continuous current—enough for stadium tours or jazz clubs in New Orleans.
•Safety Design: Fully covered contacts eliminate short circuits, making them safe to connect or disconnect even when amplifiers are live. This hot-swappable feature is a lifesaver for busy stage crews in Nashville or Austin.
Tools and Materials You Need
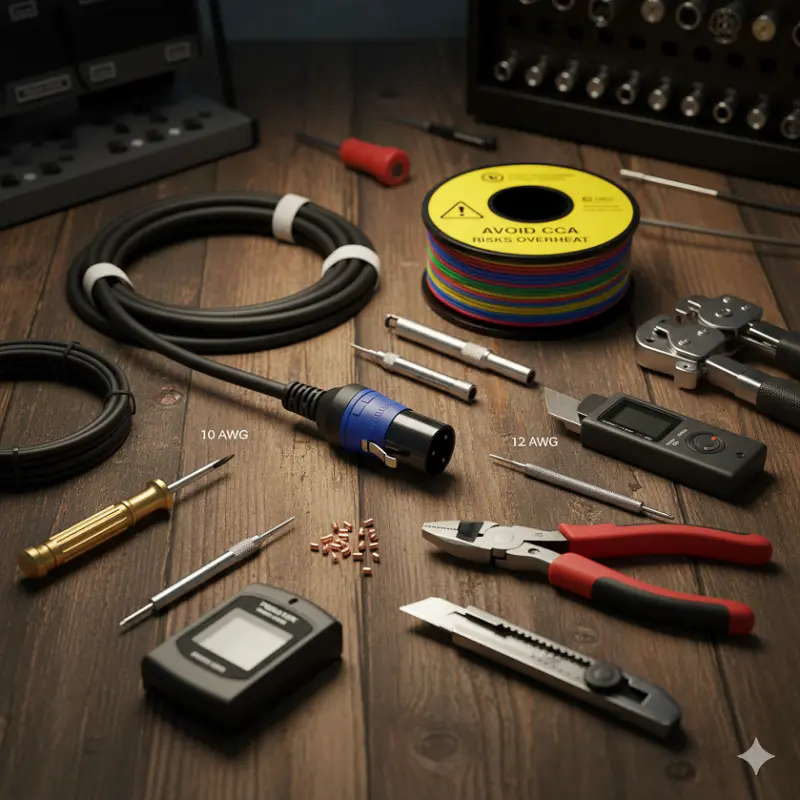
The Pro’s Toolkit
•Proper screwdriver (Pozidriv or Torx depending on connector type)
•Precision wire strippers
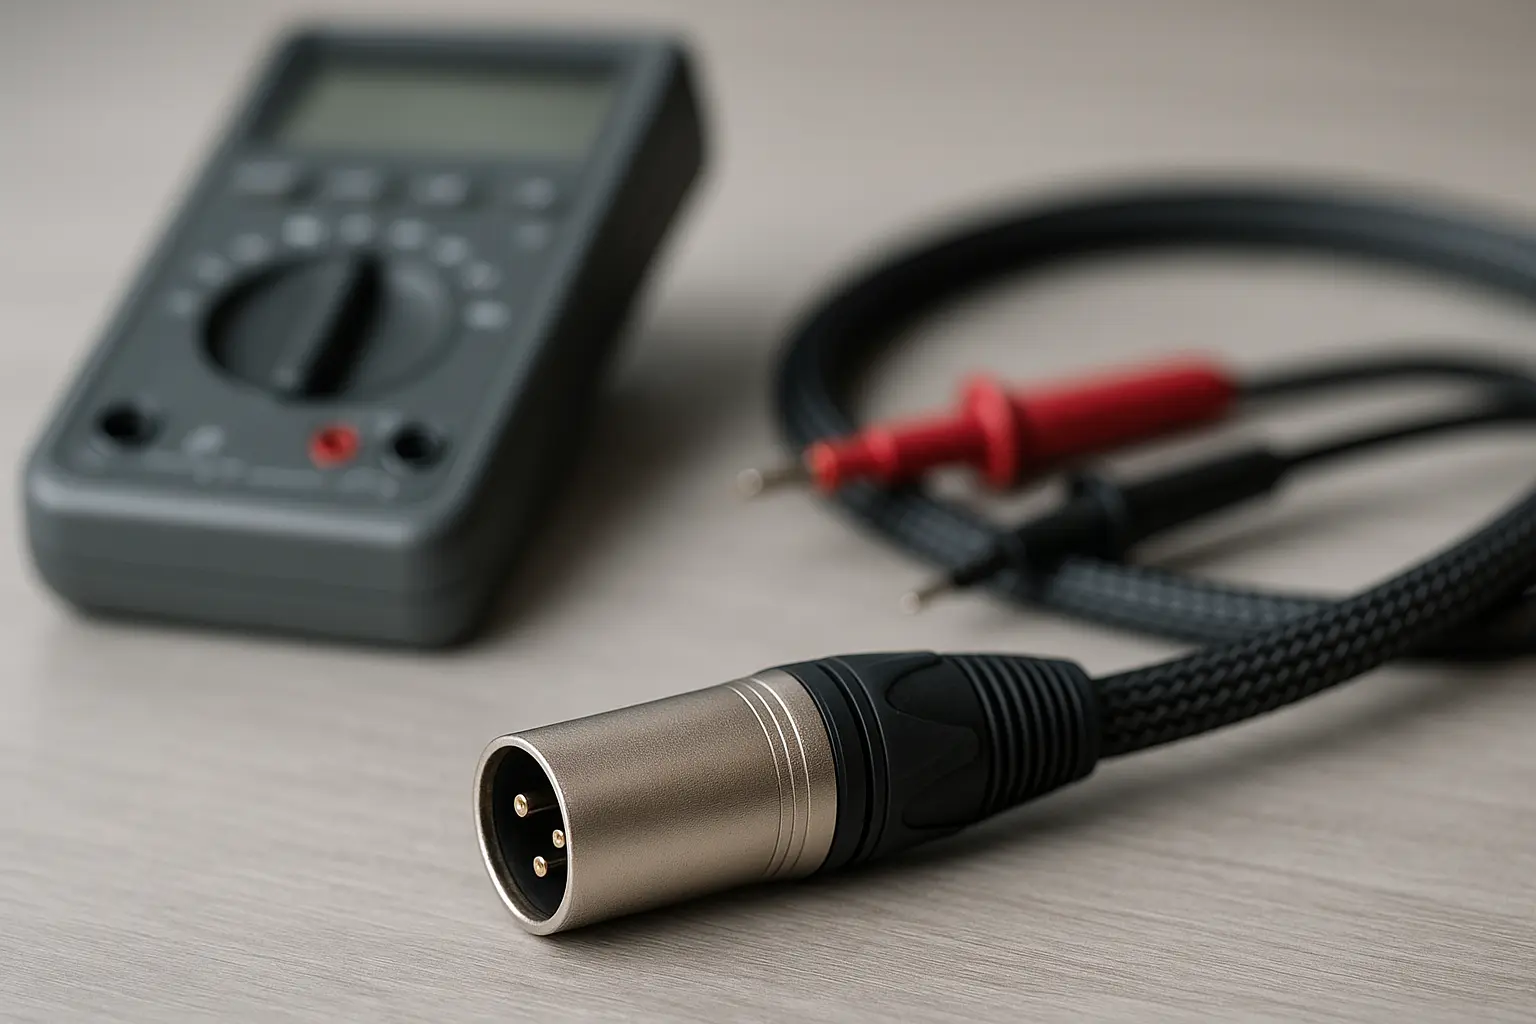
•Cable tester for continuity checks
•Sharp utility knife for jacket removal
•Ferrule crimping tool (optional but recommended)
•Torque driver for consistent screw tension
Choosing Speaker Wire: US AWG Standards
•14 AWG: Suitable for runs under 50 feet with moderate power (up to 500W)
•12 AWG: Best for long runs or high-power subs (500W+)
•10 AWG: Used in very long runs (100+ feet) or extreme power setups
⚠️ Warning: Avoid Copper Clad Aluminum (CCA). It is unreliable compared to pure copper and often fails under professional use.
Step-by-Step Guide: How to Connect Speakon Cables Like a Pro
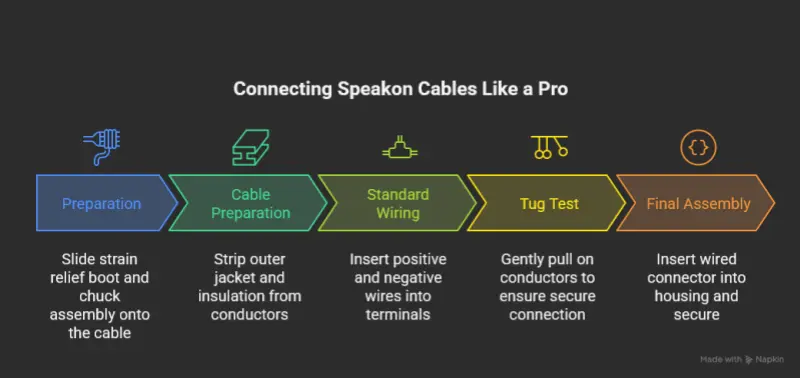
Step 1: Preparation
Always slide the strain relief boot and chuck assembly onto the cable before wiring. Forgetting this step is a classic mistake that wastes time during setup.
Step 2: Cable Preparation
•Strip about 1 inch (25mm) of the outer jacket
•Strip 1/2 inch (12mm) of insulation from each conductor
•Twist copper strands tightly for a clean, solid connection
Step 3: Standard Wiring (Single Channel)
For most applications, use the first positive and negative contacts:
1.Loosen the screw terminals
2.Insert the positive wire into the positive terminal
3.Insert the negative wire into the negative terminal
4.Tighten screws securely (but not excessively)
Step 4: The Professional “Tug Test”
After tightening, gently pull on each conductor. If it doesn’t budge, you’re ready for the next step.
Step 5: Final Assembly
•Insert the wired connector into the housing
•Push the chuck forward until it locks in place
•Screw the strain relief boot until snug
Understanding Pole Configurations
Standard Single-Channel
Most professionals use the first positive and negative contacts for single-channel setups. This works universally with professional gear.
Advanced Multi-Channel Wiring
There is no universal industry standard for multi-channel setups:
•Some amplifiers assign bridged mono across different contacts
•Others use separate poles for bi-amping
•Multi-channel touring rigs often customize assignments
Golden Rule: Always check your amplifier and speaker manuals before wiring. Incorrect assumptions can damage equipment.
Professional Installation Best Practices
•Bi-Amping: Common in large churches or theaters, with lows on one pair of contacts and highs on another.
•Mains + Subwoofers: Popular in US clubs, where one channel powers mains and another powers subs through the same cable.
•Touring Applications: Standardizing wiring across an entire rig avoids “one-way cable” issues where ends are mismatched.
Real-World Insights
•From Stage Techs in New York: Forgetting to slide the boot on first is the #1 rookie mistake.
•From DJs in Miami: Cheap connectors can lock up inside amplifiers, causing show-stopping delays.
•From Church Sound Crews in Texas: Consistent wiring saves volunteers from troubleshooting during live worship.
•From Touring Engineers: The tug test has prevented countless mid-show failures.
Frequently Asked Questions
What’s the difference between 2-pole, 4-pole, and 8-pole connectors?
The number indicates how many internal conductors are supported. More poles = more channels or flexibility.
Can a 2-pole plug fit in a 4-pole jack?
Yes, it connects to the first positive and negative contacts automatically.
What if I reverse polarity?
It won’t damage equipment, but bass frequencies will cancel out, leading to weak sound.
Do these connectors sound better than 1/4" plugs?
The sound quality comes from reliability—no crackles, shorts, or accidental disconnects.
Should I buy cheap connectors?
No. Professional-grade connectors protect your gear, your time, and your reputation.
Wrapping Up
Knowing how to connect speakon cables is about more than wiring—it’s about reliability, safety, and professionalism. In cities like Los Angeles, Austin, or Nashville, where live sound reputations are built on flawless shows, reliable connections separate professionals from amateurs.
Pro Insight: Your connector is more than hardware—it’s part of your reputation. Treat every connection as if your career depends on it, because in many ways, it does.
Citations
- Neutrik AG. (2022). speakON® Cable Connectors Technical Data. https://www.neutrik.com/en/neutrik/products/speakon-loudspeaker-connectors
- Audio-Pile. (n.d.). Speakon Connectors Explained. https://www.audiopile.net/speakon-connectors-explained
- Reddit r/livesound Community. (2023). Discussion on NL4 Wiring. https://www.reddit.com/r/livesound/
- Audio University. (2025). NL2, NL4, NL8 Explained. https://www.audiouniversityonline.com/speakon-connectors-explained
- Professional Audio Networks. (2024). Speakon Reliability in Live Sound. https://www.proaudionetwork.com/speakon-reliability-guide