


How to Use XLR Cables: A Professional SOP & Troubleshooting Guide for Audio OEMs
By Lynn Zhang, CEO at Jingyi Audio
(Expert Bio: With 30+ years in audio cable manufacturing, I help global brands design connectivity solutions that survive the real world.)
Table of Contents
- The 9-Step SOP Checklist
- Understanding the Hardware (Beyond the Plug)
- Phantom Power & Safety Protocols
- Troubleshooting Scripts for Your Support Team
- OEM Procurement: Specs That Matter
- FAQ
We’ve all seen the support tickets. A customer claims your cable is "defective" or "noisy," but 9 times out of 10, it’s a setup error.
As an OEM/ODM partner, my goal isn't just to sell you wire; it's to help you reduce those returns. If you are asking how to use an XLR cable correctly—or how to teach your customers to do it—this guide is the practical, field-tested approach we recommend to all our professional clients.
The Cheat Sheet: How to Use XLR Cables (9 Steps for Your SOP)
Alt Text: Diagram showing correct XLR connection signal flow from microphone to audio interface.
- Match the Signal Level
You must connect the right output to the right input.
- Mic-level: Connects Microphones to Mic Inputs (XLR).
- Line-level: Connects Mixers/Processors to Line Inputs.
- The Golden Rule: Never run speaker-level power (from an amp) through a mic cable. It will melt the insulation.
- Check Connector Orientation
- Female End (Holes): Snaps onto the microphone.
- Male End (Pins): Plugs into the mixer or interface.
- Listen for the "Click"
XLR is a professional standard because it locks. If it doesn't click, it’s not seated, and you will get signal dropouts.
- Start Muted
Always turn the gain down or hit mute before plugging in. This prevents "pops" that damage speakers.
- Sequence Phantom Power (48V) Correctly
This is the #1 cause of "popping" noises.
- Connect the cable first.
- Then turn on 48V Phantom Power.
- Never unplug while 48V is active.
- Set Gain Levels
Ask the talent to perform at real volume, then dial in the gain. Aim for a healthy green/yellow signal on the meters—stay out of the red (clipping).
- Route for Reliability
Don't run XLR audio cables parallel to mains power cords for long distances (over 2 meters) to avoid induced hum.
- Isolate Issues
If there is noise, swap the cable immediately. If the noise persists with a known-good cable, the issue is likely the hardware, not the wire.
- Store with the "Over-Under" Method
Teach users to coil cables properly. Tight elbow-wrapping twists the internal copper, leading to those annoying "intermittent" failures months later.
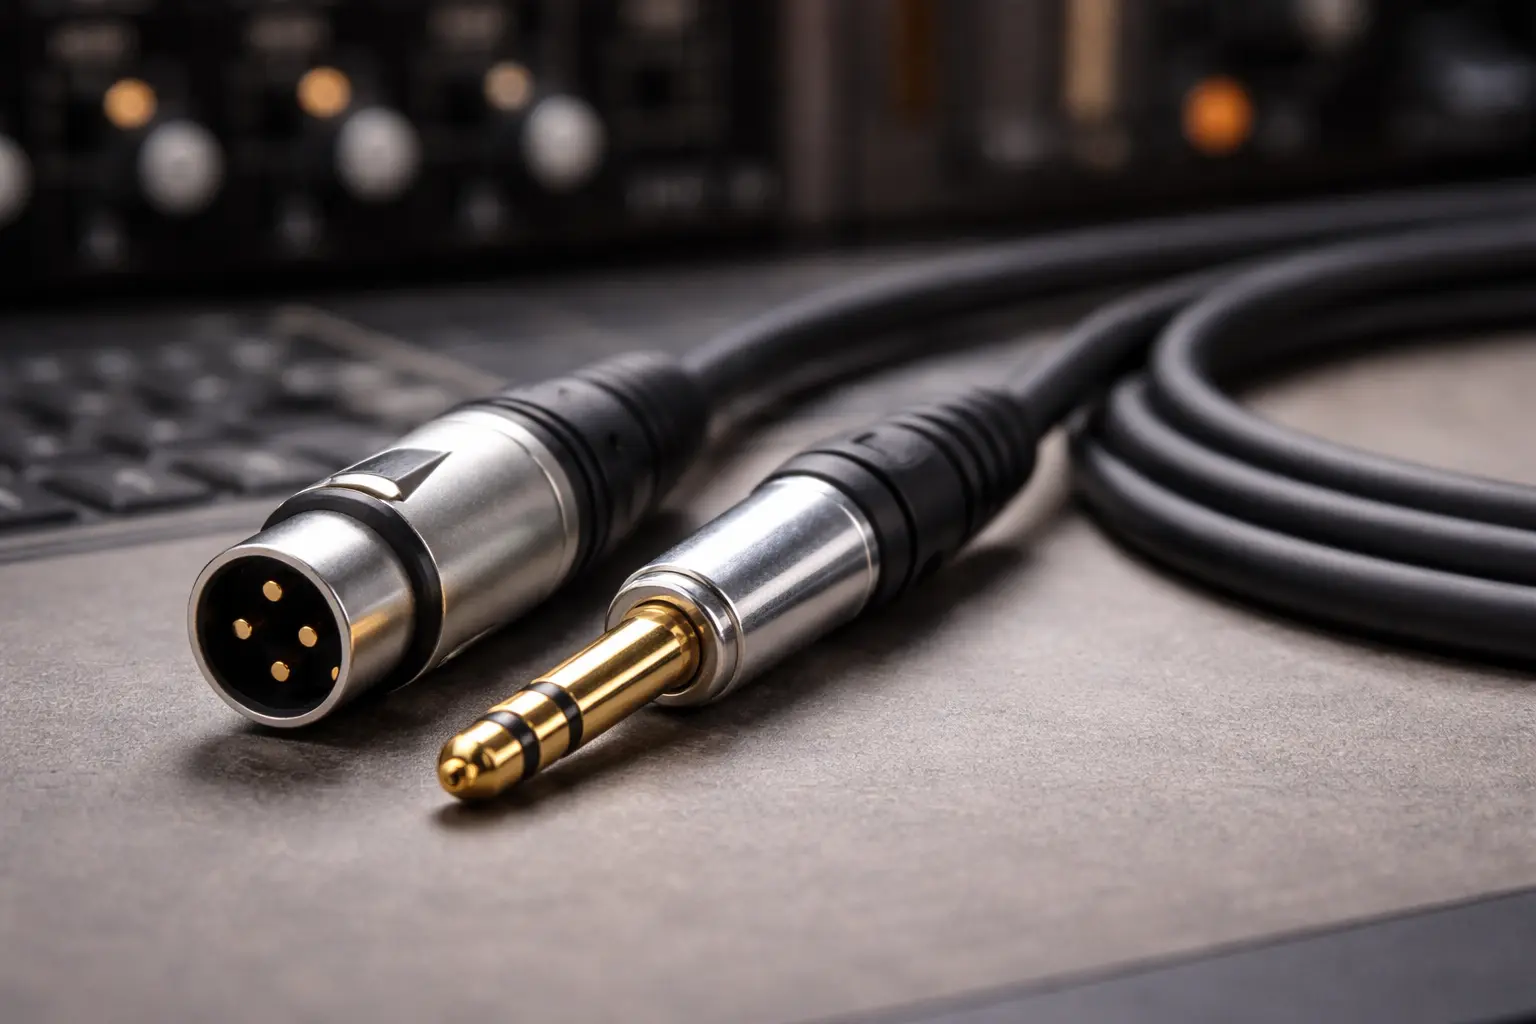
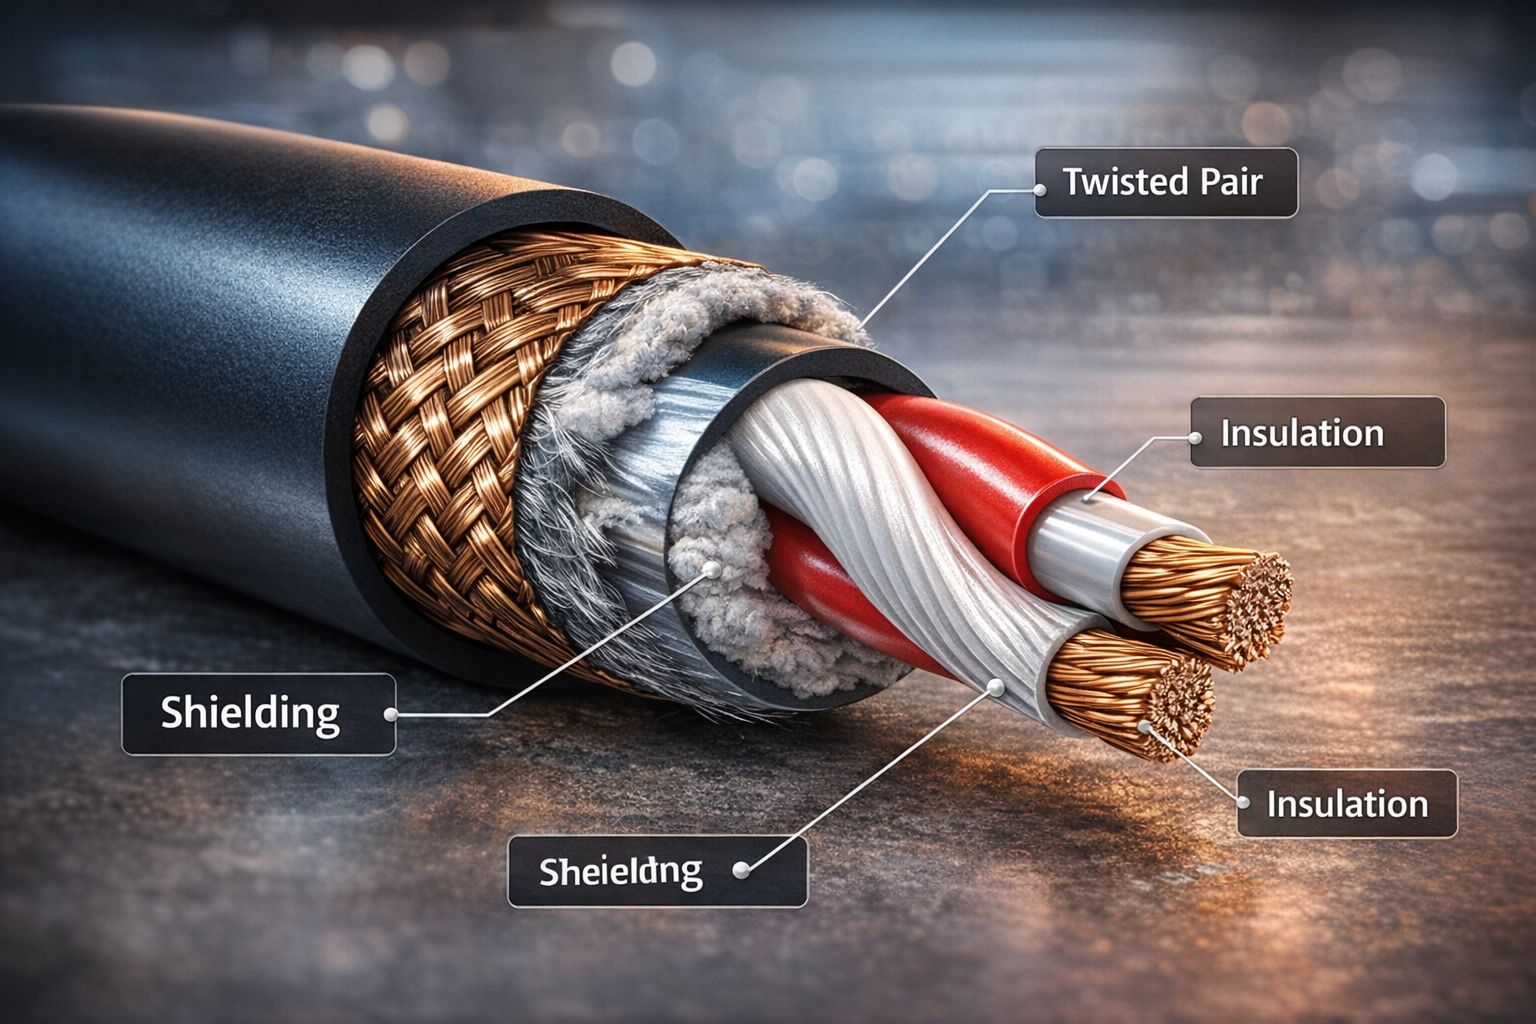
What is XLR, Really? (The Manufacturer's View)
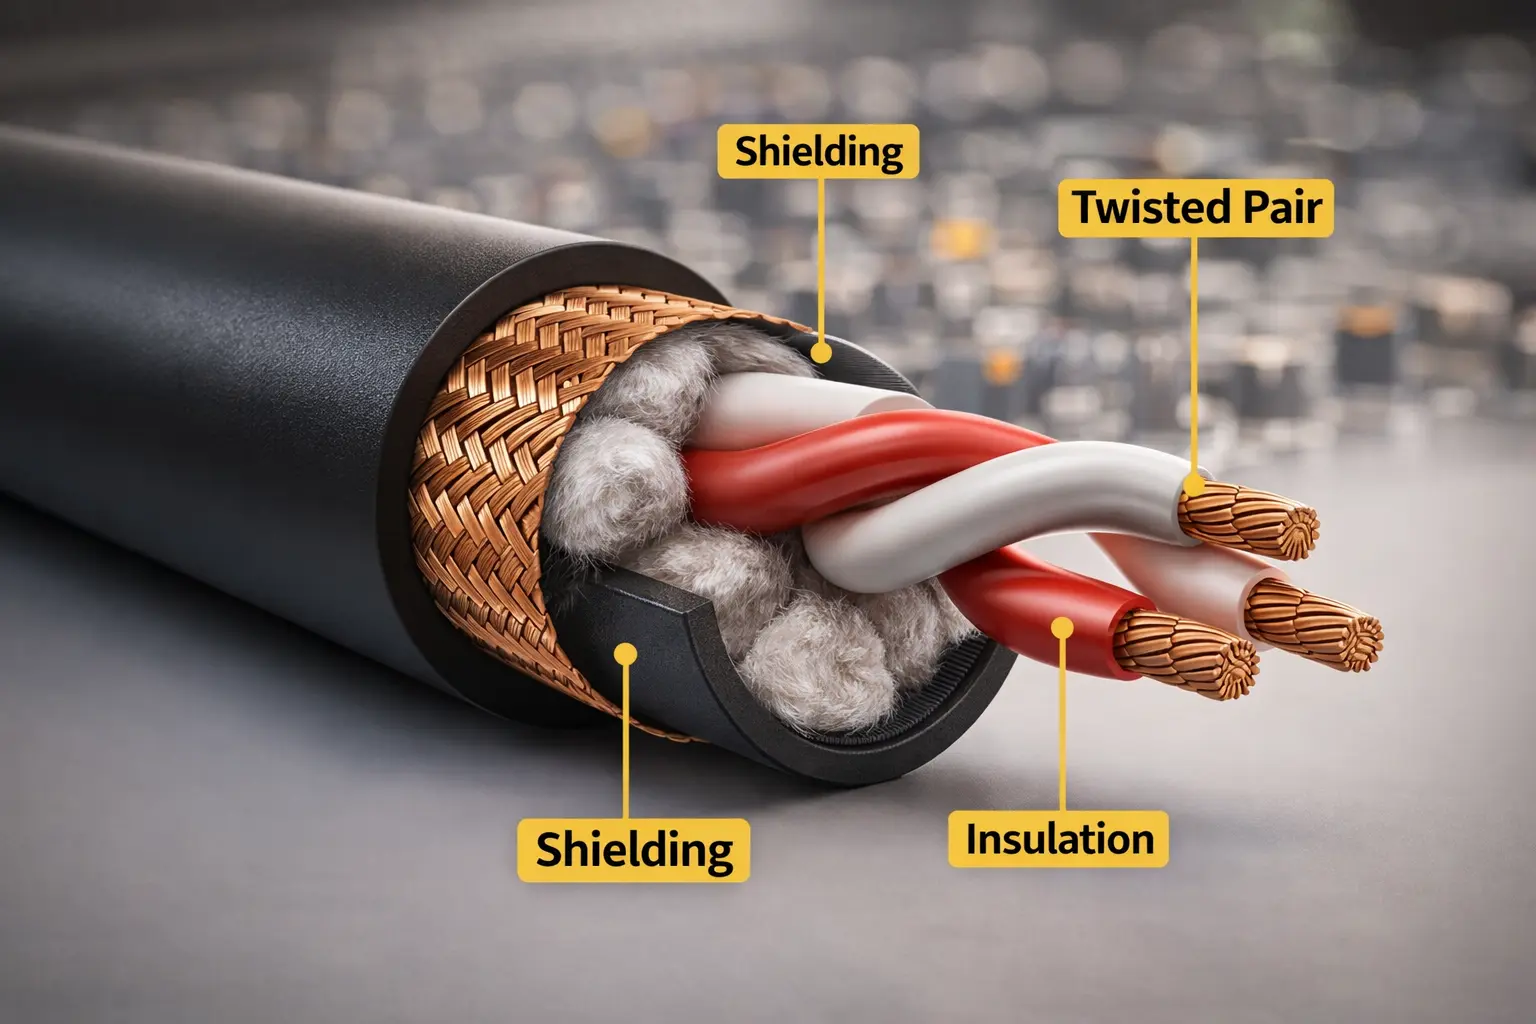
To a consumer, it’s a plug. To us in the factory, XLR is a reliability system composed of three critical parts.
[Insert Image: Cross-section 3D render of your XLR cable showing shield, insulation, and conductors]
Alt Text: Internal cross-section of professional XLR cable showing braided shield and twisted pair conductors.
- Balanced Geometry: We twist the internal conductors to reject electromagnetic interference (EMI). This is why XLR runs can be 100ft long without noise, while RCA fails after 15ft.
- The Shield: Whether it's Braided (for touring durability) or Foil (for permanent install), the shield acts as a drain for noise.
- The Locking Mechanism: Designed to hold the weight of the cable so the solder points don't have to.
Phantom Power (48V) & The "Pop"
Phantom power sends 48 volts back up the cable to power condenser mics.
Why the "Pop" Happens:
When you plug a cable into a live 48V port, the voltage spikes momentarily as the pins make contact. This sounds like a gunshot in the speakers.
The Safe Routine:
- Mute the channel.
- Connect all cables.
- Engage 48V.
- Unmute.
Troubleshooting Script (Reduce Your Support Tickets)
Give this decision tree to your Tier 1 support team. It resolves about 80% of "bad cable" claims.
Scenario 1: "No Sound"
- Is the mic plugged into a Line input instead of a Mic input?
- Does this mic require 48V Phantom Power? Is it on?
- Action: Swap cable. If the new cable also fails, the port or mic is dead.
Scenario 2: "Hum or Buzz"
- Diagnosis: Likely a ground loop, not a bad cable.
- Test: Plug the computer and speakers into the same power strip.
- Check: Are they using an XLR-to-RCA adapter? These break the balanced shielding and invite noise.
Scenario 3: "Crackling when moved"
- Diagnosis: Mechanical failure.
- Cause: Usually strain relief failure or a broken solder joint from abuse.
- Action for Buyers: If this happens often, check your supplier's strain relief specs. (See below).
OEM Procurement: How to Order Better Cables
As a manufacturer, I see where generic cables fail. If you want to build a brand reputation for quality, here is what you need to specify in your RFQ (Request for Quotation).
- Strain Relief is King
The number one failure point isn't the wire; it's where the wire meets the plug.
- Ask for: Chuck-type strain relief (which grips the cable jacket 360 degrees).
- Avoid: Simple crimp-style relief for professional use.
- Specify the Shielding
- For Stage: Demand 95% minimum braided coverage. It stays flexible and blocks RF.
- For Studio: Spiral shield is quieter but less durable.
- The "Phase" Check
Ensure your factory performs a Polarity Check on 100% of units.
- Pin 2 must go to Pin 2.
- If crossed (Pin 2 to Pin 3), the audio will be "out of phase," sounding thin and hollow. This is a nightmare to diagnose in the field.
[Insert Image: Photo of your factory’s cable testing machine or QC station]
Alt Text: Automated cable testing machine verifying continuity and polarity for XLR assemblies.
FAQ: Common Questions from Buyers
Q: Can I use a microphone XLR cable for DMX lighting?
A: We strongly advise against it. While the plugs fit, audio cables have a different impedance (approx 75Ω vs 110Ω). Using mic cables for DMX can cause flickering lights and strobing, especially on long runs. Always specify [DMX-rated cables] for lighting rigs.
Q: Is Gold plating better than Silver?
A: Not necessarily. Gold resists corrosion better (great for humid environments), but Silver actually has slightly higher conductivity. For most users, Gold is preferred for its longevity and "premium" look.
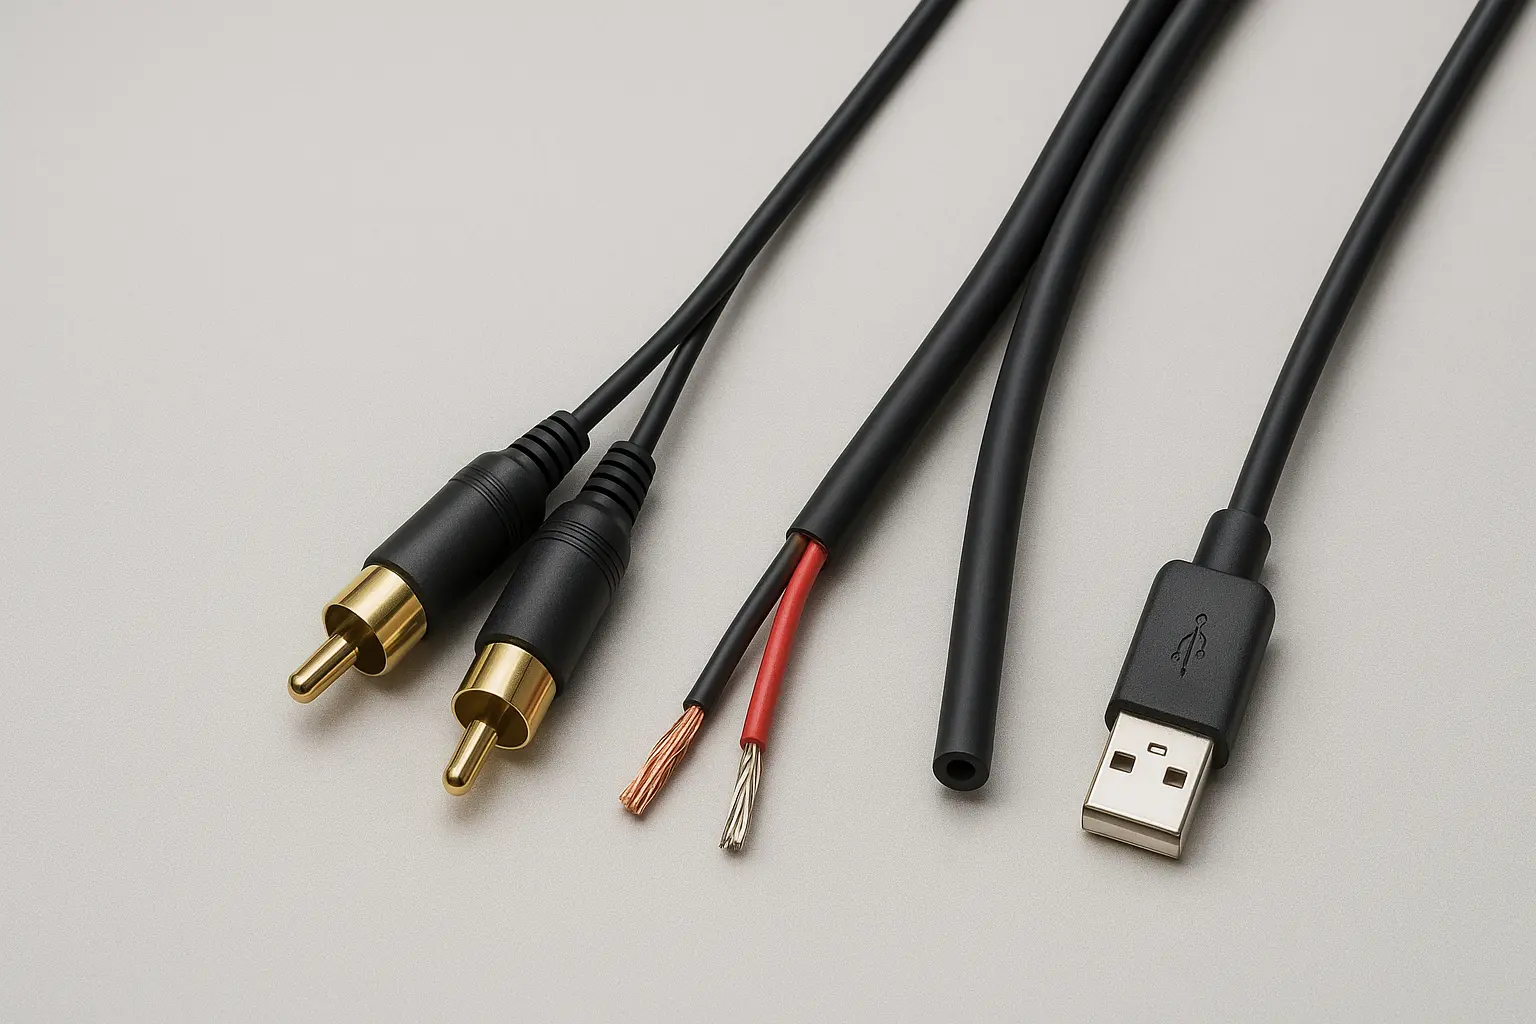
Q: Why does my XLR to RCA cable hum?
A: This is a physics issue, not a quality issue. You are connecting a balanced system (XLR) to an unbalanced system (RCA), which removes the noise-cancellation benefits. We recommend using a DI Box instead of a simple adapter cable.
Ready to Upgrade Your Cable Line?
Don't let returns eat your margin. At Jingyi Audio, we specialize in high-reliability OEM/ODM audio connectivity.