


Mastering the XLR Connector: A Professional’s Guide to Flawless Soldering and OEM Success
Why a Clean Solder Joint Matters So Much
A cable is only as strong as its weakest connection. When you’re dealing with professional audio, a bad joint isn’t just an inconvenience—it can cause real financial loss.
Imagine a concert where a lead vocal mic cuts out because of one faulty cable. That could delay the show, upset the artist, and make the sound crew look unprofessional. In a recording studio, the same issue can waste precious paid hours.
Every good connection builds trust in your brand, especially for manufacturers who sell to pro clients. If your cables perform reliably, customers remember that. If they fail, they’ll remember that too.
What Makes Up an XLR Connector
|
Part |
Purpose |
Pro Tip |
|
Pins 1–3 |
Carry balanced signals. Pin 1 = Ground, Pin 2 = Hot (+), Pin 3 = Cold (–). |
Always follow the AES14-1992 pin standard. |
|
Metal Shell |
Shields and protects the contacts. |
Choose zinc or aluminum housings for strength and conductivity. |
|
Strain Relief and Boot |
Stops stress from pulling on the solder joints. |
Thread these onto the cable before soldering. |
|
Plastic Insert |
Holds the pins in position. |
Use heat-resistant material to prevent deformation. |
Brands like Neutrik, Amphenol, and Jingyi Audio design their connectors with tight tolerances, corrosion-resistant plating, and strong internal structures to make soldering easier and longer-lasting.
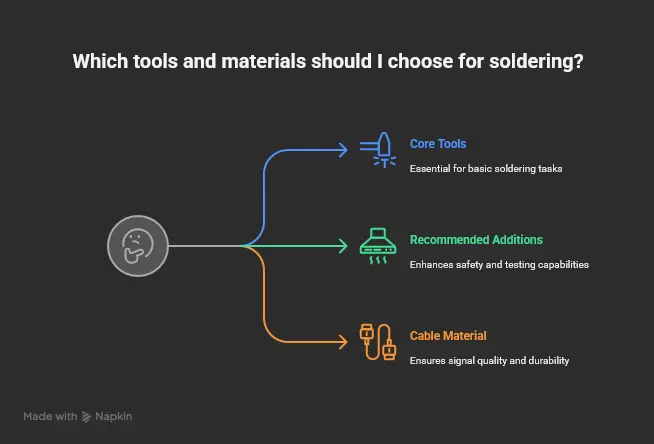
Choosing the Right Tools and Materials
Getting the job done right starts with proper materials. Here’s what you’ll need:
Core Tools
- Temperature-controlled soldering iron (350–380°C)
- 60/40 or lead-free Sn-Ag-Cu solder (0.8–1mm)
- Rosin flux or rosin-core solder
- Wire strippers and small cutters
- Helping hands or vise
- Brass or damp sponge for tip cleaning
Recommended Additions
- Fume extractor or small fan
- Heat-shrink tubing for insulation
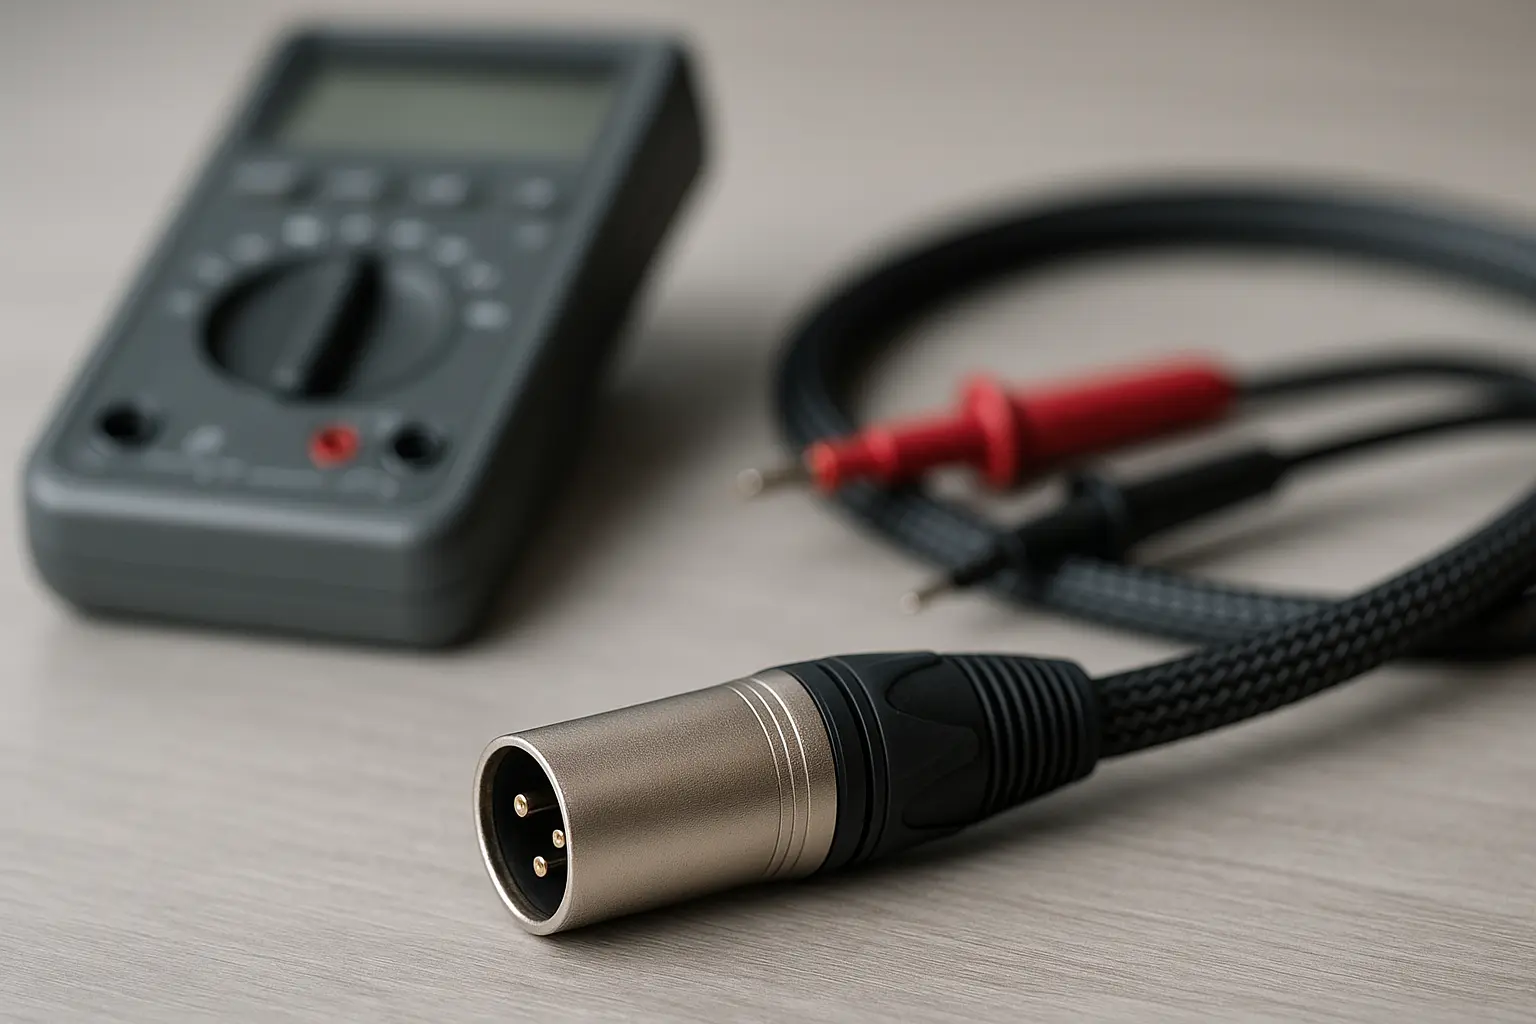
- Digital multimeter for testing continuity
Cable Material
- Use 99.99% Oxygen-Free Copper (OFC) for best signal quality and durability.
- Avoid cheap cables with aluminum or mixed metal cores—they break and oxidize faster.
How to Solder an XLR Connector Step-by-Step
- Prepare the Cable
Disassemble the connector and slide the boot and strain relief onto the cable first (trust us, everyone forgets this once).
Strip about 12–25 mm of the outer jacket, then twist the shield into a single strand. Strip 4–6 mm off the hot and cold wires.
- Tin the Wires and Solder Cups
Tinning helps solder flow faster and makes cleaner joints.
- Heat the wire for 2–3 seconds.
- Touch solder to the wire, not the iron.
- Let solder flow smoothly into the strands.
- Fill each connector cup with a small amount of solder to make a shiny surface.
- Make the Connection
Insert the tinned wire into the tinned cup.
Heat both at once until the solder flows together. Remove heat and hold still until it cools.
You’re looking for a smooth, shiny joint—not dull, bumpy, or grainy. Dull joints usually mean the connection didn’t heat evenly.
Pin layout reminder:
- Pin 1 = Ground/Shield
- Pin 2 = Hot (+)
- Pin 3 = Cold (–)

- Inspect and Reassemble
Look closely at your work. The solder should be smooth, not globbed on. Tug each wire lightly to ensure strength.
Insert the pin section back into the shell, tighten the chuck, and screw on the boot. Make sure the strain relief grips the outer jacket, not the wires inside.
- Test the Cable
Testing is where pros separate from hobbyists. Use a multimeter and check:
- Continuity: Pins 1–1, 2–2, 3–3 should read nearly zero ohms.
- Shorts: There should be no continuity between any two pins.
- Ground: Pin 1 should connect to the shell.
If you flex the cable and the reading changes, redo it—something’s loose.
Common Problems and Quick Fixes
|
Problem |
Why It Happens |
Fix |
|
Hum or Buzz |
Poor grounding or shield touching another pin. |
Resolder Pin 1 carefully and separate strands. |
|
No Signal |
Cold joint or pin swap (2 ↔ 3). |
Reheat joint, verify pin order. |
|
Cable Cuts Out |
Strain relief not tight, wire flexing. |
Tighten chuck, reinforce with heat-shrink. |
|
Melting Plastic |
Iron too hot or applied too long. |
Lower temp or use shorter contact time. |
Building for Production: OEM and Professional Use

When soldering by hand, one person’s skill can make or break a cable. In production, consistency is everything.
For OEM operations, it’s all about repeatability—every connector should look, feel, and perform exactly the same.
To achieve that:
- Write clear work instructions with images.
- Set up QC checkpoints for every batch.
- Track failure rates and rework data.
- Partner with reliable component suppliers like Jingyi Audio for precision connectors and OFC materials.
These small process improvements reduce rework time and warranty claims—saving money while improving your product’s reputation.
Why Jingyi Audio Is Trusted by OEM Manufacturers
For companies building products in the US or EU, reliable supply chains are non-negotiable. Jingyi Audio has become a preferred OEM partner because of its balance of quality and consistency.
They offer:
- 99.99% OFC conductors and gold-plated contacts
- ISO 9001 certified manufacturing
- RoHS and REACH compliance
- Precision-machined solder cups for easy assembly
For large-scale production, uniform quality like this means fewer field failures and faster assembly times. Visit site_5615465d-0395-48c6-b01f-dc3d38213fc5 to learn more about their OEM capabilities.
Tips for Long-Lasting Cables
- Use heat-shrink over each solder joint.
- Don’t overheat connectors—shorter contact times are safer.
- Use contact cleaner every few months in humid or dusty setups.
- Label cables by length or use to simplify troubleshooting later.
- Store cables in loose coils to prevent stress on connectors.
Expanded FAQ: XLR Connector Troubleshooting & Tips
- What are the three pins on an XLR connector for?
Pin 1 is Ground, Pin 2 is Hot (+), and Pin 3 is Cold (–). This setup keeps the signal balanced and cancels out interference.
- How hot should my soldering iron be?
Most pros work between 350°C and 380°C. Too low, and you’ll get cold joints; too high, and you might melt the connector insert.
- Should I use leaded or lead-free solder?
Both work. Lead-free solder is safer for the environment but harder to use. If you’re not producing for export, leaded solder gives smoother flow.
- My new cable hums. What’s wrong?
Check that the ground (Pin 1) is solid and that no shield strands touch Pins 2 or 3. Also, make sure your equipment uses balanced inputs.
- Can I reuse old XLR connectors?
Yes, if the pins are still tight and clean. Remove old solder, polish the contacts, and check for heat damage before reusing.
- How do I know if my solder joint is solid?
The solder should look shiny and slightly concave. If it’s dull or grainy, it’s likely a cold joint—reheat it briefly until it flows smoothly.
- What’s the difference between gold and silver plating?
Gold resists corrosion better, especially in humid environments. Silver has slightly better conductivity but tarnishes faster.
- Why use balanced XLR connections instead of unbalanced cables?
Balanced lines cancel out noise picked up along the cable. That’s why every professional studio, stage, and broadcast system uses them.
- How long should a pro-grade XLR connector last?
Quality connectors like those from Jingyi Audio or Neutrik can handle 1,000–5,000 plug-ins if treated properly.
- What’s the best way to test a finished cable?
Use a multimeter or dedicated cable tester. Check continuity, resistance, and verify no shorts. A quick 30-second test prevents hours of troubleshooting later.
Final Thoughts
Soldering XLR connectors might look simple, but doing it well separates casual builders from real professionals. Take the time to prepare, use quality materials, and always test your work.
Whether you’re building a single mic cable or producing thousands for an OEM order, a clean solder joint is the difference between a product that just works—and one that people trust.