


The Ultimate Microphone Cable Guide: XLR Pinouts, Wiring, and Troubleshooting for 2025
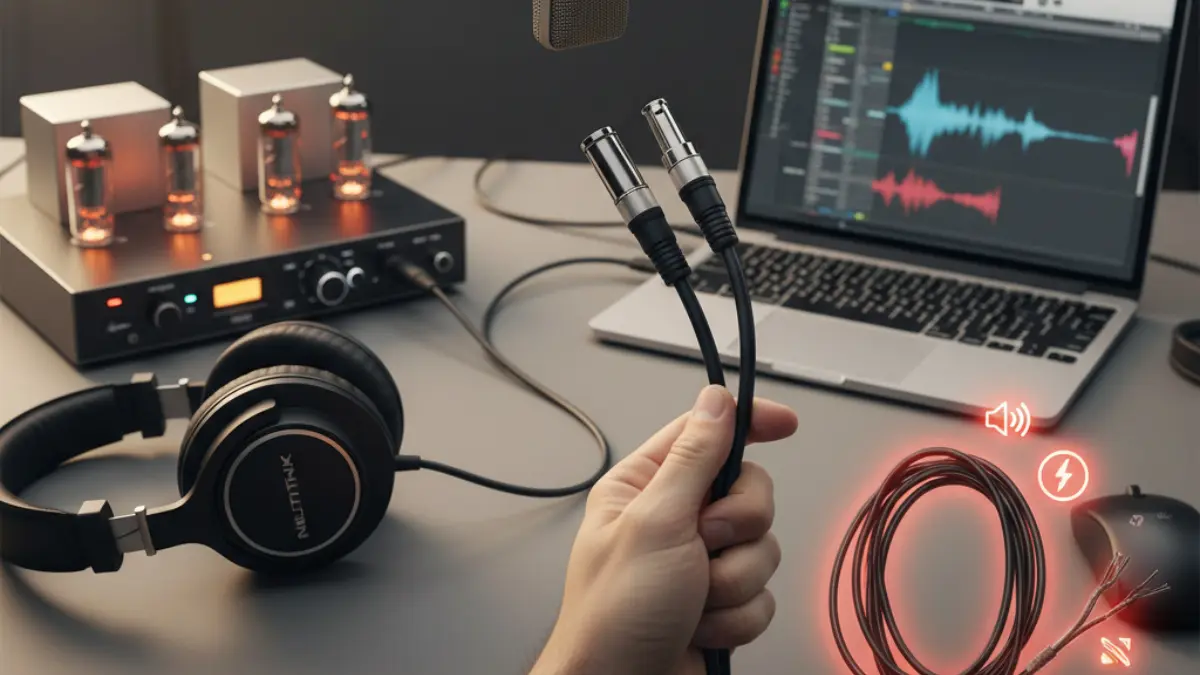
Why Microphone Cables Deserve More Attention
It’s easy to think of a microphone cable as just a simple wire, but that small link between your mic and your gear has a massive impact on how your sound turns out. If your setup hums, buzzes, or crackles, chances are the problem isn’t your microphone — it’s the cable.
A solid microphone cable keeps your signal clean and quiet. A bad one can ruin a performance or a recording faster than anything else. The best part? Once you understand a few basics about how these cables are wired and how to spot problems early, you can solve nearly any audio issue yourself.
This guide walks you through everything — how balanced cables cancel noise, what each XLR pin does, how to wire your own connectors, and how to find and fix ground loops. Whether you’re a home studio artist, live sound engineer, or sourcing cables for a professional brand, this is the guide you’ll want to bookmark for 2025.
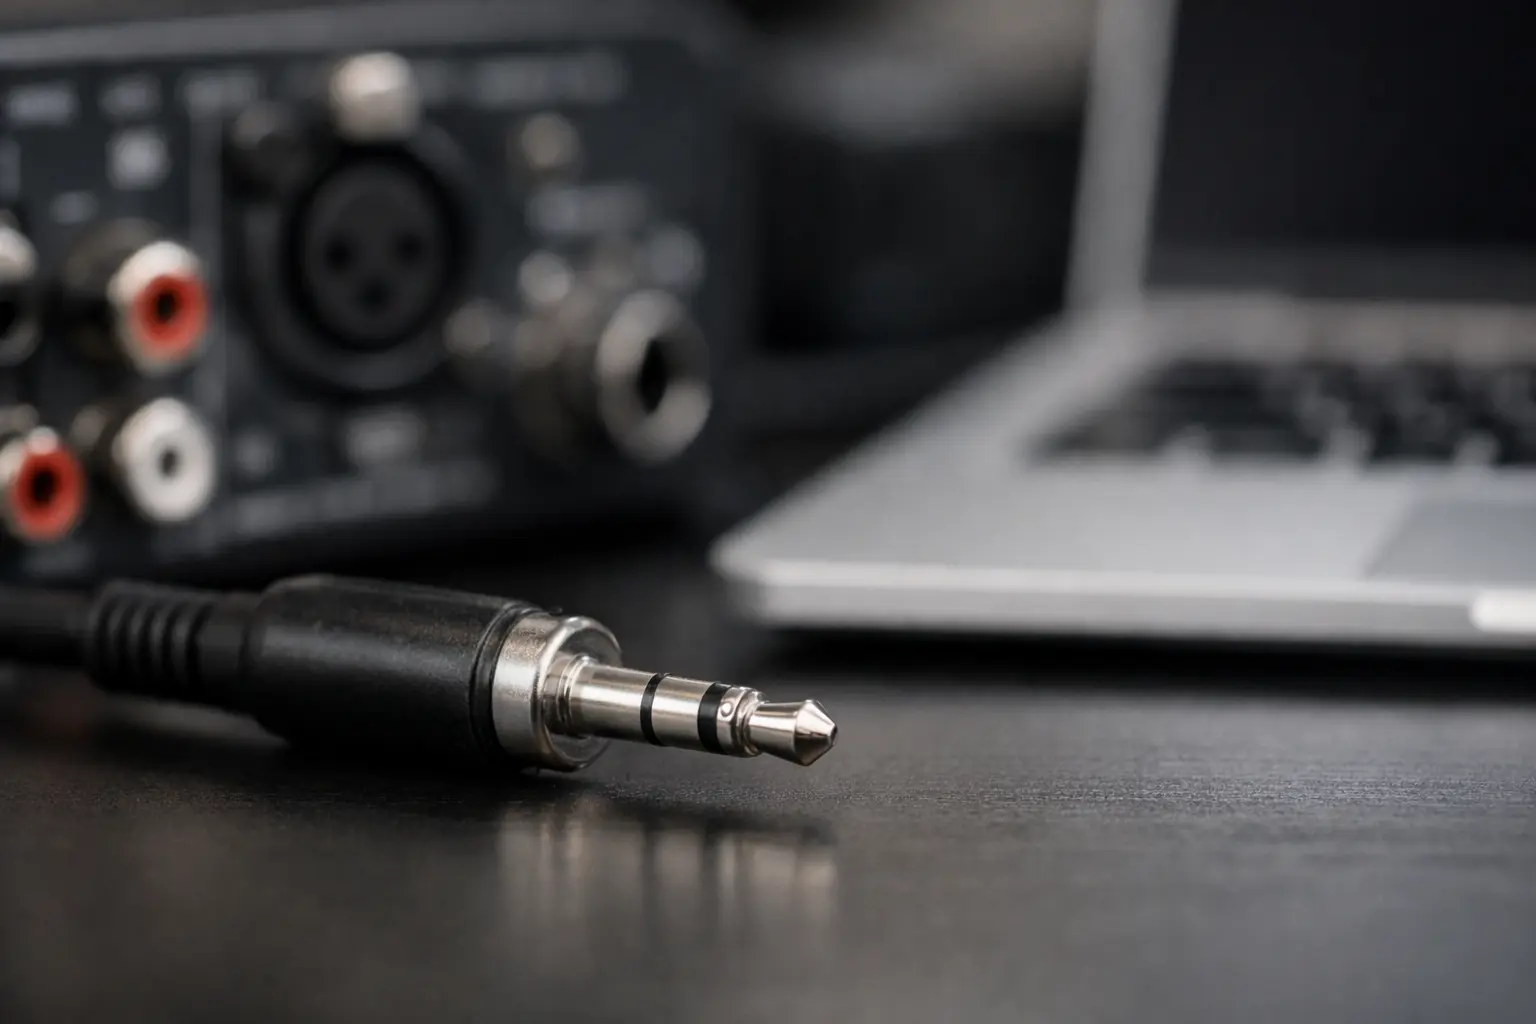
Balanced vs. Unbalanced Audio: Why It Matters
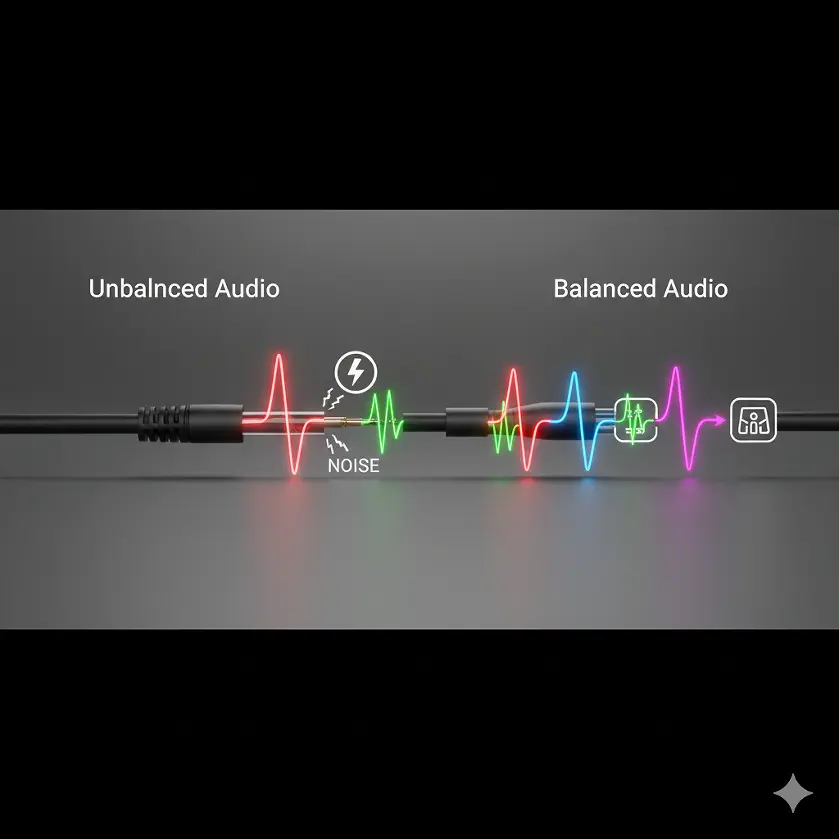
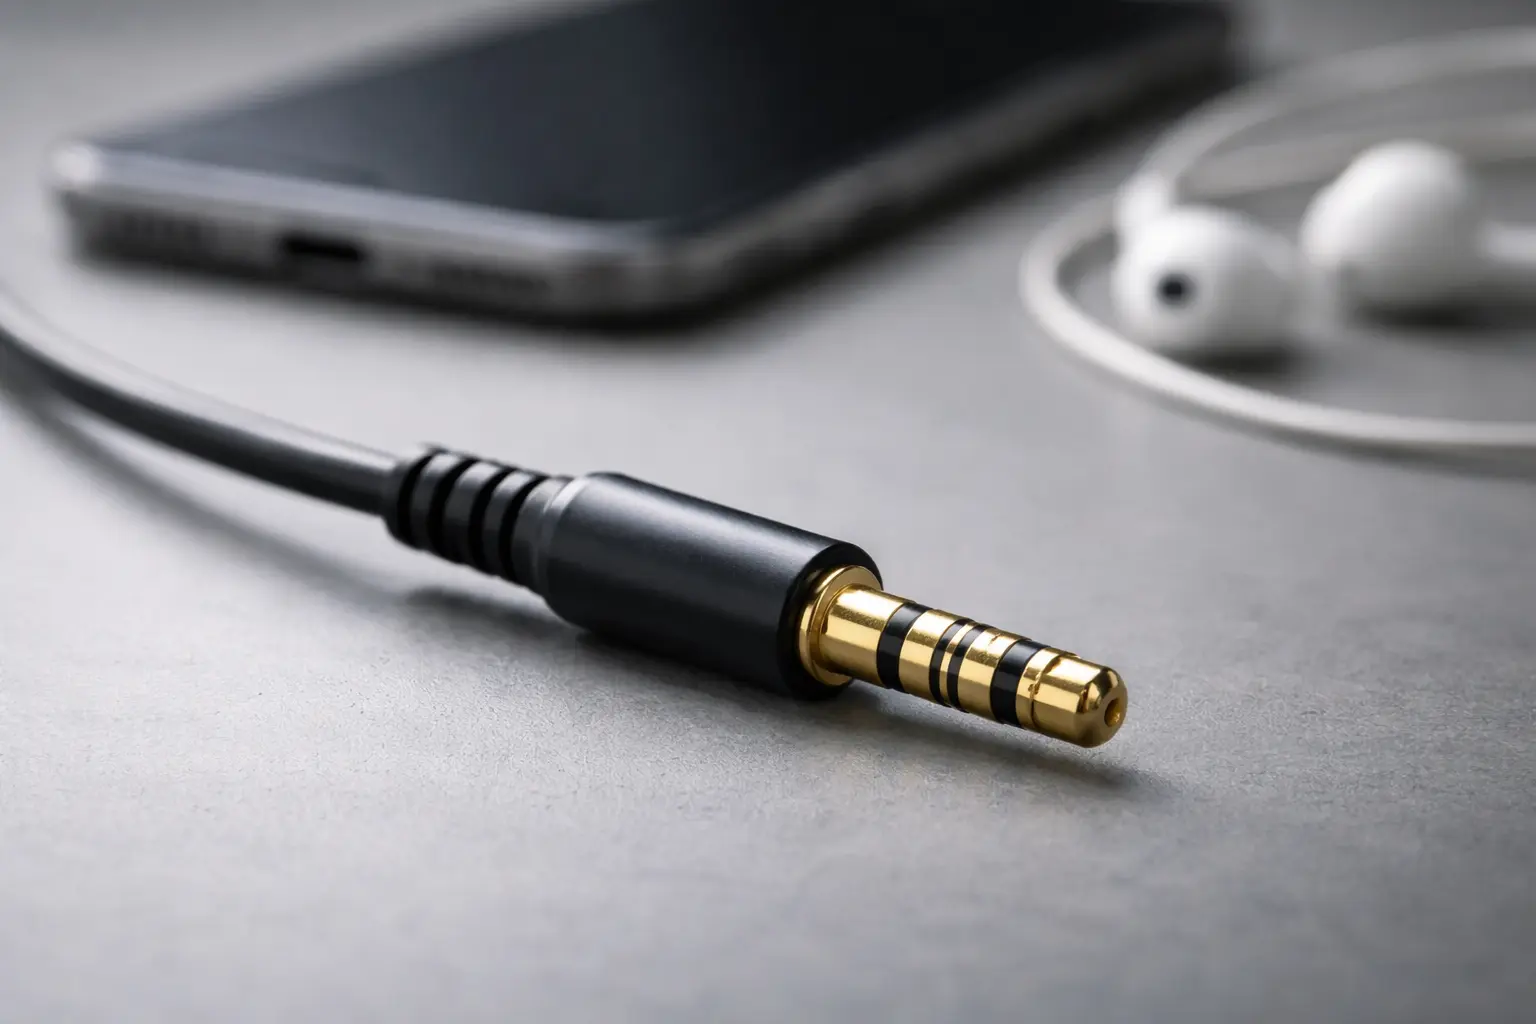
Unbalanced Cables
An unbalanced cable uses two conductors:
- One carries your signal.
- The other serves as ground (and shielding).
It’s simple and works fine for short runs — like a guitar plugged into an amp. But the longer that cable gets, the more noise it picks up from surrounding electrical sources. Ever heard a faint hum or radio noise in your speakers? That’s unbalanced interference.
Balanced Cables
Balanced cables fix that. They use three wires:
- Pin 1:Ground
- Pin 2:Hot (positive signal)
- Pin 3:Cold (negative signal)
Pins 2 and 3 both carry the same signal, but one is flipped upside down (180° out of phase). Any noise that sneaks into the cable hits both lines equally. When it reaches your audio interface or mixer, one signal is flipped back to normal, canceling the noise completely. This is why balanced microphone cables are the gold standard for pro audio.
When to Use Which
|
Scenario |
Cable Type |
Reason |
|
Studio recording |
Balanced (XLR or TRS) |
Keeps vocals clean, even across long runs |
|
Live sound setup |
Balanced |
Reduces hum near power sources |
|
Home music practice |
Unbalanced (TS) |
Fine for short distances |
|
Keyboard or synth to interface |
Balanced |
Prevents ground interference |
If your audio run is longer than 15–20 feet (5–6 meters), or if you’re working near lighting or stage gear, always go balanced.
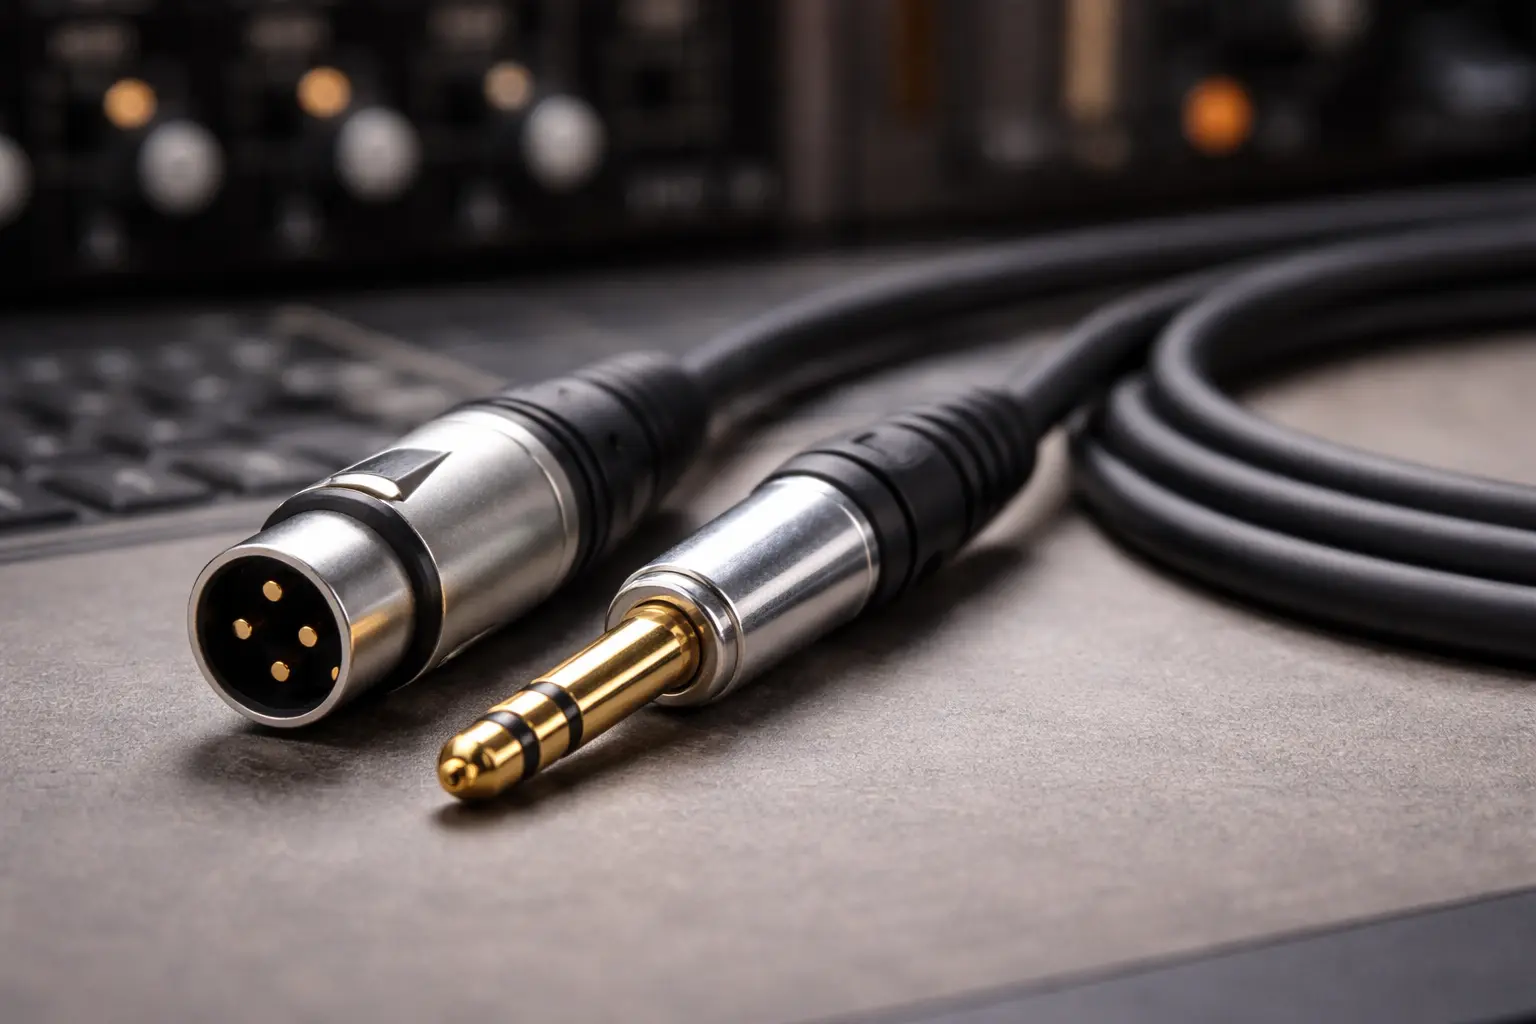
Inside an XLR Connector
The Standard 3-Pin Setup
An XLR connector might look complicated, but the wiring is simple:
|
Pin |
Function |
Typical Wire Color |
|
1 |
Ground / Shield |
Bare or silver |
|
2 |
Hot (+) |
Red or white |
|
3 |
Cold (–) |
Black or blue |
This setup has been standard for decades and ensures your mic connects cleanly to any piece of professional gear. Pin 1 always connects first, protecting your system from pops or shocks.
What About “Pin 3 Hot”?
Some older American gear (before the 1980s) was wired “Pin 3 Hot,” meaning it reversed polarity. You’ll notice slightly hollow or thin sound when you mix it with newer gear.
Fix it by flipping the phase switch on your preamp, or make a short adapter cable that swaps pins 2 and 3. Easy.
Other XLR Types
While 3-pin XLRs handle microphones, you’ll also see:
- 4-pin XLRsfor intercom headsets or DC power
- 5-pin XLRsfor stereo mics or DMX lighting
⚠️ Warning: Don’t use standard mic cables for DMX lighting. DMX runs on 110-ohm data lines; regular mic cables have lower impedance and can cause flickering or communication errors.
How to Wire Microphone Cables Yourself
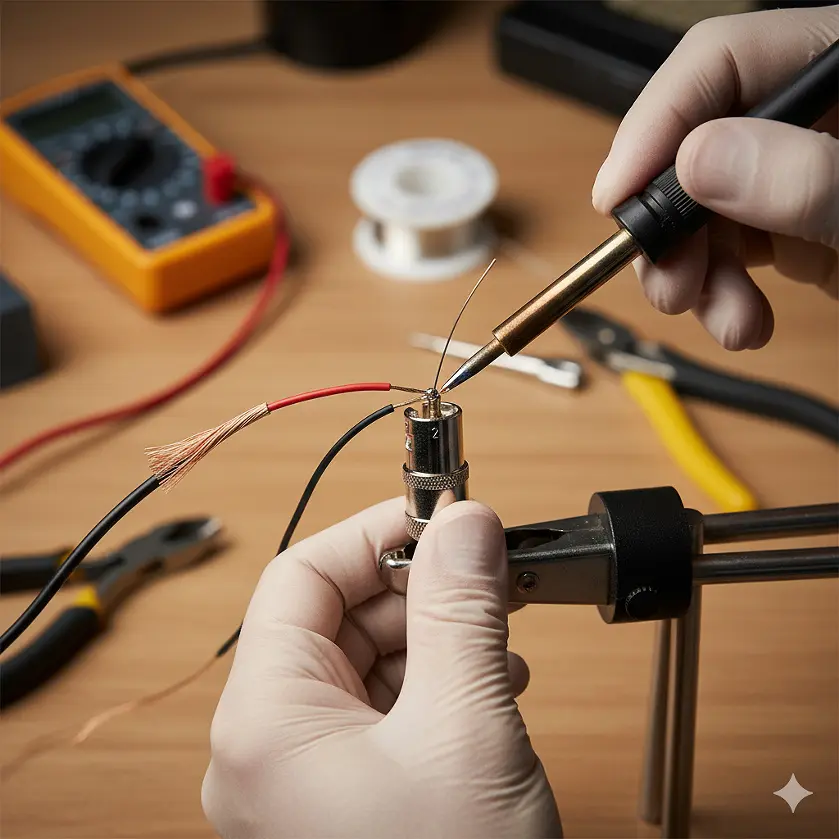
Making or repairing cables is a skill every sound person should know. You don’t need expensive tools — just a soldering iron, wire cutters, and patience.
XLR to XLR (Balanced)
|
XLR Female |
XLR Male |
Connection |
|
Pin 1 |
Pin 1 |
Ground |
|
Pin 2 |
Pin 2 |
Hot (+) |
|
Pin 3 |
Pin 3 |
Cold (–) |
Keep the wires short inside the connector and use the built-in strain relief. Always double-check your pin numbering — it’s easy to flip 2 and 3 by accident.
XLR to TRS (Balanced)
|
XLR Pin |
TRS Contact |
Function |
|
Pin 1 |
Sleeve |
Ground |
|
Pin 2 |
Tip |
Hot (+) |
|
Pin 3 |
Ring |
Cold (–) |
Use this for balanced patching between gear like mixers and interfaces.
XLR to TS (Unbalanced)
If your gear only has unbalanced inputs, use one of these two safe methods:
Method 1 (Grounded Pin 3):
|
XLR Pin |
TS Contact |
Connection |
|
Pin 1 |
Sleeve |
Ground |
|
Pin 2 |
Tip |
Signal |
|
Pin 3 |
Jumper to Pin 1 |
Grounded |
Method 2 (Pin 3 Floating):
|
XLR Pin |
TS Contact |
Connection |
|
Pin 1 |
Sleeve |
Ground |
|
Pin 2 |
Tip |
Signal |
|
Pin 3 |
— |
Not connected |
Leaving Pin 3 floating may drop the signal slightly, but it’s the safest wiring method for modern gear.
Common Microphone Cable Problems (and Fixes)
- Ground Loops
A ground loop happens when two pieces of gear share more than one path to ground. You’ll hear a 50Hz or 60Hz hum that won’t go away, even with new cables.
Fixes:
- Power all gear from the same outlet strip.
- Use balanced cables wherever possible.
- Lift the shield on one end of the cable if needed (never both).
- Avoid using ground lift adapters on mains plugs — they’re unsafe.
- Crackling or Dropouts
Usually caused by:
- Loose solder joints inside the connector
- Bent or dirty pins
- Cheap cable that’s broken near the connector
Fix: Re-solder connections or replace the connector entirely. Always buy cables with molded or metal strain reliefs.
- Phase Reversal
When the “hot” and “cold” wires are swapped, your mic sounds hollow or distant, especially when mixed with other signals. Fix it by reversing pins 2 and 3 on one end.
- Physical Damage
Stepping on cables, slamming doors on them, or coiling them wrong can break the internal conductors.
Pro Tip: Use the over-under wrapping method — alternate the twist direction each loop. It prevents kinks and keeps the cable flat when unrolled.
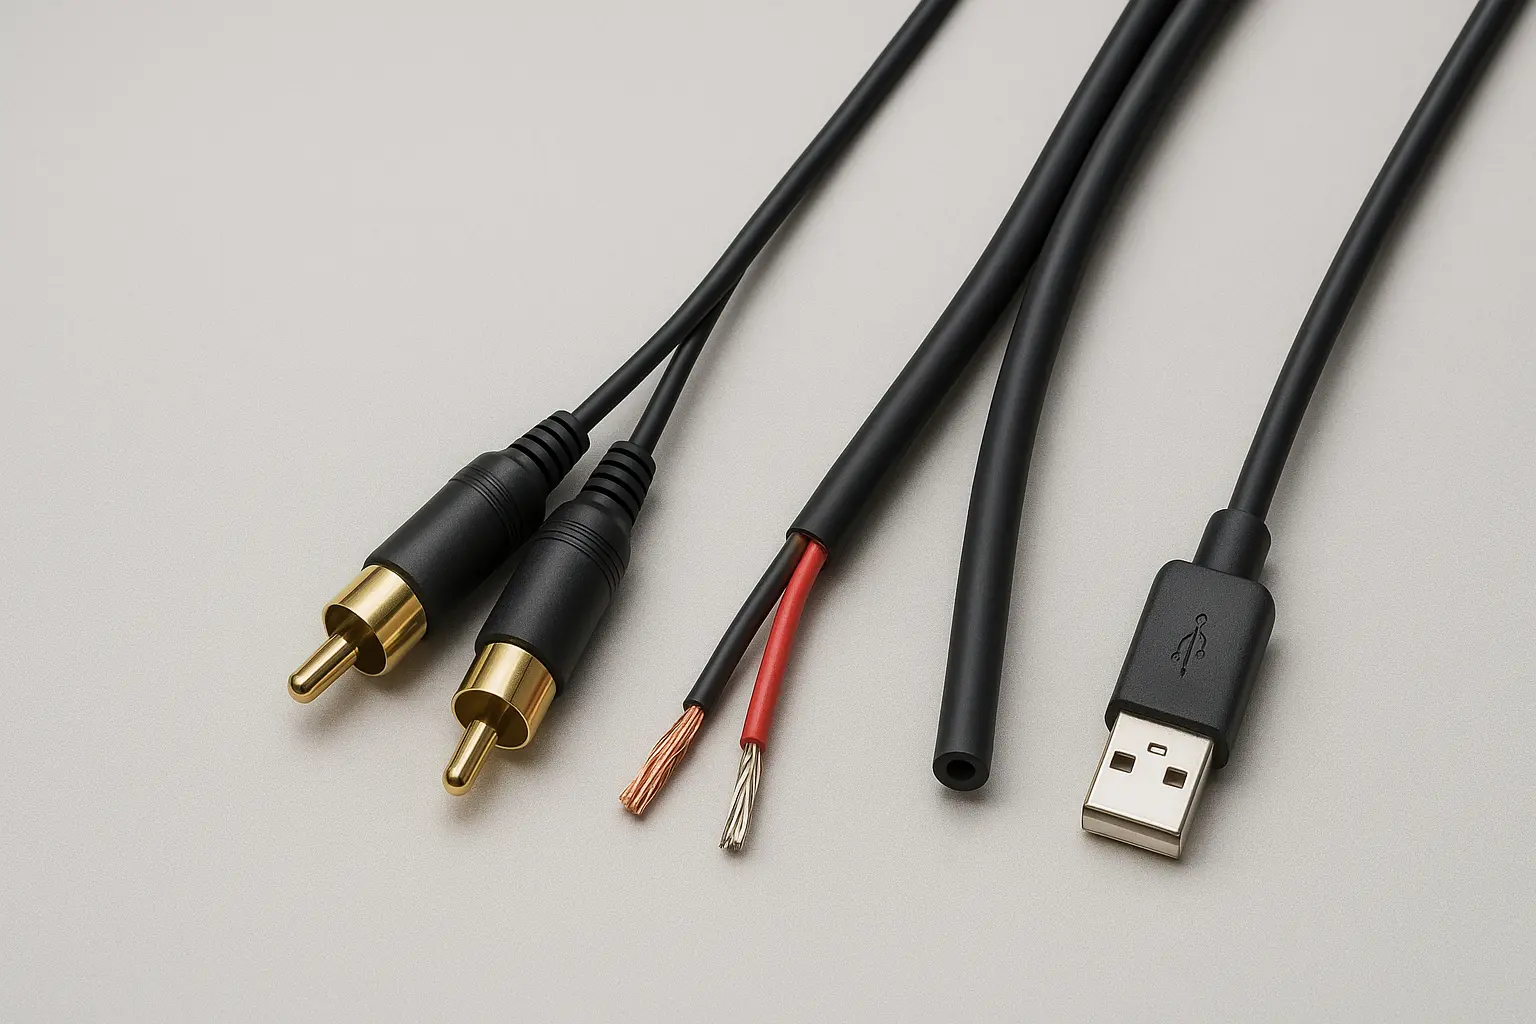
Choosing the Right Cable Materials
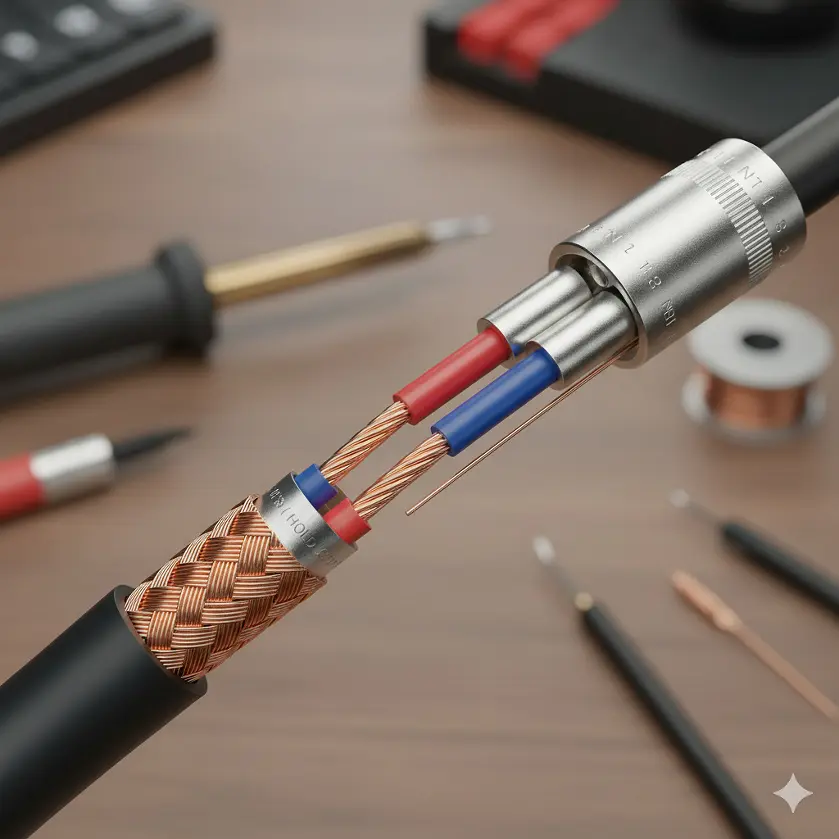
Not all cables are made equal. Here’s what matters most when choosing or sourcing microphone cables.
|
Part |
What It Does |
What to Look For |
|
Conductor |
Carries signal |
Oxygen-free copper (OFC) |
|
Shield |
Blocks interference |
95% braided copper or foil + drain wire |
|
Jacket |
Protects the cable |
Flexible PVC or rubber with high bend tolerance |
|
Connectors |
Transfers signal |
Neutrik, Amphenol, or high-grade OEM parts |
If you’re sourcing from OEM manufacturers, such as Jingyi Audio in China, check that their cables follow standards like AES14-1992 for balanced wiring and RoHS compliance for materials.
A well-built microphone cable from a good factory should last 5–10 years, even with daily use.
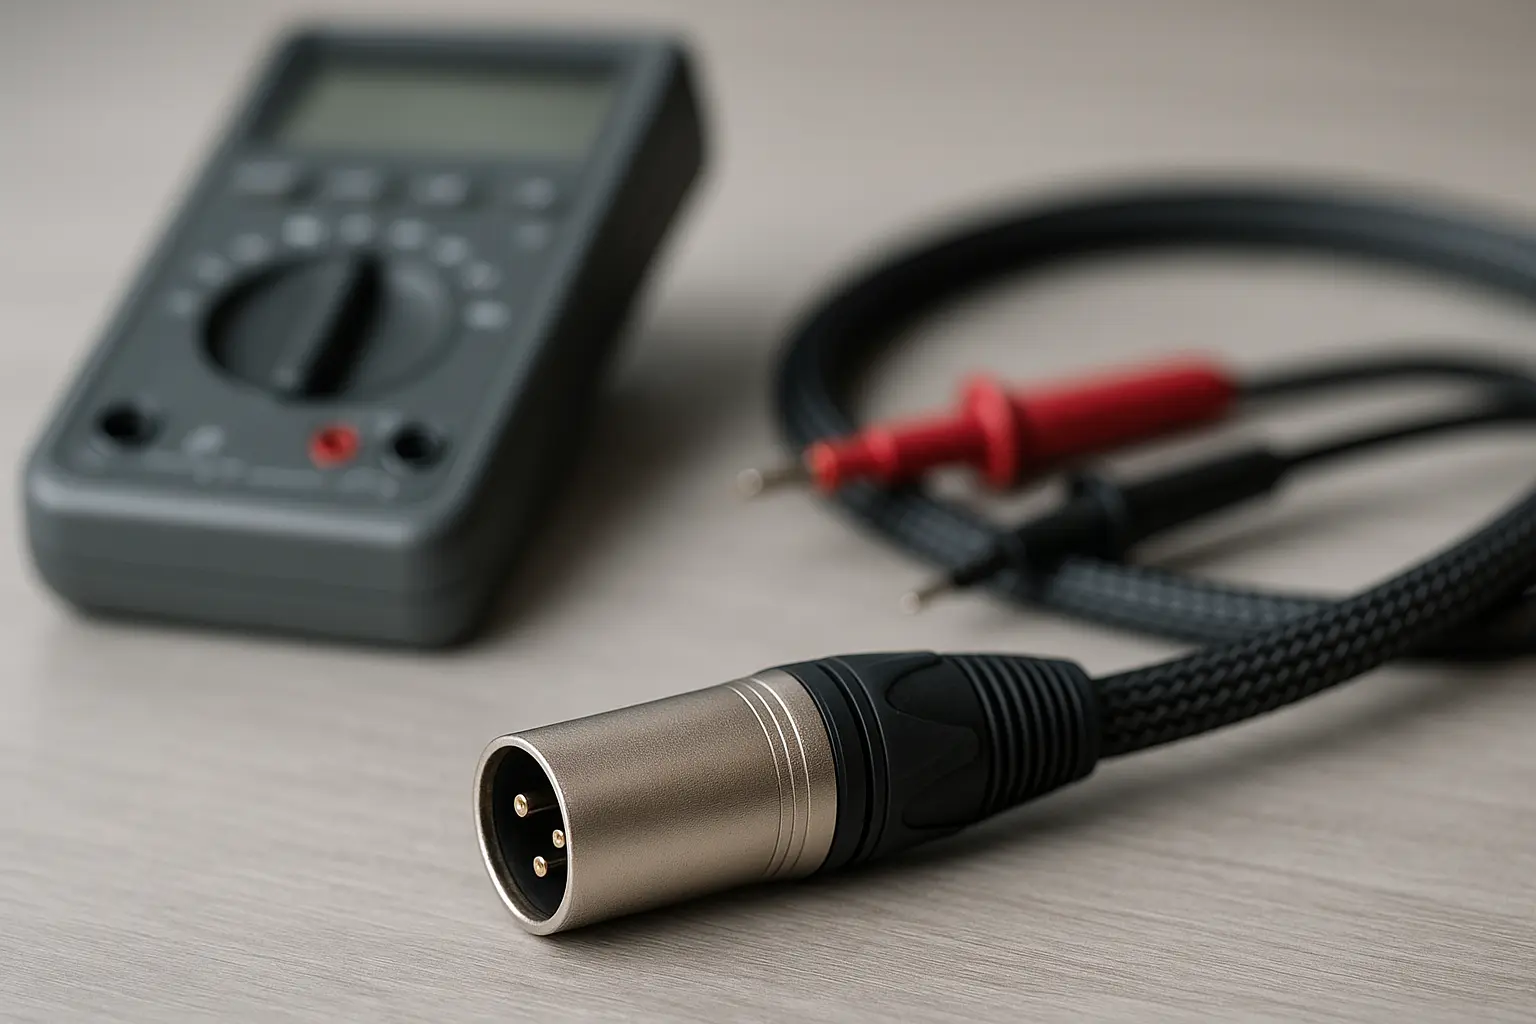
Testing Microphone Cables
Before any show or recording session, test your cables. Here’s how:
- Use a cable tester– plug both ends in, and LEDs will show if all pins connect properly.
- Use a multimeter– check continuity between the same pins (1–1, 2–2, 3–3).
- Quick signal test– plug a mic in and listen. Move the cable around. If you hear pops or hum, inspect the solder joints or shielding.
Regular testing keeps you from chasing gremlins during a live gig.
Gold-Plated vs Nickel Connectors
Gold-plated connectors don’t make your mic sound better, but they resist corrosion much longer. In humid or outdoor environments, they’re worth the upgrade.
For studio use, nickel connectors are fine and cost less. The key is consistent contact — keep your connectors clean with isopropyl wipes.
Cable Storage Tips
- Always use the over-under coil method.
- Never wrap cables tightly around your elbow.
- Use Velcro straps instead of tape.
- Store in a dry, cool space away from sunlight.
A $20 cable can easily outlast a $1,000 mic if you treat it right.
Buying Microphone Cables in 2025
If you’re a professional buyer or OEM partner, here’s what to check before ordering in bulk:
- Gauge:24 AWG is standard, thicker wire for longer runs.
- Shielding:95% coverage or better.
- Jacket flexibility:Essential for touring or stage use.
- Connector quality:Look for strain relief, gold plating, and solid soldering.
- Compliance:RoHS, REACH, and CE standards matter for global export.
Reliable suppliers like Jingyi Audio offer OEM and ODM customization — color, length, and labeling options included.
Choosing the right factory means fewer returns, better consistency, and easier branding.
FAQs: Microphone Cable Basics
Q1: Can I use any XLR cable as a microphone cable?
Yes, as long as it’s a balanced XLR cable. But don’t mix mic cables with DMX or line-level cables—they may look the same but have different impedance.
Q2: How long can a microphone cable be?
Up to 100 feet (30 meters) is usually safe without noticeable loss. For longer runs, use active boosters or balanced lines.
Q3: Why does my mic hum when I touch the cable?
You likely have a ground issue—try a different power outlet or cable. If the problem stays, the cable shield may be broken.
Q4: What’s better—gold or nickel connectors?
Gold resists corrosion better. Nickel is cheaper and fine for dry, indoor use.
Q5: How can I test my cable quickly?
Plug it in, wiggle it gently, and listen. If you hear pops, cut out, or hum, check the connectors or shielding.
Q6: Can a cable affect sound quality?
Yes, mainly through noise, interference, or high resistance. A well-shielded, balanced microphone cable always sounds cleaner.
Final Thoughts
A microphone cable might not be glamorous, but it’s the quiet hero that keeps every take and performance clean.
With the right cable design, good maintenance, and a reliable manufacturer, you’ll spend less time fixing noise problems and more time focusing on sound. In a world full of gear upgrades, this is one place where quality always pays off.
External Resource:
For more on balanced wiring standards, visit the Audio Engineering Society’s AES14 guidelines.