


What Is a Microphone Cable? The Complete Guide
Ever wondered why some recordings sound crystal clear while others have that annoying buzzing or interference? The answer often lies in something many people overlook: the microphone cable.
A microphone cable is a specialized audio transmission line designed to carry low-level signals from microphones to recording equipment while cutting down on noise and interference. Unlike standard audio cables, microphone cables are built to handle the delicate, weak electrical signals that microphones produce—typically just a few millivolts.
This guide will show you the different types of microphone cables, how they work, what makes some cables better than others, and how to choose the right one for your setup. Whether you're building a home studio, performing live, or working in professional broadcasting, understanding microphone cables is key to getting professional audio quality.
How XLR Microphone Cables Work: Balanced vs Unbalanced Systems
Understanding what microphone cable technology is requires grasping the basic difference between how these cables transmit audio signals compared to regular wires.
Basic Signal Transmission Principles
Microphones produce incredibly weak electrical signals—often 1000 times quieter than the line-level signals used by most audio equipment. These delicate signals easily pick up electromagnetic interference (EMI) from power cables, cell phones, Wi-Fi routers, and other electronic devices. Without proper cable design, your audio gets swamped by hums, buzzes, and static.
Professional microphone cables solve this problem through balanced transmission. This clever system uses three conductors: two carry identical audio signals with opposite polarity (called "hot" and "cold"), while the third provides a ground reference.
Why Balanced Audio Cables Reduce Noise
Here's where the magic happens: any interference that affects the cable impacts both signal wires equally. When the receiving equipment flips the polarity of one signal and combines it with the other, the original audio doubles in strength while the interference cancels out completely. This process, called common mode rejection, can eliminate up to 60 dB of noise—that's a 1000-fold reduction in unwanted sound.
Unbalanced cables, by contrast, use only two conductors (signal and ground) and offer no protection against interference. While adequate for short runs with strong signals, they're unsuitable for professional microphone applications.
What's Inside a Professional Microphone Cable: Construction and Materials
The anatomy of microphone cable types shows you why some cables cost more than others and perform better in tough environments.
Conductor Core Materials and Design
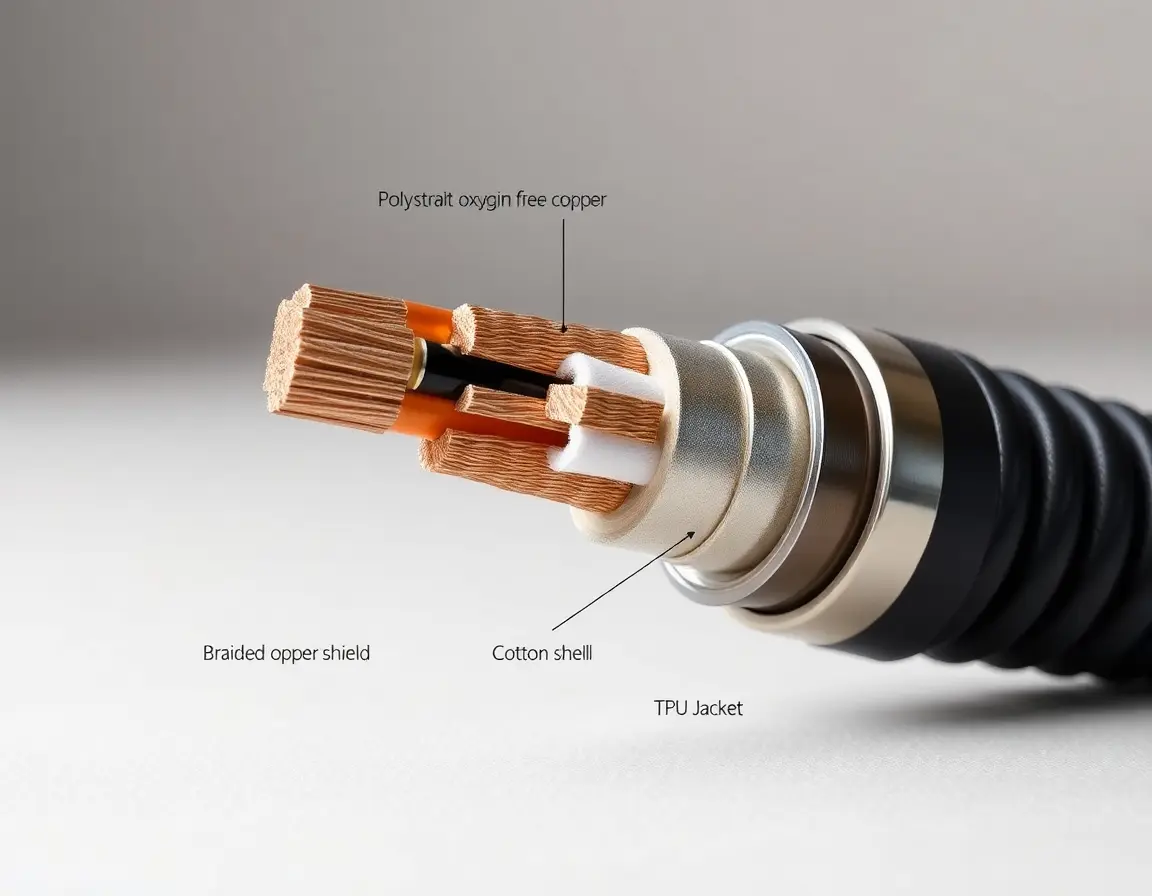
The heart of any microphone cable is its conductor core. Professional cables typically use oxygen-free copper (OFC) or tinned copper conductors, usually in 20-24 AWG (American Wire Gauge). The lower the AWG number, the thicker the wire and the lower its electrical resistance—important for long cable runs.
High-end cables often feature multi-strand construction rather than solid-core wire. These flexible strands resist fatigue from repeated bending and coiling, which is huge for touring and live performance applications.
Insulation and Capacitance Control
Each conductor is wrapped in insulation, typically polyethylene (PE) or polytetrafluoroethylene (PTFE). This isn't just about preventing short circuits—the insulation material directly affects the cable's capacitance. Lower capacitance preserves high-frequency response, particularly important for sensitive condenser microphones.
Premium cables include cotton or paper fillers that maintain the cable's round cross-section and provide additional protection for the delicate inner components.
Advanced Shielding Systems
The shielding system separates good cables from exceptional ones. Basic cables use simple braided copper shields with 85-90% coverage. Professional grades employ combination shielding: aluminum foil provides 100% coverage against radio frequency interference (RFI), while braided copper shields handle lower-frequency electromagnetic interference (EMI).
The outer jacket, typically PVC or thermoplastic polyurethane (TPU), protects against moisture, oils, and physical damage while maintaining flexibility across temperature extremes.
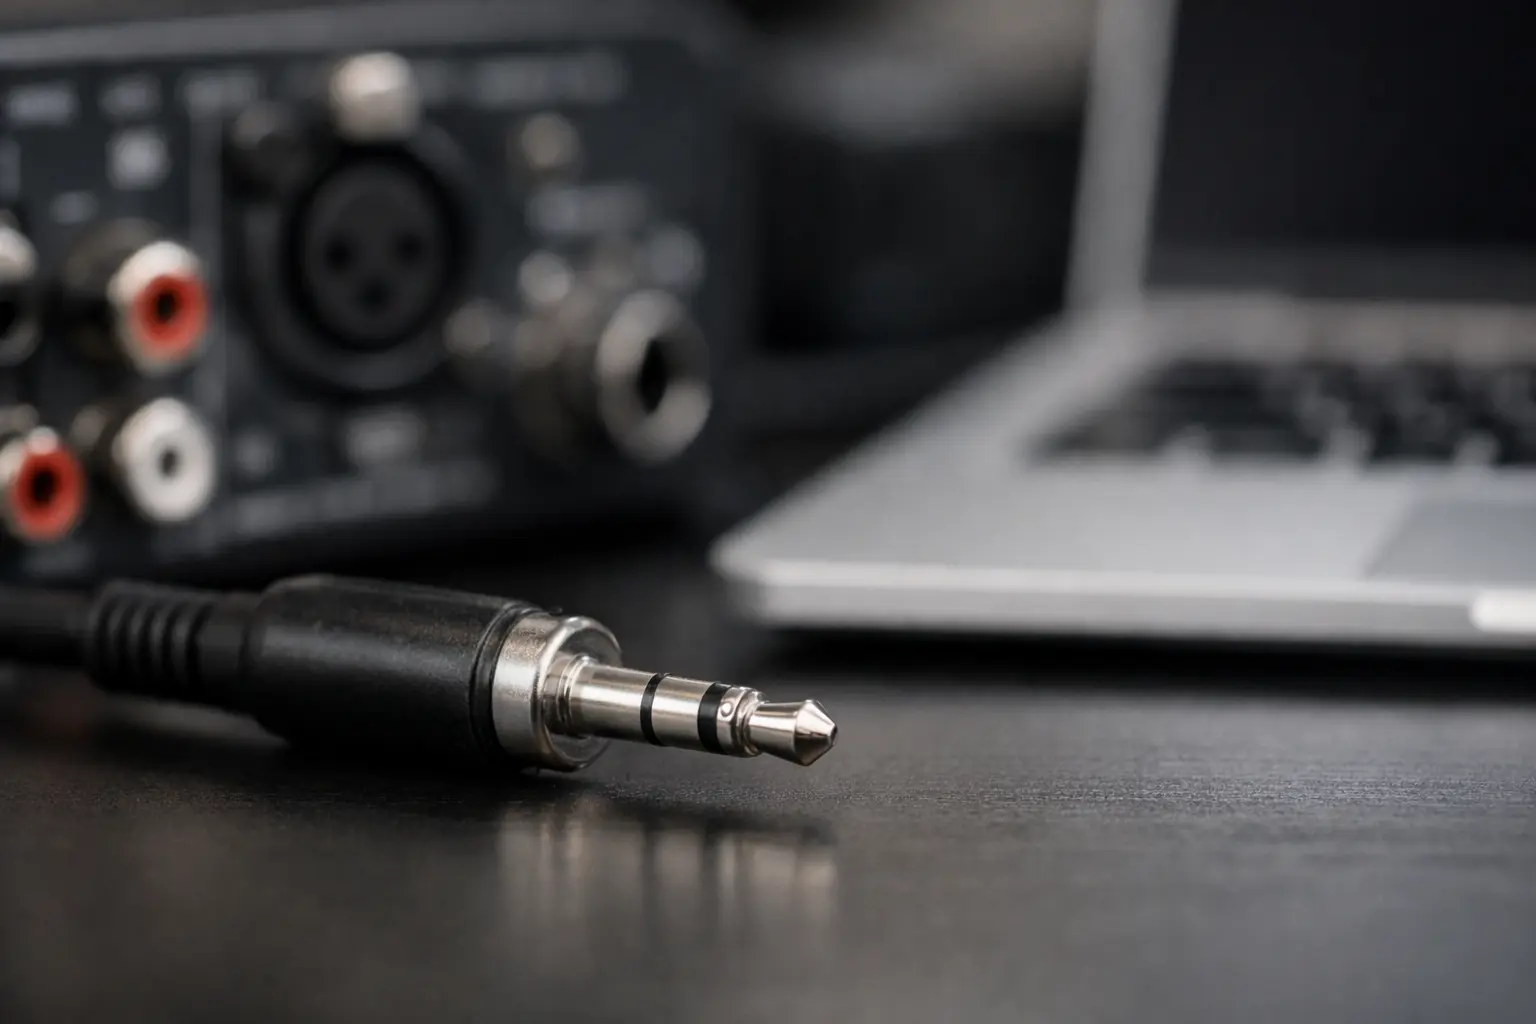
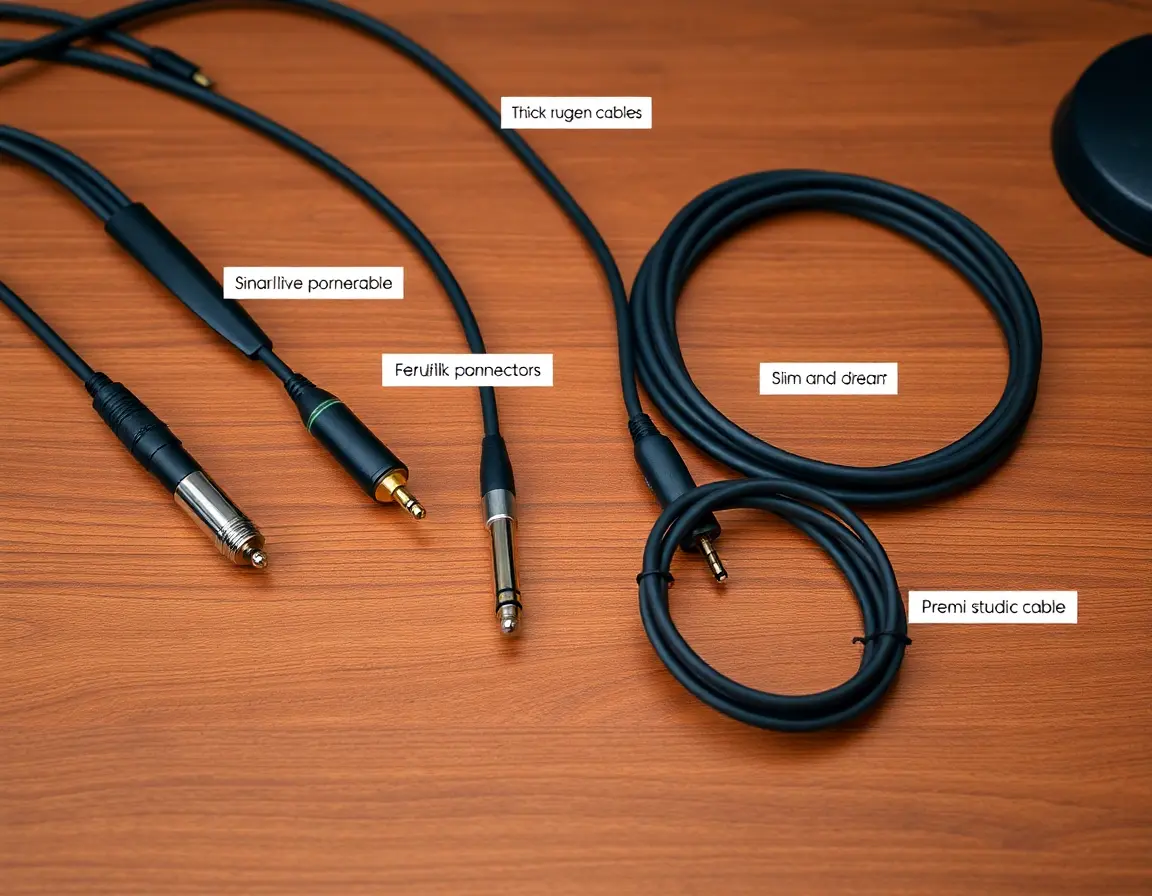
Common Microphone Cable Types: XLR, TRS, and Specialty Connectors
Different applications require different connector types, each optimized for specific use cases and signal requirements.
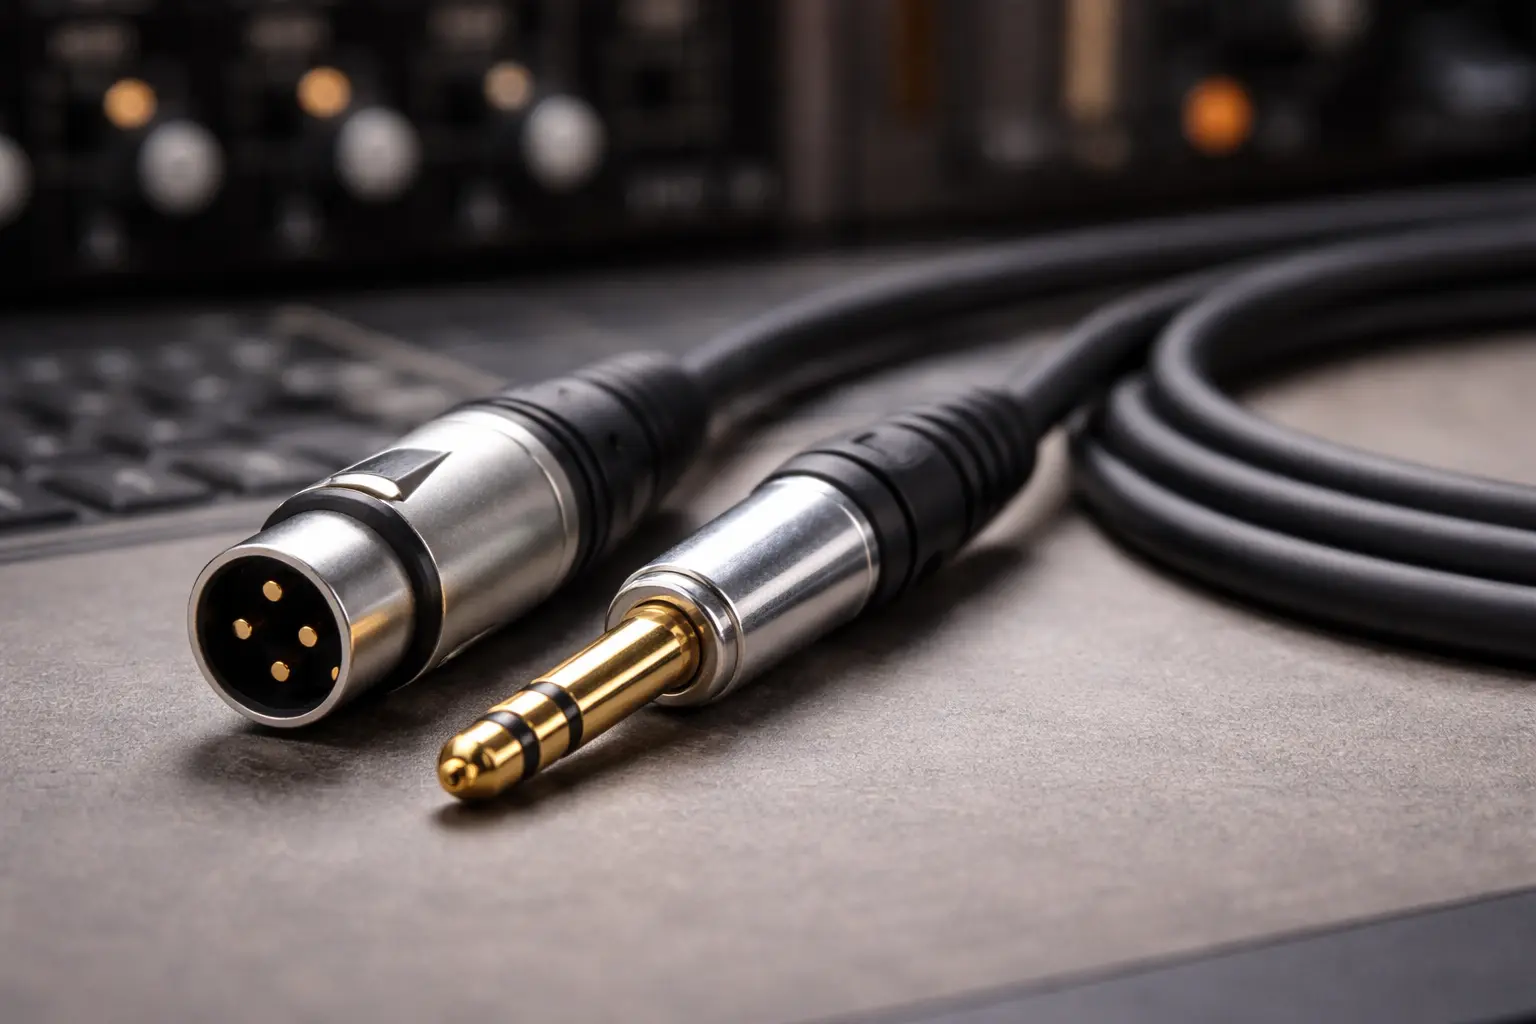
XLR Microphone Cable Standards
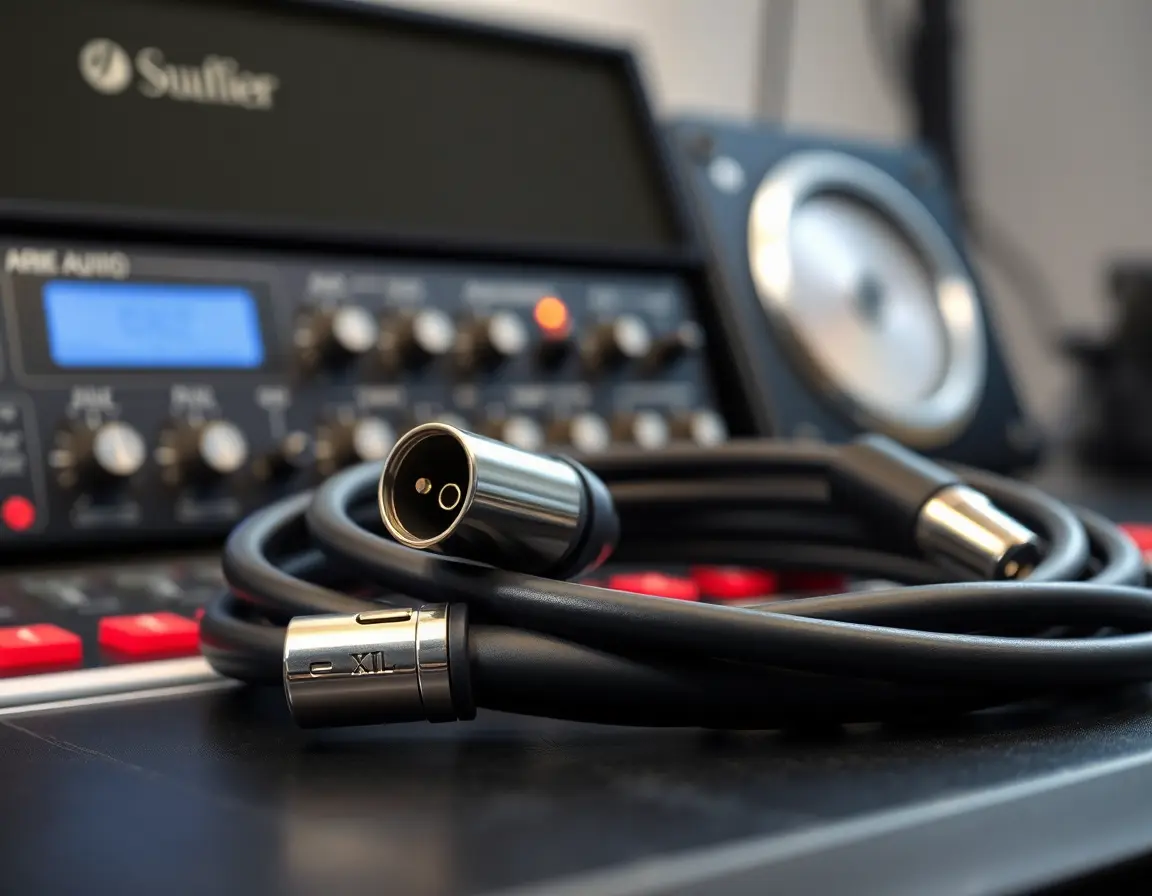
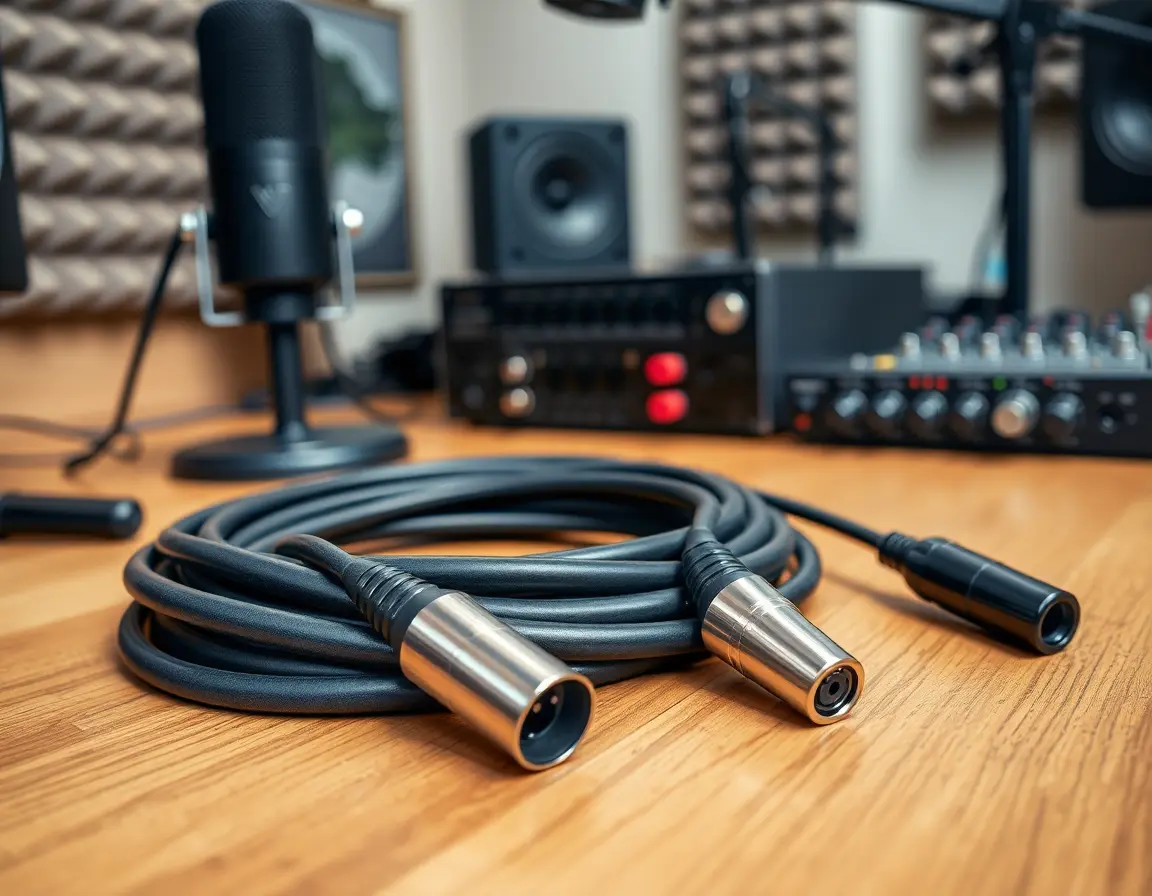
The 3-pin XLR connector dominates professional audio for good reason. Its robust locking mechanism, clear pin designation (Pin 1-Ground, Pin 2-Hot, Pin 3-Cold), and ability to carry phantom power make it ideal for studio and live applications.
Male XLR connectors typically attach to microphone outputs, while female XLR connectors connect to mixer and preamp inputs. This configuration prevents accidental short circuits and maintains consistent signal flow direction throughout audio systems.
Specialty variants include 5-pin XLR for stereo applications and 7-pin XLR for vintage tube microphones requiring separate heater voltage supplies.
TRS Balanced Cable Connections
Quarter-inch TRS (Tip-Ring-Sleeve) connectors provide balanced connections in a more compact format. The tip carries the hot signal, the ring carries the cold signal, and the sleeve provides ground—functionally identical to XLR but in a different physical format.
TRS connections are common in patch bays, some preamps, and situations where space constraints make XLR impractical.
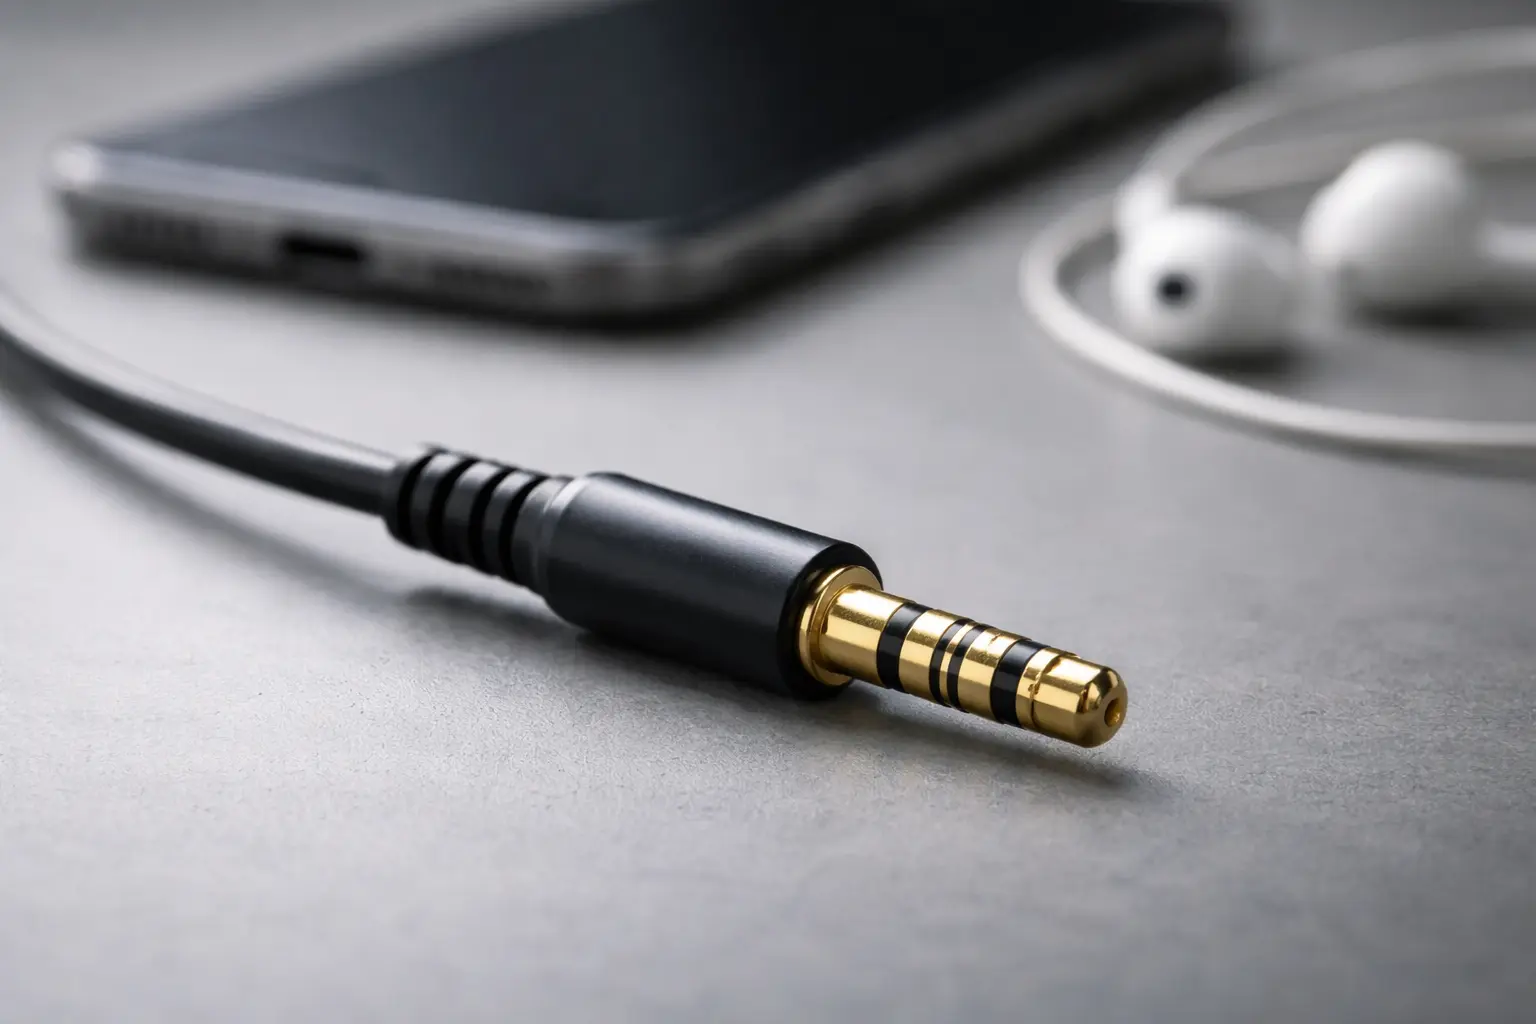
Unbalanced Options and Limitations
TS (Tip-Sleeve) quarter-inch and 3.5 mm connectors sacrifice noise rejection for simplicity and cost savings. These unbalanced connections work adequately for short runs with high-output dynamic microphones but are unsuitable for professional recording or long cable runs.
How to Select the Best Microphone Cable for Your Recording Needs
Choosing the right microphone cable guide depends on your specific application, environment, and performance requirements.
Application-Based Selection Criteria
Studio recording demands cables that preserve sonic accuracy above all else. Look for low-capacitance designs (under 50 pF per foot) with high-quality conductors and minimal handling noise. Cable flexibility is less critical since studio cables typically remain stationary.
Live performance needs durability and reliability. Choose cables with reinforced strain relief, thick outer jackets, and high-quality connectors that can take repeated plugging, unplugging, and physical stress. Neutrik connectors are industry favorites because they're reliable and serviceable.
Broadcast and podcasting applications often need specific lengths and colors for organization and aesthetics. Look for cables with low-profile connectors that won't get in the way of equipment mounting and routing.
Key Technical Specifications Explained
Cable length directly affects performance because of capacitance buildup. While XLR cables can run hundreds of feet without major signal loss, you'll get optimal performance with runs under 100 feet for most applications.
Impedance matching ensures maximum power transfer and minimal reflections. Standard microphone cables are designed for the typical 150-600 ohm impedance range of professional microphones.
Consider environmental factors: outdoor events need UV-resistant jackets, while cold weather applications need cables that stay flexible at low temperatures.
Budget and Quality Tiers
Entry-level cables ($10-25) work fine for home studios and casual use but may lack durability for professional applications. Mid-range options ($25-75) offer the best value for most users, providing professional-grade performance without premium pricing.
High-end cables ($75-200+) justify their cost in critical applications where signal integrity matters most and failure isn't an option. These often feature exotic conductor materials, advanced shielding, and lifetime warranties.
Proper Microphone Cable Setup and Maintenance Best Practices
Correct installation and maintenance extend cable life and keep performance consistent throughout their service life.
Installation Guidelines for Optimal Performance
Never run microphone cables parallel to power cables – keep at least 12 inches separation or cross at 90-degree angles when intersection can't be avoided. This prevents 50/60Hz hum pickup that can ruin recordings.
Respect minimum bend radius specifications, typically 8-10 times the cable diameter. Tight coiling stresses internal components and can cause intermittent failures.
Use proper strain relief at both ends. The connector boot should absorb mechanical stress, not the delicate solder joints inside the connector.
Essential Maintenance Procedures
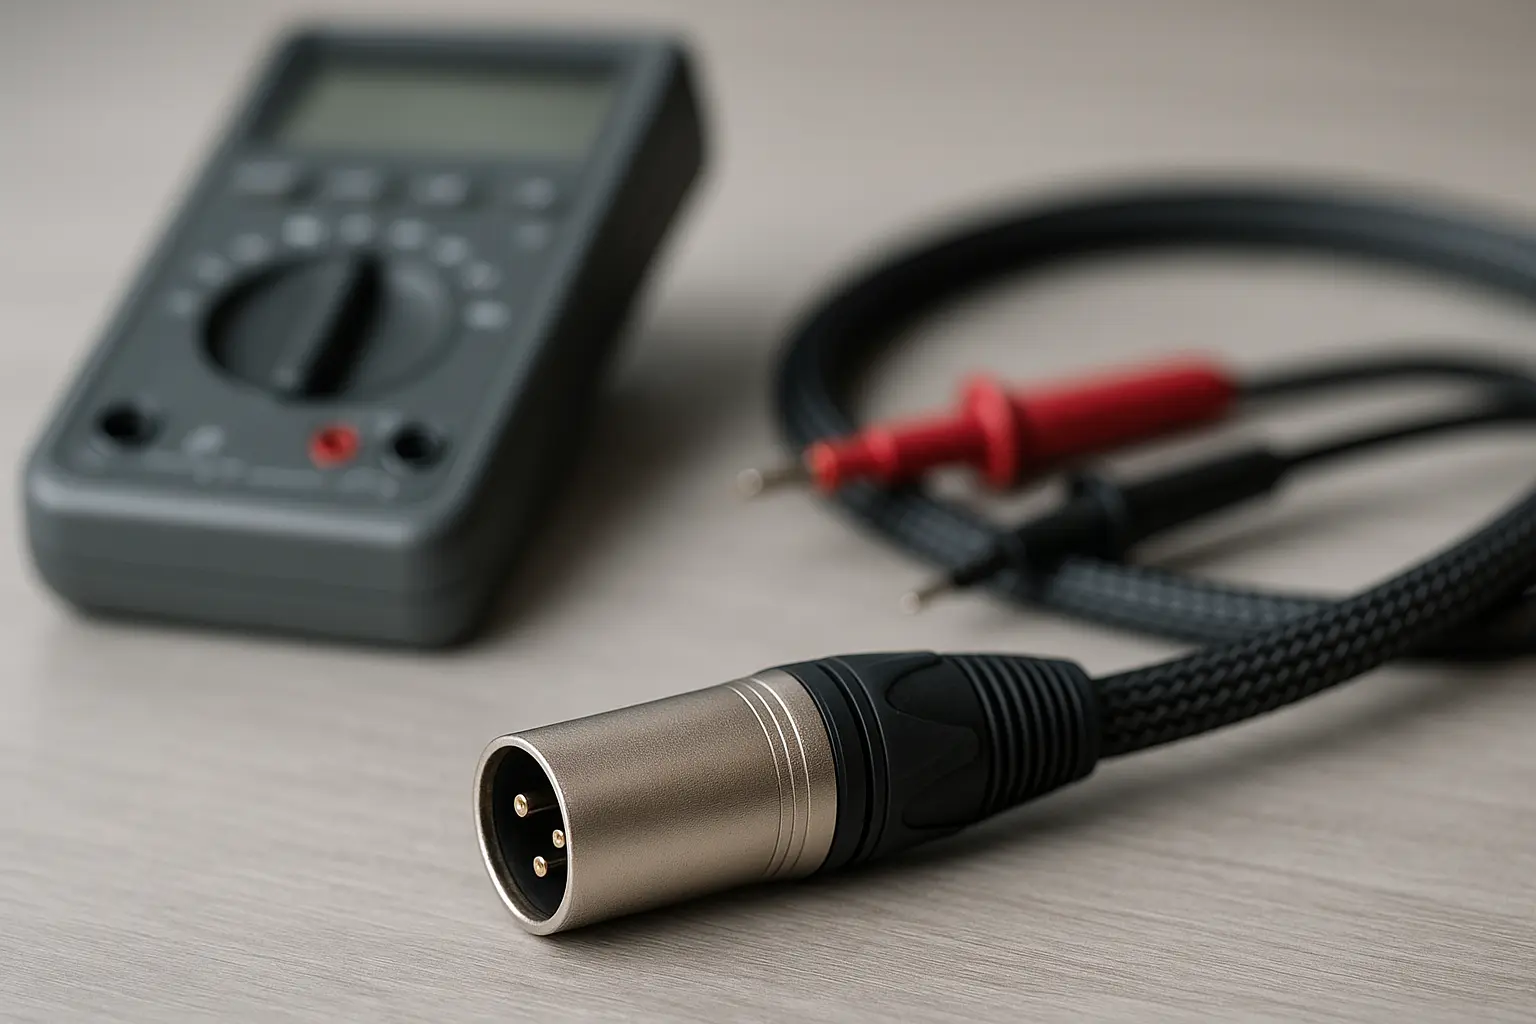
Clean XLR connectors monthly with contact cleaner and a small brush. Oxidation on pins creates noise and intermittent connections that degrade audio quality.
Store cables properly: loose coiling or figure-8 wrapping prevents internal stress and extends service life. Avoid hanging heavy cables by their connectors.
Inspect cables regularly for cuts, kinks, or damaged connectors. Address minor issues immediately before they become major failures.
Solving Microphone Cable Problems: Troubleshooting Common Issues
Recognizing and resolving cable-related audio problems saves time and prevents recording disasters.
Identifying Noise and Interference Sources
Hum (50/60 Hz frequency with harmonics) usually indicates electromagnetic pickup from power sources. Check cable routing and ensure proper shielding connections.
Buzz often results from ground loops—multiple grounding paths creating electrical loops. Use balanced connections throughout your signal chain, and verify that all equipment shares the same electrical ground.
Radio frequency interference shows up as high-frequency buzzing or actual radio station breakthrough. Make sure shield connections are solid and consider cables with better RFI rejection.
Signal Quality Problems
Intermittent crackling or dropouts usually mean broken internal conductors or loose connections. Gently flex the cable while monitoring audio to find the problem area.
Phase cancellation creates a "hollow" or weak sound when signals from multiple microphones work against each other. Double-check that all cables maintain consistent pin wiring standards.
Repair vs Replacement Economics
Simple connector replacement costs $20-40 at most repair shops and often brings quality cables back to full functionality. However, internal conductor breaks usually need complete replacement since repair costs exceed the cable's value.
Professional Tips: Advanced Microphone Cable Options and Future Trends
Modern audio production increasingly needs specialized solutions for challenging environments and applications.
High-Interference Environment Solutions
Star-quad construction uses four conductors in a special twisted configuration that provides superior noise rejection compared to standard twisted-pair designs. These cables excel in environments with heavy electromagnetic interference from lighting systems, motors, or RF transmitters.
Additional shielding options include foil-wrapped individual conductor pairs and carbon-loaded jackets that provide static dissipation – key for applications involving synthetic fabrics or dry environments.
Digital Audio and Network-Based Systems
AES/EBU digital microphone connections use the same XLR connectors but require 110-ohm impedance cables specifically designed for digital signals. Using analog microphone cables for digital signals causes reflection and timing errors.
Dante and AVB protocols run high-quality audio over standard CAT5e/CAT6 ethernet cables, potentially eliminating traditional microphone cables in some installations. However, these systems require network infrastructure and don't provide phantom power directly.
Wireless microphone systems keep getting better, but cables remain the go-to for critical applications where interference isn't acceptable and latency must be zero.
Understanding What Is Microphone Cable Technology: Key Takeaways
Microphone cables are way more than simple wires – they're sophisticated transmission systems built to preserve delicate audio signals in challenging environments. The key factors that define quality microphone cables include balanced transmission for noise rejection, proper shielding against interference, durable construction for reliability, and appropriate impedance characteristics for optimal signal transfer.
When selecting cables, focus on your specific application needs: studio work demands sonic accuracy, live performance needs durability, and broadcast applications need reliability above all else. Don't overlook proper installation and maintenance – even the best cables will underperform if incorrectly installed or poorly maintained.
Understanding these basics gives you the power to make smart decisions about your audio signal chain and achieve the professional sound quality your projects deserve. Whether you're recording your first podcast or mixing a major concert, the right microphone cable forms the critical first link in your audio production chain.
Ready to upgrade your audio setup? Start by evaluating your current cables against these criteria, and consider investing in quality connections that will serve your audio needs for years to come.